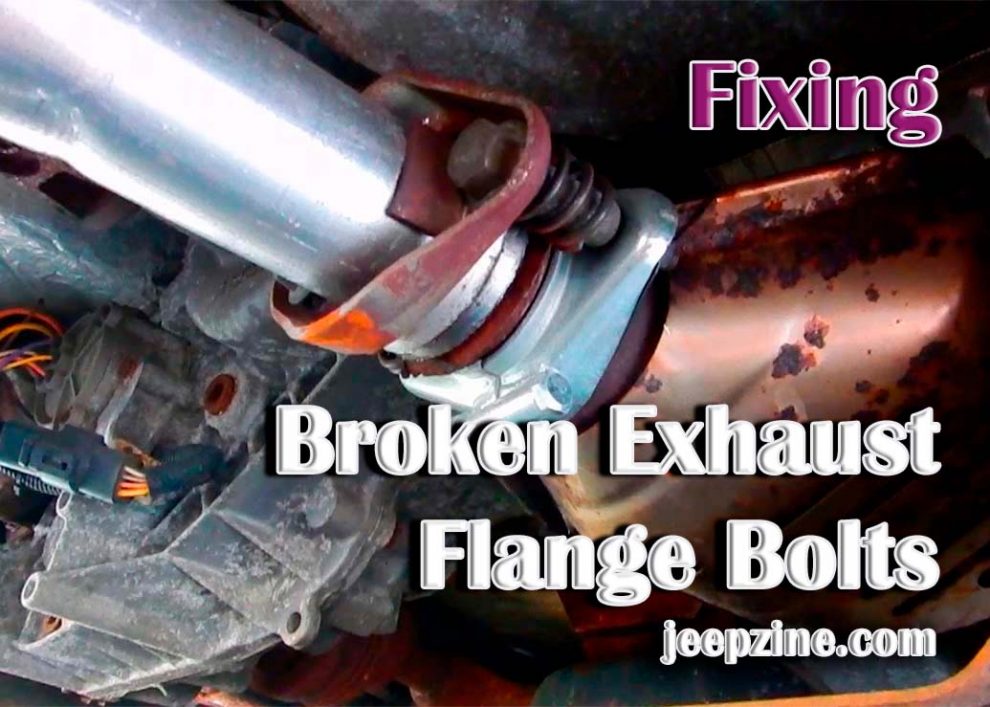
Dealing with a broken exhaust flange bolt can be daunting for any vehicle owner. This crucial component of your car’s exhaust system ensures a tight seal between the exhaust manifold and the exhaust pipe, playing a vital role in your vehicle’s overall performance and emission control. In this article, we will guide you through the step-by-step process of fixing broken exhaust flange bolts. From identifying the problem to selecting the right tools and techniques for extraction and replacement, we’ll provide practical tips and expert advice to help you efficiently address this common yet challenging automotive repair. Whether you’re a seasoned mechanic or a DIY enthusiast, our comprehensive guide will equip you with the knowledge and confidence to tackle this repair easily.
Common Causes of Broken Exhaust Flange Bolts
Broken exhaust flange bolts often result from a variety of factors that can compromise the integrity of these essential components. Corrosion, often due to exposure to moisture and road salts, is a major factor, as it gradually deteriorates the metal’s strength over time. Another frequent cause is thermal stress; the extreme temperature fluctuations experienced by the exhaust system can lead to metal fatigue and eventual failure of the bolts. Over-tightening during installation or previous repairs can also contribute to bolt breakage, as it places undue stress on the threads and the bolt itself. Additionally, vibrations from regular vehicle operation can gradually loosen bolts, leading to wear and tear that eventually results in breakage. Understanding these common causes is crucial for preventative maintenance and for accurately diagnosing issues when they arise.
Common Symptoms of Broken Exhaust Flange Bolts
Detecting broken exhaust flange bolts early is crucial for maintaining the integrity of your vehicle’s exhaust system. When these bolts fail, they manifest through symptoms often noticeable during vehicle operation. Being aware of these signs can help in prompt diagnosis and repair. Here are the key symptoms to look out for:
-
 Unusual Exhaust Noise: A prominent sign is a loud rattling or blowing noise from the exhaust, suggesting a leak where the exhaust manifold and pipe connect.
 -
Reduced Engine Performance: You might notice a decline in engine power or efficiency, as the leak can impede the engine’s exhaust flow.
-
Decreased Fuel Efficiency: An exhaust leak can lead to poorer fuel economy as the engine struggles to maintain efficiency.
-
Exhaust Fumes Inside the Vehicle: A more concerning symptom is the smell of exhaust fumes inside the cabin, indicating a significant leak.
-
Visible Damage or Rust: Upon inspection, there may be noticeable rust or damage around the flange area, or the exhaust pipe might appear loose or misaligned.
-
Vibration or Shaking: Sometimes, a loose or broken bolt can cause the exhaust system to vibrate or shake more than usual, especially noticeable at idle or low speeds.
Tools and Materials Needed
For fixing broken exhaust flange bolts, you’ll need various tools and materials to ensure a smooth and effective repair process. Firstly, a socket set is indispensable for removing and tightening bolts efficiently. Open and adjustable wrenches are also necessary for situations where sockets might not suffice. Penetrating oil is crucial in loosening rusted or seized bolts, facilitating easier removal. Bolt extractors are essential for safely and effectively removing the broken pieces of the bolt without causing further damage. Replacement bolts, specific to the size and type used in your vehicle’s exhaust system, are needed to replace the broken ones. A torque wrench is important for tightening the new bolts to the manufacturer’s specified torque, ensuring they are not over-tightened. Finally, safety equipment like gloves and safety glasses are recommended to protect yourself during the repair process. For further enhancements to your vehicle, consider exploring the best exhaust system for Jeep Wrangler JK, which can improve performance and sound.
Fixing the Problem: Step-by-Step Guide
Repairing broken exhaust flange bolts is a task that requires precision and attention to detail. This step-by-step guide is designed to help you navigate through the process smoothly, ensuring a thorough and effective repair. Each step is crucial, from applying penetrating oil to removing the bolt to the final checks post-repair. Following these instructions can fix the issue efficiently and restore your vehicle’s exhaust system to proper working order.
-
Apply Penetrating Oil: Start by spraying penetrating oil on the broken bolt. Allow it to soak, which will help to soften the rust and facilitate easier removal.
-
Heat the Area (if needed): Gently heat the area with a torch for particularly stubborn bolts. This helps expand the metal and loosen the bolt but be cautious not to overheat and damage nearby parts.
-
Remove the Broken Bolt: Use bolt extractors to remove the remnants of the bolt carefully. Attach the extractor to the bolt and turn it counterclockwise, applying steady pressure. Be patient to avoid stripping the threads or causing further damage.
-
Clean the Bolt Hole: Once the broken bolt is out, clean the bolt hole thoroughly to remove any debris, rust, or corrosion. This step is crucial for ensuring the new bolt fits perfectly.
-
Install the New Bolt: Choose a replacement bolt that matches the original in size and thread. Hand-tighten the bolt first to ensure proper alignment and threading. Then, using a torque wrench, tighten the bolt to the manufacturer’s specified torque setting. This prevents over-tightening.
-
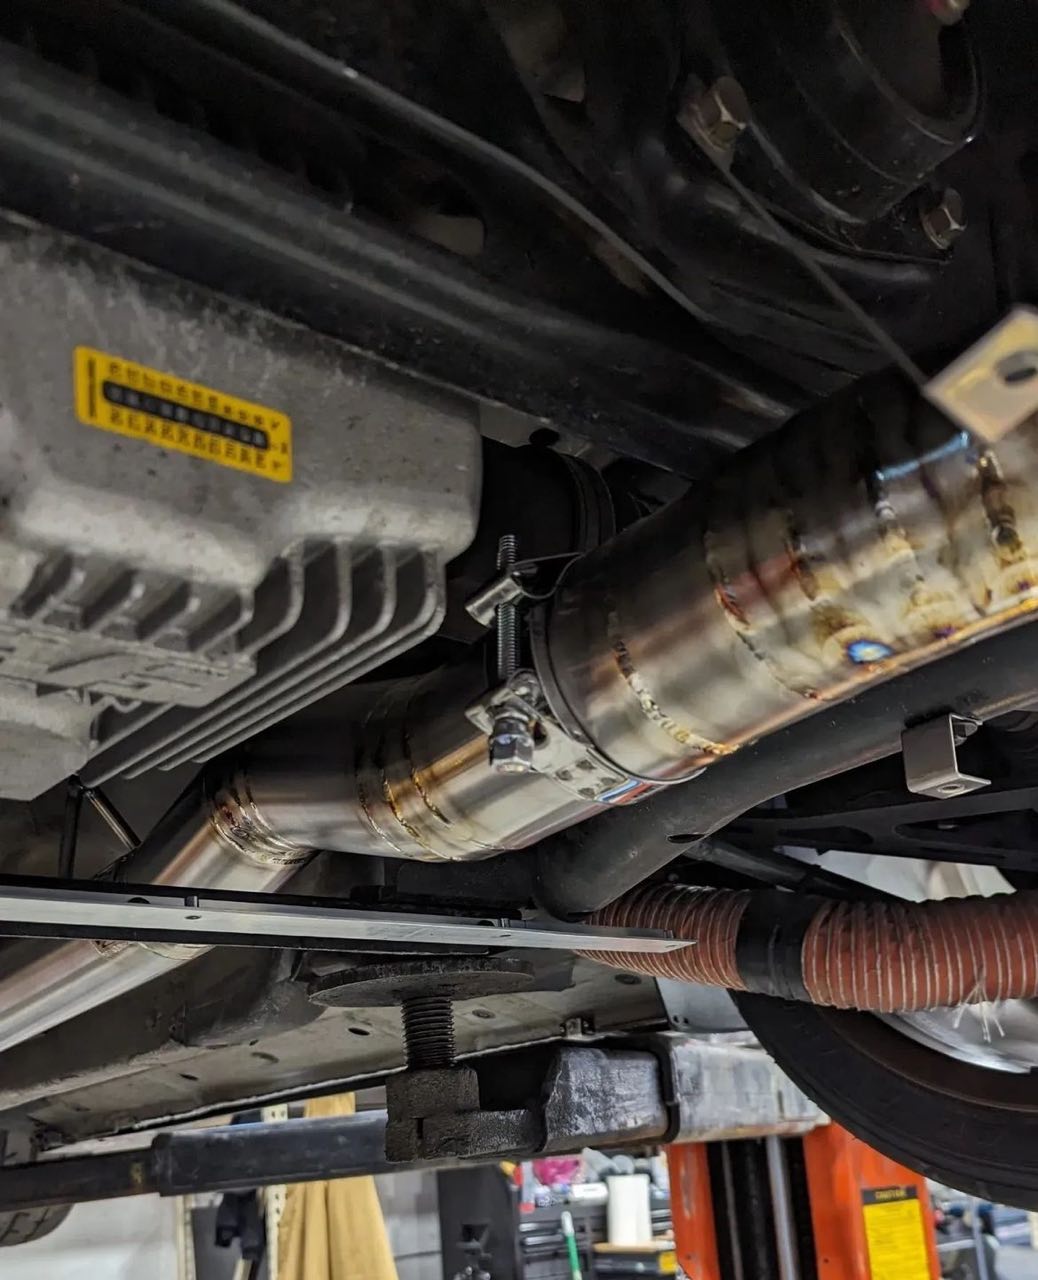
Final Checks: After installing the new bolt, inspect the exhaust system to ensure everything is aligned and secure. Start the vehicle and listen for any unusual exhaust sounds or leaks, which could indicate that the repair needs adjustment.
Conclusion
Repairing broken exhaust flange bolts can seem challenging, but it’s a manageable task with the right tools, knowledge, and approach. Understanding the common causes and symptoms helps early detection, preventing more serious issues. This guide provides a comprehensive approach to diagnosing and fixing this common problem, ensuring your vehicle’s exhaust system functions optimally. Regular inspections and maintenance can prevent such issues in the future, keeping your vehicle running smoothly and efficiently. Whether you’re a seasoned mechanic or a DIY enthusiast, mastering this repair is a valuable skill in your automotive care toolkit.