A clear coat finish is a protective layer of paint applied to your car’s exterior surface. It can also provide an eye-catching shine that will make your vehicle look new. Over time, this protective layer can wear away or chip due to exposure to the elements, fading sunlight, and other factors. If you want to keep your car looking its best, applying a fresh, clear coat is essential. Doing so is not difficult or complicated: you can quickly restore that showroom finish with the right materials and patience. In this article, we will discuss how to apply a clear coat on your car safely and effectively for optimal results. We’ll cover the tools you’ll need, how to prepare the area before applying the paint, how to apply clear coat on car, and tips on ensuring it lasts longer.
What Is a Clear Coat?
 Clear coat is a protective finish applied to a painted surface, usually with automotive paints. It is designed to protect the paint underneath from scratches, chips, and ultraviolet light that can cause fading. Clear coat can also be used to add gloss and depth to the color of the base coat. It provides a thicker layer of protection than regular paint and is highly resistant to scratches and other damage. Clear coat is typically applied after the base coat has been applied and cured, using either an aerosol spray or a brush.
Once a clear coat is applied, it must be allowed to cure before it can be polished or waxed for maximum protection against UV light. Clear coats are available in various gloss levels ranging from matte finishes up to high-gloss finishes designed for show cars. Different types of clear coats also offer different levels of chemical resistance, which makes them ideal for protecting vehicles in harsh climates or environments where they may come into contact with solvents or other chemicals that could corrode regular paints. When properly maintained with regular waxes and sealants, clear coats can last up to seven years before needing reapplication or replacement.
Preparing the Surface
Before applying any paint to your vehicle, it’s important to prepare the area by thoroughly cleaning it. Start by washing the car with a mild soap and water solution to remove dirt, debris, and any oils or contaminants from the surface. Once clean, you can use a clay bar to remove any remaining contaminants trapped in the clear coat. Next, sand the area with fine-grit sandpaper to create a smooth surface for painting. You may also need to wipe down the area with a cleaner such as acetone or denatured alcohol to remove any residue or grease not removed in the initial cleaning process. After you’ve prepared and cleaned the area, you can then apply a primer coat if desired before moving on to applying your clear coat finish.
Applying the Base Coat
Once prepping your vehicle’s surface, you can apply base coat paint with an airbrush or spray gun. The type of paint depends on your vehicle’s color; be sure to use paint that matches its original hue as closely as possible. Apply several thin coats of base coat over the area and allow each layer to dry before adding new ones; generally, two or three thin coats should do it (follow product instructions). Keep at least 12 inches away from your car while holding the spray gun to avoid runny lines in your base coat application for best results.
Adding a Primer Layer
After allowing sufficient drying time between layers of base coat (again following product instructions), it’s time to add primer over the top if using an automotive primer recommended for clear coating purposes (optional). Primer acts as an adhesive between layers of paint and helps ensure even coverage when spraying a clear coat on later; however, primer is not always necessary if there are no imperfections in your base coat layer(s). If using primer anyway, apply several thin coats just like the base coat earlier until all areas are fully covered, then allow adequate drying time between each layer according to manufacturer directions before continuing with the clear coat application steps below.
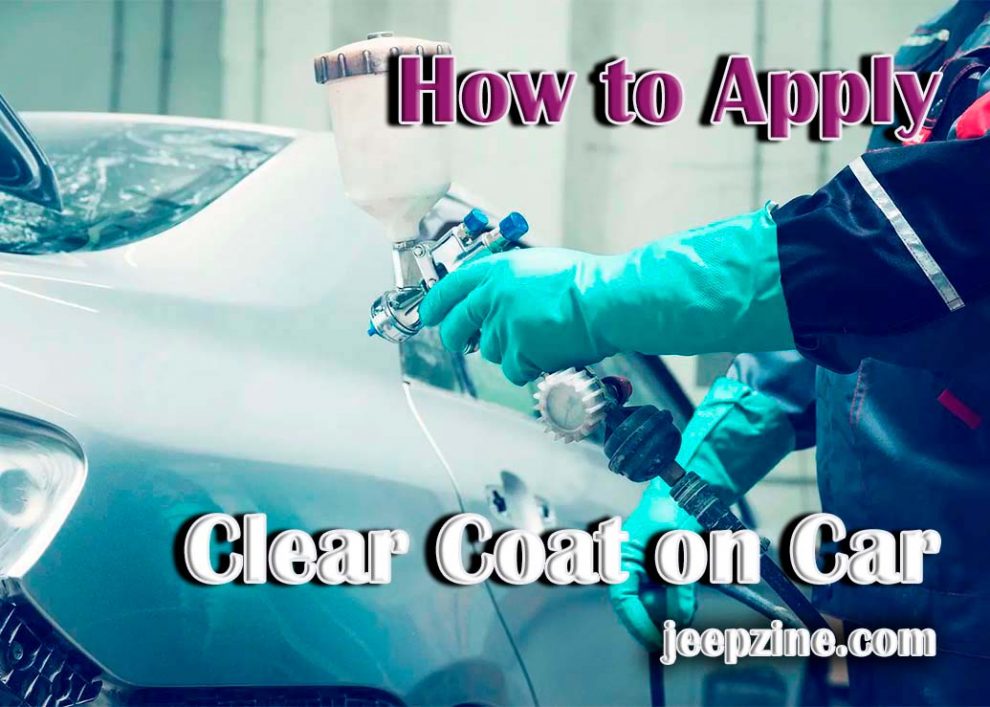
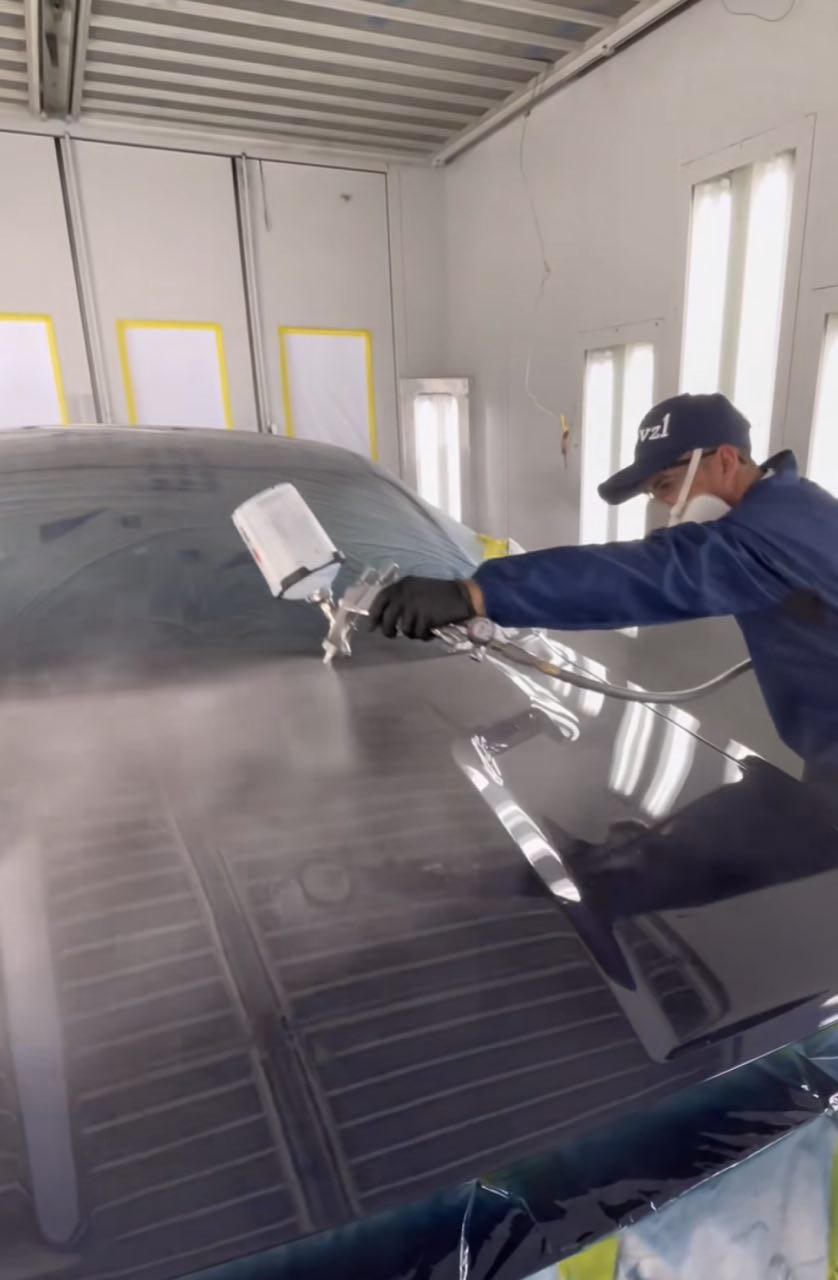
Applying the Clear Coat Layer
Now, you’re ready to apply the clear coat layer. Like the base coat, you’ll want to spray several thin layers of clear coat on the area and ensure each one has dried completely before adding additional layers. Again, keep at least 12 inches away from your car while spraying, and slowly move your hand across the surface for even coverage. It helps to have someone else stand outside of the spray area when applying a clear coat so they can inspect and monitor its spread. Allow appropriate drying time between each layer before continuing with more layers (follow product instructions).
Finishing Touches and Clean Up
Once all coats of paint have been applied and are dry, it’s time to give them a final inspection. Make sure there are no imperfections or uneven areas in either base or top coats; if found, lightly sand down those spots using fine-grit sandpaper until smooth, then re-apply a thin layer of paint as needed. Finally, thoroughly clean up any painting equipment and tools, such as drop cloths and rags; use rubbing alcohol or other solvents to remove any lingering residue from any surfaces touched by paint or primer during the application process.
<!—->
Conclusion
Applying a clear coat on your vehicle is an effective way to protect it from scratches, dents, UV rays, and other environmental hazards over time. With the right materials and preparation steps, anyone without painting experience can achieve professional results when applying clear coat finishes themselves at home. Be sure to follow directions carefully when preparing surfaces for paint application and tips included with whatever type of product is being used (basecoat +/or clearcoat) so that optimal results may be achieved without risking damage caused by improper techniques or incorrect products used along the way!