
Every Honda driver knows that regular maintenance is essential to keep their engine running smoothly. One component often overlooked when performing regular maintenance is the idle air control valve or IACV. The idle air control valve helps regulate the air-fuel mixture in the engine, which helps maintain consistent engine speeds even during idling. In this article, we’ll look at how to clean idle air control valve on Honda to keep your engine running efficiently and smoothly.
What Is an Idle Air Control Valve?
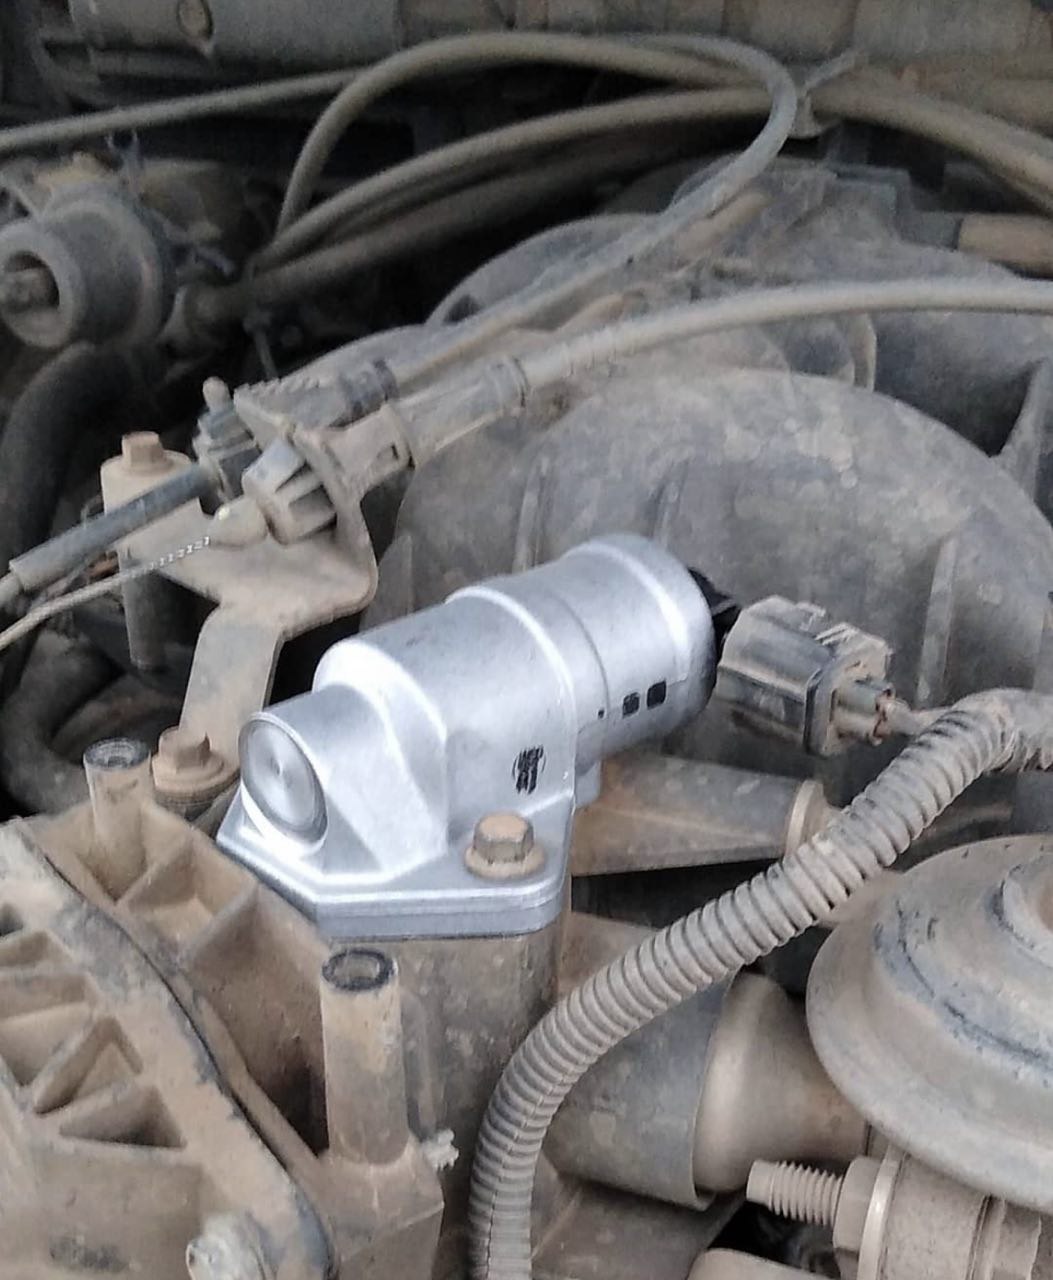
The idle air control valve is a part of the engine’s management system. Its purpose is to regulate the engine idle speed to ensure proper performance and fuel efficiency. The idle air control valve is located on the side of the intake manifold, usually near the throttle body. It has two ports: one for fresh air and one for exhaust gases. When the engine is idling, these two ports work together to regulate how much air enters and exits the combustion chamber, thereby controlling how much fuel is consumed at each piston stroke. As time passes, dirt and debris can accumulate in the port, reducing efficiency. If this happens, your engine cannot maintain its idle speed and may experience problems such as stalling or misfiring. Cleaning the IACV will remove any built-up debris and restore its efficiency.
Tools Needed for Cleaning the IACV
 To effectively clean the IACV, a few essential tools are required. First and foremost, a set of wrenches or socket and ratchet tools will be needed to disconnect the battery and safely remove the idle air control valve. A can of throttle body cleaner or carburetor cleaner is indispensable for effectively dissolving carbon deposits and grime that can accumulate on the valve. Additionally, a clean, lint-free cloth or paper towels will be required to wipe down the IACV and surrounding areas after cleaning. A small brush with soft bristles is handy for reaching crevices and loosening stubborn deposits. Since the idle air control valve is a sensitive component, having gloves and safety goggles is advisable to protect your hands and eyes from any chemicals or debris. Finally, a repair manual or online resources specific to your vehicle’s make and model will serve as a valuable reference guide throughout the cleaning process.
Steps for Cleaning the IACV on a Honda
Once you have gathered the necessary tools and supplies, it’s time to get started. Follow these steps to clean the idle air control valve on a Honda properly.
-
Disconnect the Negative (Black) Terminal of the Battery: To begin, locate and remove the negative terminal of your vehicle’s battery with a wrench or socket tool.
-
Remove the idle air control valve from the Intake Manifold: Next, locate and carefully remove the bolts that secure the idle air control valve in place with a wrench or socket tool. Once removed, lift out and set aside in an area away from moisture or debris that could harm it.
-
Spray Cleaning Solution onto Valve: Using a can of throttle body cleaner or carburetor cleaner, liberally spray each side of the valve until it is saturated with cleaning solution. Allow the solution to sit for several minutes before proceeding to the next step.
-
Scrub Any Residue Away with a Brush: Using your small brush with soft bristles, gently scrub any remaining residue away from both sides of the valve until deposits have been completely removed.
-
Wipe Down Valves and Surrounding Areas: After scrubbing, use your lint-free cloth or paper towel to wipe down both sides of valves as well as surrounding areas such as the throttle body and intake manifold to ensure no dirt/debris has contaminated them during the cleaning process.
-
Reinstall idle air control valve onto Intake Manifold: Now that all debris has been removed from valves and surrounding areas, you may reinstall valves back into their original position on the intake manifold using the original bolts/nuts you removed before cleaning.
-
Reconnect Negative Terminal of Battery: Finally, reconnect the negative terminal back onto the battery using the original wrench/socket tool you used at the beginning of the cleaning process.
<!—->
Conclusion
Cleaning the idle air control valve on your Honda is an important maintenance task that should be performed regularly. Following the steps outlined in this article will help your engine maintain its idle speed and performance while reducing the risk of stalling or misfiring. Always wear safety goggles and gloves when handling chemicals or debris and consult a repair manual or online resources specific to your vehicle’s make and model for further guidance. With patience and care, you can have your Honda running like new quickly!