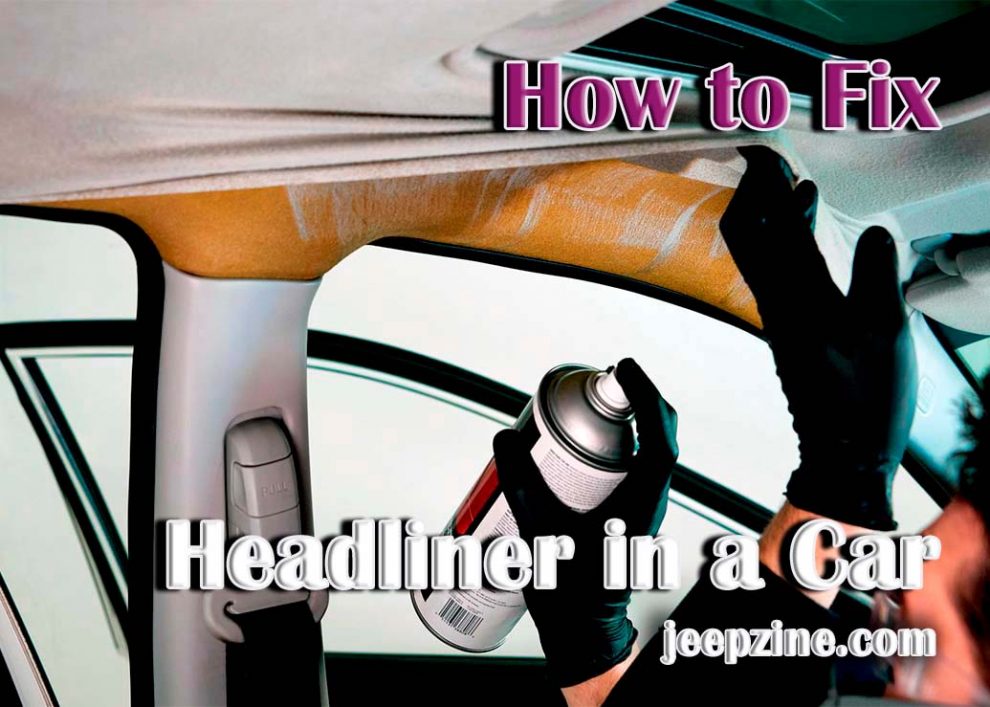
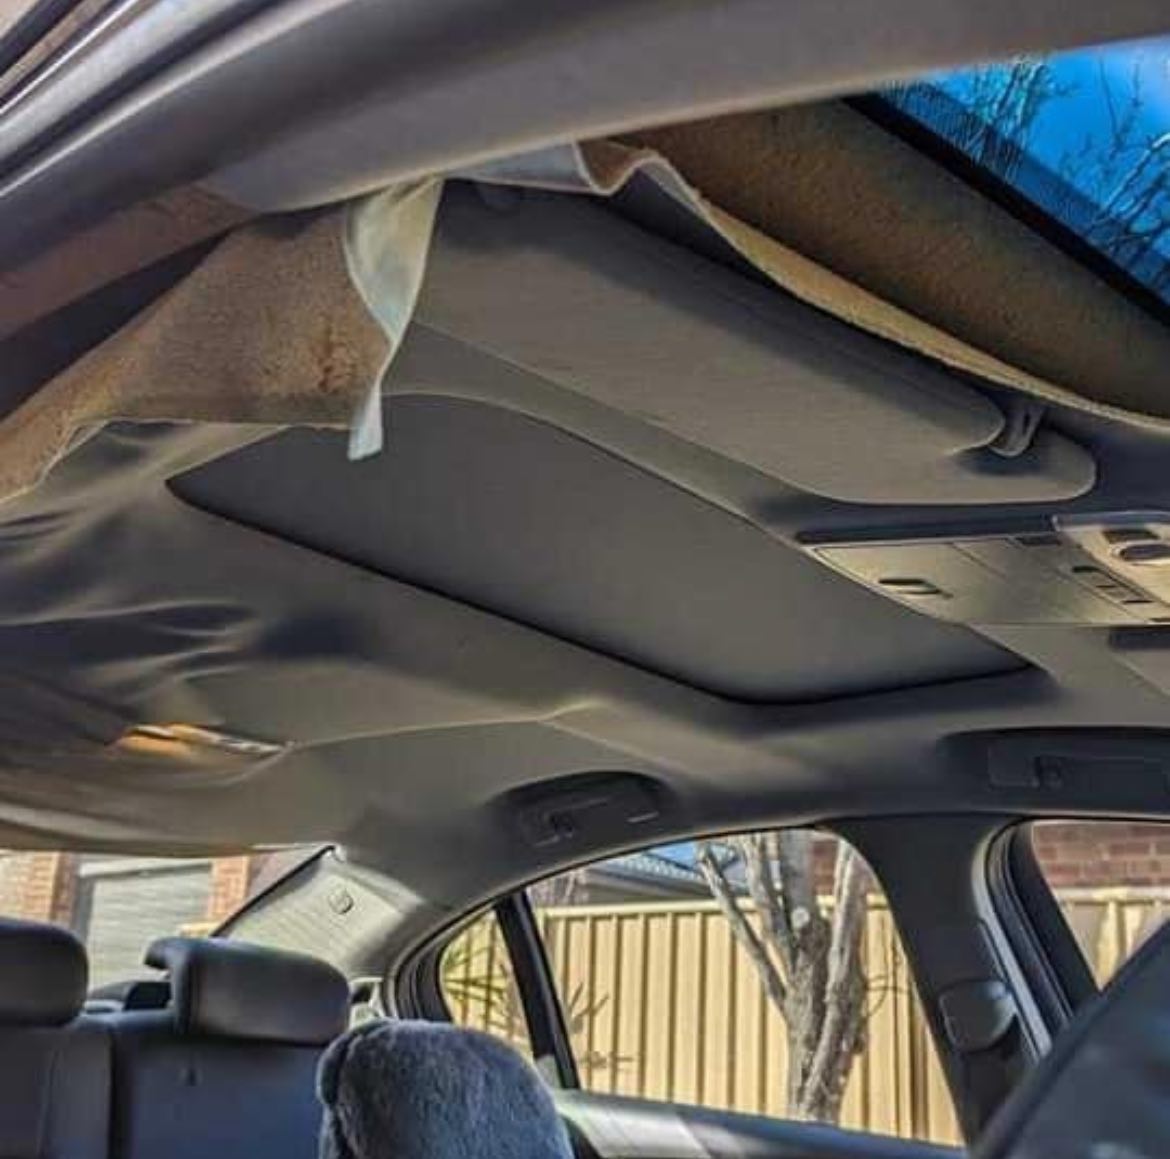
Headliners are an essential part of the interior of any vehicle, and when they become loose or sag, they can make a car look unattractive and uninviting. Fortunately, fixing a headliner does not require special skills or tools; it can be done with simple materials found at any hardware store. In this article, we will discuss how to fix a headliner in a car quickly and easily so that you can restore your vehicle to its former glory. In this article, we will discuss the tools and materials needed to complete the job and provide a step-by-step guide on how to do it correctly. With some patience and time, anyone can easily complete this project without the aid of a professional auto body shop or mechanic. So, if you’re ready to get your car’s headliner looking like new again, let’s get started!
Tools and Materials Needed
Before you begin any repair work to your vehicle, it is important to make sure you have the right tools and materials handy. For this project, you will need:
- A can of spray adhesive
- Fabric headliner material or fabric glue
- A utility knife or scissors
- Measuring tape
- Pencils or markers for marking the fabric and drawing the outline
- An old towel, rag, or cloth for wiping away excess adhesive
If any of these items are not available, you can purchase them at any hardware store. You may also want to invest in protective gloves, as the spray adhesive can be messy.
Preparation Steps for Fixing a Headliner
Before beginning any repairs, it is important to ensure the headliner is completely dry and free of dirt or residue. If there are any spots or marks on the surface, carefully clean them off using a moist cloth. Once the surface is clean, you can begin preparing for the repair. Begin by measuring the headliner and drawing an outline of its shape on a fabric material that matches the car’s interior color. Use a pencil or marker to draw this outline to pin it into place once ready to begin repairs easily. Next, cut out your fabric piece according to your outlined shape and lay it flat on a protected surface such as an old towel or rag. Ensure that all excess material has been cut away and that there are no frayed edges around the edges of your fabric piece before moving on to the next step.
Step-by-Step Guide for Repairs
 Now that you have all the necessary tools and materials, it is time to begin repairing your car’s headliner. Follow the steps below for a successful repair job:
-
Start by spraying a layer of spray adhesive onto the back of the fabric piece you cut out in preparation. Apply a layer of adhesive to the entire surface and allow it to dry for a few moments before continuing.
-
Apply a second coat of spray adhesive onto the back of your fabric piece, making sure to coat every area that needs to be glued into place on the headliner board. Allow this second layer to dry completely before moving on to step three.
-
Once both coats have dried completely, carefully place your fabric piece onto the headliner board and press it firmly into place with your fingers or a small roller until it is secure and adhered correctly. You may need to use clamps or weights during this process to maintain an even pressure as you press down on your fabric piece so that it does not slip off or become unevenly placed when pressed into place.
-
Use a utility knife or scissors to cut away any excess fabric around the edges of your headliner board where necessary, making sure not to damage any of the other components inside your car’s interior as you do so.
-
After cutting away all excess material, apply one last layer of spray adhesive over your newly placed headliner material to give it added security and ensure that everything is firmly in place once finished with repairs.
Finishing Touches
After properly attaching the headliner material to the board, completing a few final steps is essential before considering the job finished. First, check all the seams and edges for any gaps or frayed edges that may need to be sealed with fabric glue or more spray adhesive. If so, apply a small amount of either product to seal the seam and ensure against any further unraveling or damage over time. Next, inspect your work for any mistakes or areas where extra attention is needed; if everything looks good, it is time to stand back and admire your handiwork. You have just successfully fixed a headliner in your car!
Conclusion
Fixing a car’s headliner does not require advanced skills or expensive tools – anyone can do it with some patience and some simple household supplies. In this article, we discussed how to fix a headliner in a car using spray adhesive and fabric material. We provided step-by-step instructions on completing this project safely and effectively so that your interior can look new again without having to break the bank at an automotive body shop. Now that you know how easy it is to restore your vehicle’s headliner by yourself, get out there and get it fixed!