
A tachometer is a device used to measure the rotational speed of an engine and can be installed in any car, truck, or boat. Tachometers are useful for keeping track of your engine’s performance and can help prevent serious damage from occurring due to over-revving or other issues. You can install a tachometer in your vehicle easily and in just a few steps. This step-by-step guide will show you how to install a tachometer in your car.
What Is a Tachometer?
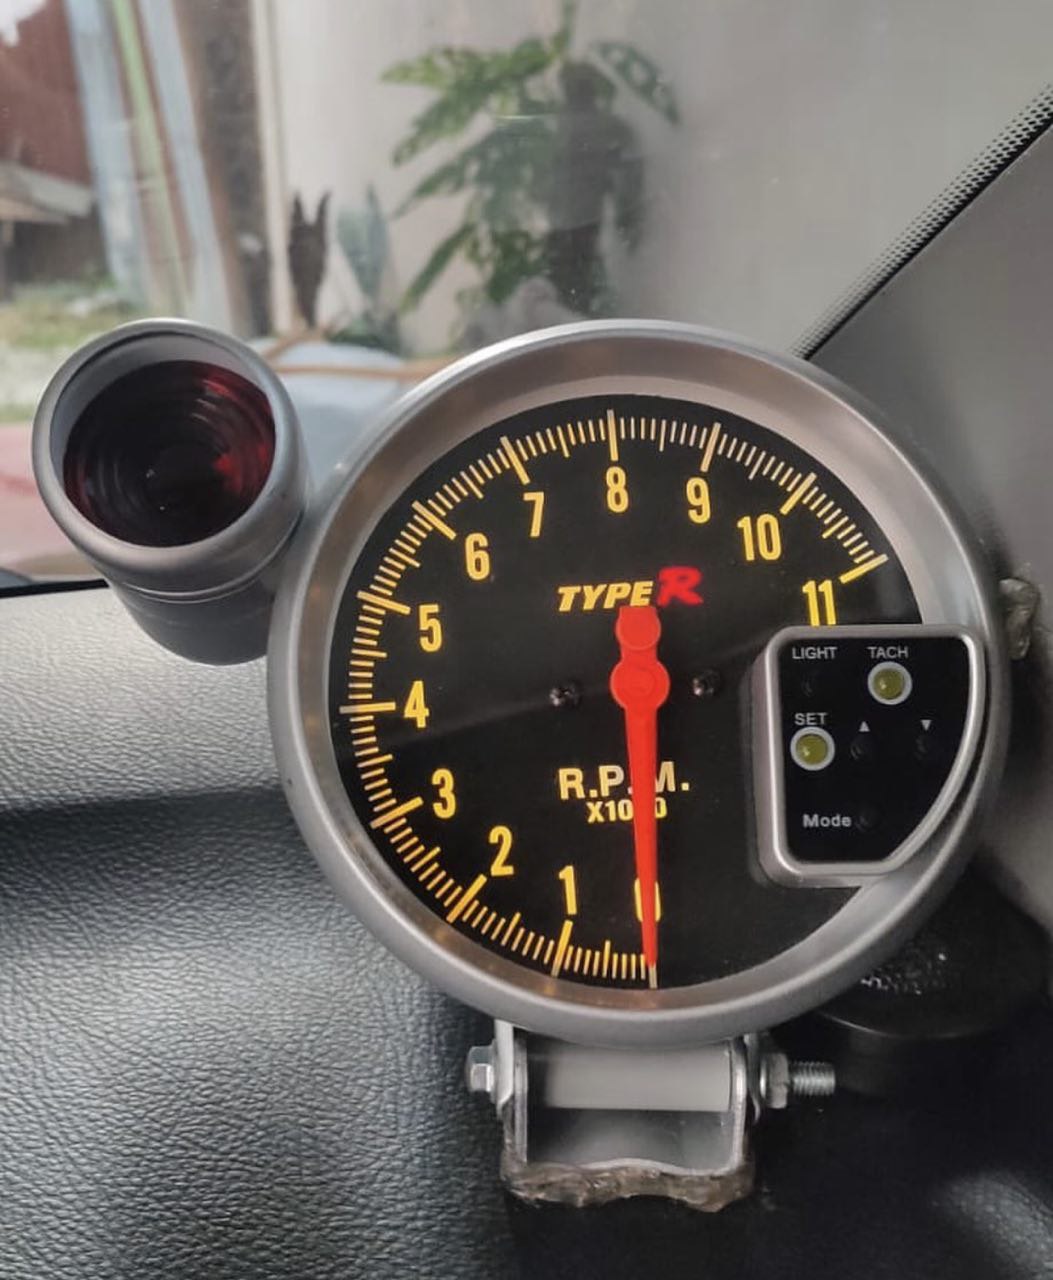 A tachometer is a device that measures the rotational speed of an engine in revolutions per minute (RPM). It gives a driver an indication of how hard the engine is working and helps them adjust their driving techniques accordingly. Tachometers are usually installed on the dashboard, although some vehicles may have them as part of their instrument cluster.
The most common type of tachometer is the analog dial type, which consists of a needle that moves around a scale indicating engine RPM. Digital tachometers are also available, which provide more detailed information and can be programmed to display different readings such as fuel economy or oil temperature. Tachometers are essential for any vehicle that needs to be driven at peak performance, including those used in motorsports.
Tools and Materials Needed for Installation of a Tachometer
The tools and materials needed to install a tachometer in your vehicle will depend on the type of tachometer you are installing. Generally, you will need:
-
A drill with a ¼ inch bit or a screwdriver/nut driver set suitable for your vehicle’s mounting screws.
-
An electrical wire stripper/crimper tool to splice into the vehicle’s wiring harness.
-
A multimeter to check electrical connections before powering up the tachometer.
-
Electrical tape and heat shrink tubing for covering exposed wires and securing connections between wires and terminals on your tachometer.
-
Mounting screws (if required) for attaching your tach to its mounting location on your vehicle’s dashboard or steering column.
Once these items are gathered, you can begin connecting and testing your new tachometer before installing it in your vehicle.
How to Install a Tachometer
Installing a tachometer in your vehicle is not difficult, but taking the necessary safety precautions is important. Before the installation process, disconnect the battery and look for any exposed electrical wires. Once done, you can install the tachometer as outlined below:
-
Locate an appropriate mounting location for your tachometer – this should be within easy view of the driver and away from direct sunlight or moisture.
-
Use your drill with an ¼ inch bit or screwdriver/nut driver set to secure the tachometer’s mounting bracket at the chosen location. Then attach the main body of your tachometer using its mounting screws (if required).
-
Locate an ignition source wire for your tachometer by tracing back from where it connects to your vehicle’s distributor cap or coil pack (depending on engine type). This wire should be connected directly to the battery for power and should have 12 volts when the key is turned to the “on” position, but no power when the engine is off.
-
Using electrical tape, heat shrink tubing (or both), cover exposed wiring that you are connecting with your multimeter and use a stripper/crimper tool to splice into existing wiring harnesses where needed so that you can connect two wires without fear of shorting out anything else in the car’s electrical system.
-
Once all connections have been made, use a multimeter to check that 12 volts of electricity are running through each wire and connection point before powering up the tachometer.
Testing Your Tachometer
Once the tachometer has been installed, testing it to ensure it works correctly is essential. Start by turning your vehicle’s ignition on and then observe the needle on the tachometer moving as you increase or decrease engine RPMs. If the needle does not move, you may need to adjust the calibration setting of your tachometer – consult your user manual for instructions on how to do this. It is also essential to check that all electrical connections are secure and that there are no exposed wires that could be potentially dangerous for you and your vehicle. Once you have tested and confirmed the proper operation of your new tachometer, you can reinstall the car’s battery and easily monitor your engine’s RPM.
<!—->
Conclusion
Installing a tachometer in your vehicle is a relatively simple task that provides valuable feedback and data about your engine’s performance. By gathering the necessary tools and materials beforehand, reading the user manual for your specific tachometer model, and following our step-by-step guide, you should be able to install a tachometer in your car without any issues. Before you take your vehicle out for a spin, test the tachometer one last time by monitoring its needle as you increase and decrease engine RPMs – this will confirm that it is operating correctly. With these tips, you can now easily monitor your engine’s performance!