Testing diodes in an alternator is a crucial part of guaranteeing the correct working of a vehicle’s electrical system. The alternator is responsible for generating the power needed to run a vehicle’s electrical components, such as headlights, windshield wipers, and other electronics. By examining the diodes in an alternator, you can pinpoint problems that may be leading to its malfunction. Failing to check and repair faulty diodes can create bigger problems down the line, so it’s important that you know how to test them properly. In this article, we will discuss what diodes are and why they’re used in an alternator, how to test diodes and replace them if needed. Additionally, we’ll offer a comprehensive guide of essential information to consider before initiating tests on your alternator’s diodes. Understanding the methods for testing and upkeeping your vehicle’s alternator is crucial for ensuring that your car operates reliably and effectively while driving.
What Is a Diode in an Alternator?
A diode in an alternator is a type of electrical component that acts like a one-way valve for electrical current. It only allows current to flow in one direction, blocking any current that is trying to flow the other way. Within an alternator, diodes serve the purpose of transforming alternating current into direct current. Each diode is connected in series between two of the alternator’s windings so that when one winding produces AC voltage, it forces electrons through the diode and out of the other winding as DC voltage. The diodes also help protect against reverse currents by not allowing any electric charge to leave the output side and enter the input side of the alternator. The purpose of diodes in an alternator is to ensure that electricity runs through components without any problems or losses while keeping components safe from damage due to reverse currents.
Tools Needed for Testing Diodes in an Alternator
 To effectively test the diodes in an alternator, a specific set of tools is required to ensure accurate results and safe handling. The most essential tool is a multimeter, preferably a digital one, which is used to measure voltage and check for continuity in the diodes. It’s important to have a multimeter that offers diode testing functionality. Alongside the multimeter, a set of insulated gloves is crucial for personal safety, as they protect against electric shocks. A set of basic hand tools, like screwdrivers and wrenches, may be necessary to access the alternator in some vehicles.
For more detailed testing, a diode test lamp or a specialized alternator tester can provide more comprehensive diagnostics. Also, having a service manual for the specific vehicle is advantageous, as it guides the alternator’s specifications and testing procedures. With these tools at your disposal, you can conduct a thorough and safe assessment of the diodes in your alternator, ensuring your vehicle’s charging system functions optimally. Also read here why new battery won’t hold charge.
Steps for Testing Diodes in an Alternator
Testing diodes in an alternator is a relatively simple process but requires following some specific steps. it is essential to guarantee that all appropriate safety precautions are taken and that you understand the proper utilization of your multimeter.
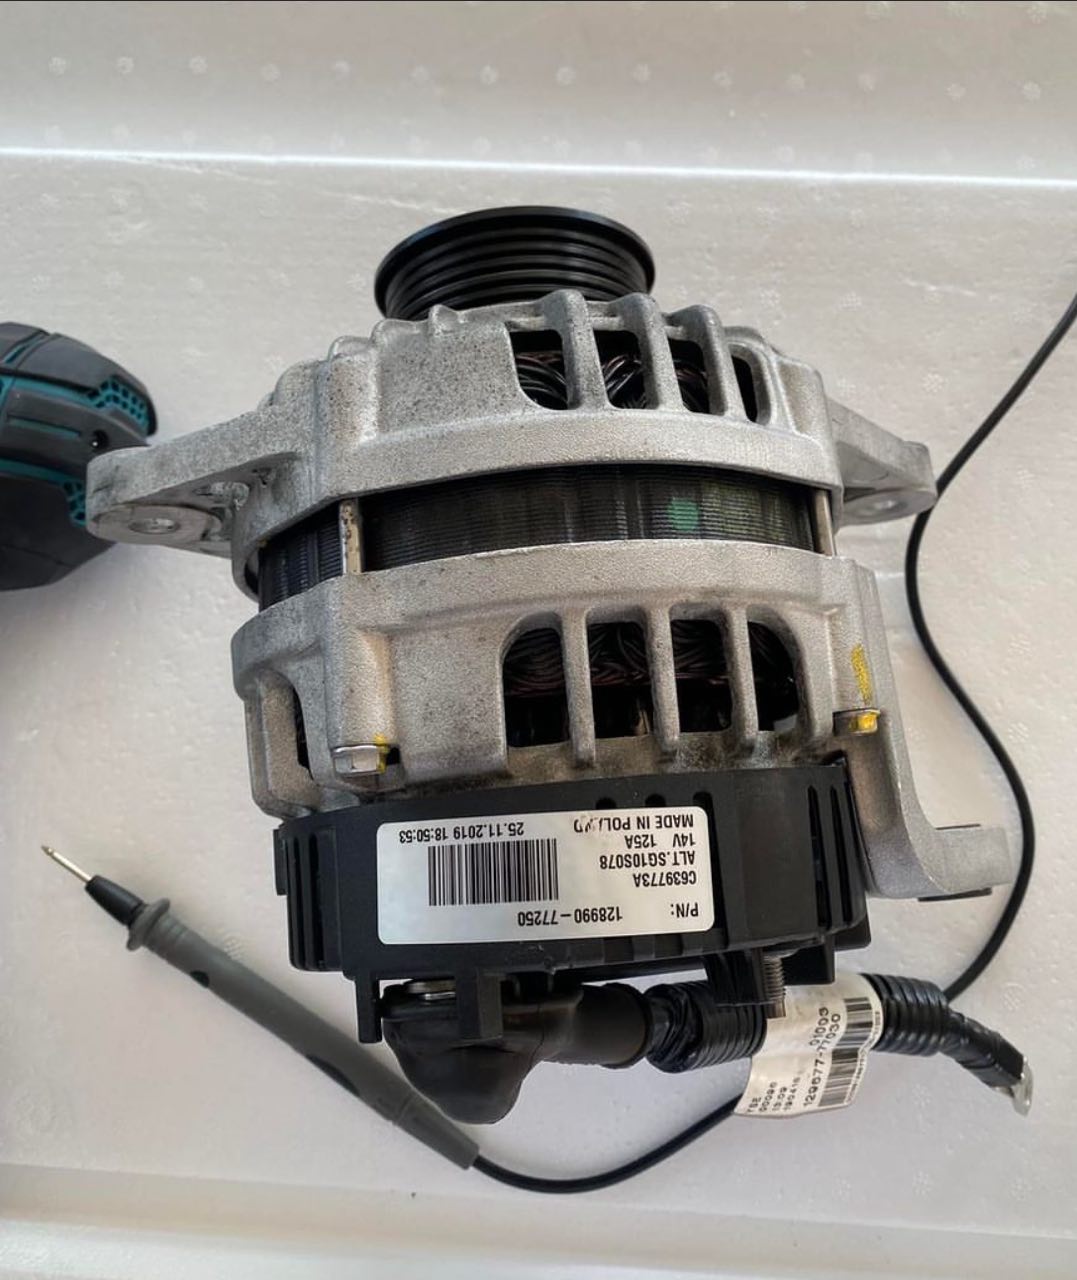
- Detach the battery and extract the alternator from the vehicle. Refer to your service manual for specific instructions on how to do this safely.
- Once the alternator is removed, place it on a flat work surface and make sure all of its connections are secure and insulated from other components.
- Put on a pair of insulated gloves before you begin testing diodes to prevent electric shocks and ensure your safety throughout the process.
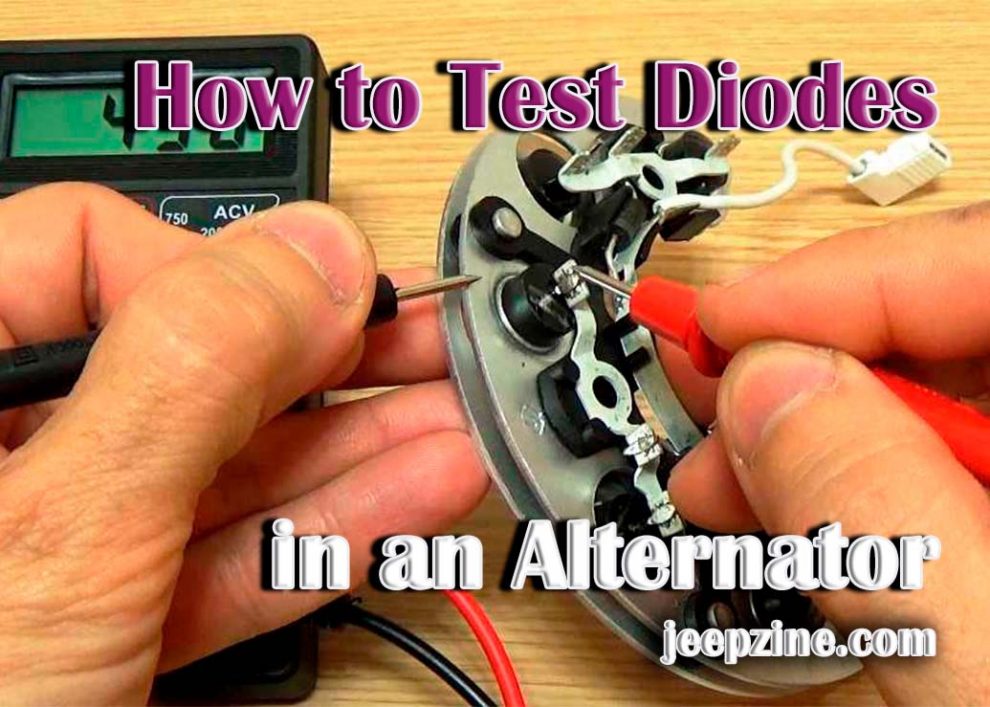
- Connect one end of the multimeter’s probe to the diode’s anode, which should be marked with a “+” sign, while connecting the other end to its cathode, which should be marked with a “-” sign.
- Set the multimeter to diode test mode and then turn it on.
- Observe the reading indicated on the multimeter’s display. A good diode should register a voltage of between 0.6 – 0.7 volts, while a faulty one will show no reading or any other value than what was expected.
- If the diode fails the test, replace it with one that has identical specifications according to your service manual before re-installing your alternator into your vehicle’s electrical system.
Conclusion
Testing diodes in an alternator is important for keeping a vehicle’s charging system functioning optimally and preventing any problems down the line caused by malfunctioning parts in the electrical system. With this comprehensive guide, you now have all the necessary tools and steps outlined for testing diodes safely in an alternator and replacing them if needed. It’s important to remember that no two vehicles are exactly alike, so always refer to your service manual when troubleshooting or replacing components in your charging system to ensure subsequent safety during operation and long-term efficiency with your car’s electrical system overall!