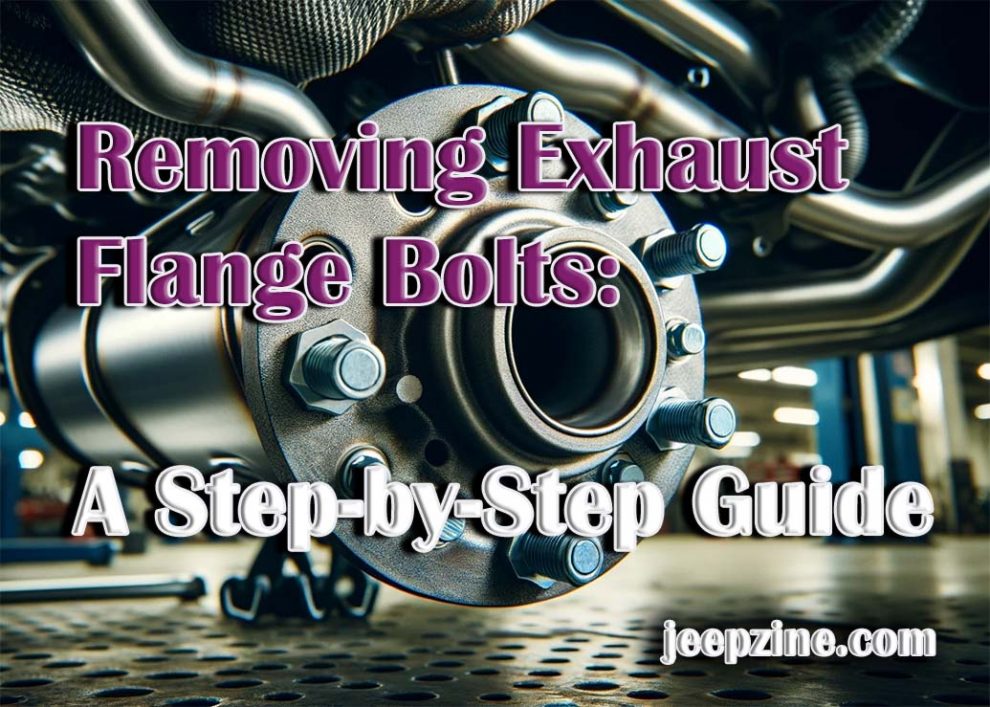
Removing exhaust flange bolts is a task that many automotive enthusiasts and DIYers dread. These bolts, which secure the exhaust system to the engine or catalytic converter, are subjected to extreme heat cycles, vibrations, and corrosive elements, making them prone to seizing and becoming incredibly difficult to remove. However, with the right approach and techniques, this challenging repair can be accomplished successfully. This comprehensive guide will provide you with a step-by-step roadmap, equipping you with the knowledge and confidence to tackle the removal of exhaust flange bolts head-on.
Preparation and Safety
Before diving into the repair process, it’s paramount to prioritize safety. Working on automotive components, especially those involving hot exhaust systems, can be hazardous if proper precautions are not taken. Always wear appropriate protective gear, such as sturdy gloves, safety glasses, and closed-toe shoes, to safeguard yourself from potential injuries. Ensure that the vehicle is parked on a level surface, properly secured to prevent any accidental movement or rolling, and allow the exhaust system to cool down completely before attempting to remove the bolts.
Next, gather all the essential tools and materials you’ll need, including a comprehensive set of high-quality sockets and ratchets, penetrating oil or lubricant, a wire brush or sandpaper, a hammer or mallet, and an impact wrench or breaker bar for stubborn bolts. Having the right tools on hand will make the job much easier and more efficient. Finally, prepare your work area by clearing away any debris or obstructions around the exhaust system, ensuring easy access to the flange bolts. Consider placing a clean tarp or mat on the ground to catch any falling tools or debris, and ensure adequate lighting to clearly see the components you’ll be working on.
Accessing and Breaking Rust
Consult your vehicle’s repair manual or online resources to identify the exact location of the exhaust flange bolts you need to remove. In some cases, you may need to remove other components, such as heat shields or underbody panels, to gain better access to the exhaust system. Take the time to thoroughly inspect the area and identify any potential obstacles or clearance issues. One of the biggest challenges when removing exhaust flange bolts is dealing with rust and corrosion buildup. To combat this issue, apply a high-quality penetrating oil or lubricant directly to the bolts and surrounding areas. Allow the penetrating oil to soak in for several hours or even overnight. You may also need to use a wire brush or sandpaper to remove any loose rust or debris around the bolt heads before applying the lubricant, ensuring it can penetrate deeper into the threads and crevices.
Removing the Bolts
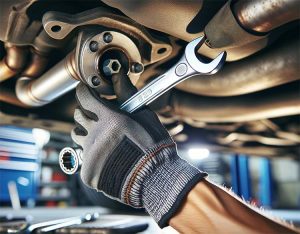 Once you’ve prepared the work area, applied the penetrating oil, and allowed sufficient time for it to work, it’s time to start the process of removing the exhaust flange bolts. Begin by positioning your socket and ratchet or wrench securely on the bolt head, ensuring a proper fit to prevent rounding or stripping. Apply steady, controlled pressure to loosen the bolt, working in a crisscross pattern if multiple bolts are involved. Avoid using excessive force to prevent damage.
If the bolts are particularly stubborn, you may need to employ additional techniques, such as:
- Tapping the bolt head gently with a hammer or mallet to help break the initial resistance
- Using an impact wrench or breaker bar to provide additional torque and leverage
- Heating the bolt with a torch or heat gun (exercise extreme caution and avoid heating plastic or rubber components)
Remember, patience and persistence are key when dealing with stubborn exhaust flange bolts. If you’re planning on upgrading your exhaust system after this repair, consider exploring the various options available, such as those highlighted in our article on the Best Exhaust System for Jeep Wrangler.
Dealing with Stubborn Bolts
Despite your best efforts, you may encounter bolts that refuse to budge, even after applying penetrating oil and using proper tools and techniques. In these cases, you’ll need to consider more aggressive approaches, but always prioritize safety and exercise caution. One option is to use a bolt extractor or left-handed drill bit to remove the damaged or stripped bolt head. This involves drilling into the bolt head and using a specialized tool to grip and extract the remaining portion of the bolt. However, this method requires precision and skill to avoid damaging surrounding components.
If all else fails, you may need to resort to cutting the bolt as a last resort. This can be accomplished using a reciprocating saw or angle grinder equipped with a metal cutting blade. While effective, this method should only be used with extreme caution and proper protective gear, as it can generate sparks, heat, and metal shavings.
Reassembly and Final Steps
Once you’ve successfully removed the exhaust flange bolts, you can proceed with the necessary repairs or replacements. When reassembling the exhaust system, it’s crucial to use new bolts and gaskets to ensure a proper seal and prevent future leaks or issues. Follow the manufacturer’s recommended torque specifications when tightening the bolts, and double-check your work to ensure everything is securely fastened. Before starting the vehicle, perform a final inspection to ensure no tools or debris have been left behind in the work area. Additionally, check for any potential clearance issues or rubbing points that may have been created during the repair process.
Conclusion
Removing exhaust flange bolts can be a daunting task, but with the right knowledge, tools, and techniques, it’s a job that can be accomplished successfully. By following this comprehensive guide, you’ll be equipped with the necessary information to tackle this repair with confidence. Remember to prioritize safety, work methodically, and don’t hesitate to seek professional assistance if you encounter any roadblocks or challenges beyond your skill level. With patience, perseverance, and the proper approach, you’ll be able to remove those stubborn exhaust flange bolts and get your vehicle back on the road in no time.