Brakes are among the most important components in your car, as they provide you with the essential safety feature of being able to control your speed and stop when needed. Without brakes, driving would be a dangerous endeavor. The brake dust shield is also an important component of your brakes as it protects the brake components from debris and other contaminants that can accumulate over time. Unfortunately, many people find themselves needing to remove their brake dust shields for various reasons such as replacing worn-out parts or making repairs. However, removing them can be a difficult and dangerous process if not done correctly. This article will provide you with detailed instructions for removing brake dust shields in your car safely and efficiently so that you can have peace of mind knowing that your brakes are working as intended.
Identifying Your Vehicle’s Brake Dust Shields
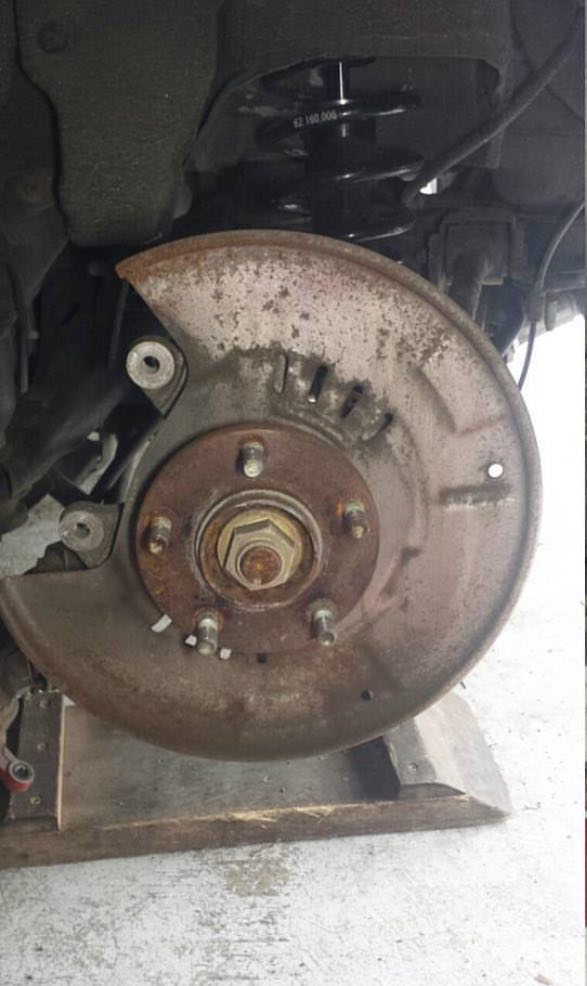
Before attempting to remove your brake dust shields, you must first identify which type of shields your vehicle has. There are three main types of brake dust shields—metal, plastic, and composite dust shields. Metal dust shields are the most common and can generally be identified by their silver or gray color and smooth surface. Plastic brake dust shields can also vary in color but will have a slightly rougher texture than metal ones. Finally, composite brake dust shields will be a mixture of both plastic and metal components. Knowing which type of shield you have is important as it will determine the tools and techniques needed for removal.
Tools and Supplies Needed for Removal
In order to safely remove your car’s brake dust shield, you will need a few basic tools including an adjustable wrench or socket set, pliers, screwdriver set or Allen key set (depending on the type of fasteners used), wire cutters (if necessary), hammer (for removing any stuck parts), gloves (for protection) and safety glasses for eye protection. Additionally, you may need some grease or silicon lubricant to help loosen stubborn parts if they are stuck or corroded in place. It is also advisable to wear protective clothing such as long-sleeved shirts/pants/overalls when attempting this job so that any debris that may fly while loosening the shield does not come into contact with bare skin. Also read here How to Remove Rust from Brake Rotor.
Step-by-Step Instructions for Removing Brake Dust Shields
 Once you have gathered the necessary tools and supplies, follow these steps to remove your brake dust shields correctly:
- Park your vehicle safely away from traffic and on a level surface so that you have easy access to the brake dust shield.
- Make sure that the vehicle’s engine is turned off, then raise the hood and identify the brake dust shields that need to be removed.
- If your vehicle has a metal dust shield, use an adjustable wrench or socket set to loosen the fasteners that hold the shield in place. If the fasteners are too tight, you may need to use some grease or lubricant to help loosen them.
- Once all of the fasteners have been removed, slowly remove the shield from its mounting points and set it aside for disposal.
- For plastic or composite shields, use a screwdriver set or Allen key set (depending on which type of fasteners are used) to remove each fastener one at a time until the entire shield is free from its mounting points.
- Again, slowly remove the shield from its mounting points and discard it as necessary.
Troubleshooting Common Issues When Removing Brake Dust Shields
If you encounter any issues while attempting to remove your brake dust shields, there are a few troubleshooting tips that may help. If the fasteners are too tight or corroded in place, try using a lubricant or grease to loosen them. If the fasteners are still stuck despite lubricant, you can use a hammer and punch to gently tap on the fastener until it is loose enough to be unscrewed by hand. Alternatively, if your brake dust shields have any rivets or bolts that are stuck in place, you can use wire cutters to snip away at the metal around the bolt/rivet until it is free from its mounting. Additionally, if any of your vehicle’s brake lines become disconnected during the removal of the dust shield, make sure that they are securely reconnected before continuing with further repairs.
Conclusion
Removing brake dust shields from your car is a necessary process if you need to replace or repair parts of your braking system. With the right tools and supplies, anyone can safely remove their brake dust shields in just a few simple steps. Make sure to read through your vehicle’s owner’s manual before attempting removal so that you know exactly what type of shield you have and the best techniques for removing it. Be sure to follow all safety precautions when working on your car and never hesitate to ask for help if you are uncomfortable with any part of the job!