Have you ever wanted to update the look of your car’s interior without paying a fortune for a professional job? Reupholstering your vehicle’s car seats is a great way to do just that. With the right materials and some patience, you can give your vehicle’s interior an upgrade in no time. This comprehensive guide will provide you with step-by-step instructions on how to reupholster the car seats in your vehicle.
Before you begin the recovery process, make sure to gather all the materials you will need. You will need fabric of your choice, foam padding, scissors, a measuring tape, a staple gun and staples, fabric glue or upholstery adhesive and any tools needed to remove the existing covering of the car seats. Make sure to measure your car seat dimensions before purchasing any materials for this project.
Preparing the Seats for Recovery
Preparing the seats for recovery typically involves cleaning, inspecting, and ensuring the seats are in good condition before they are returned to service. Here are some steps you can follow to prepare the seats for recovery:
-
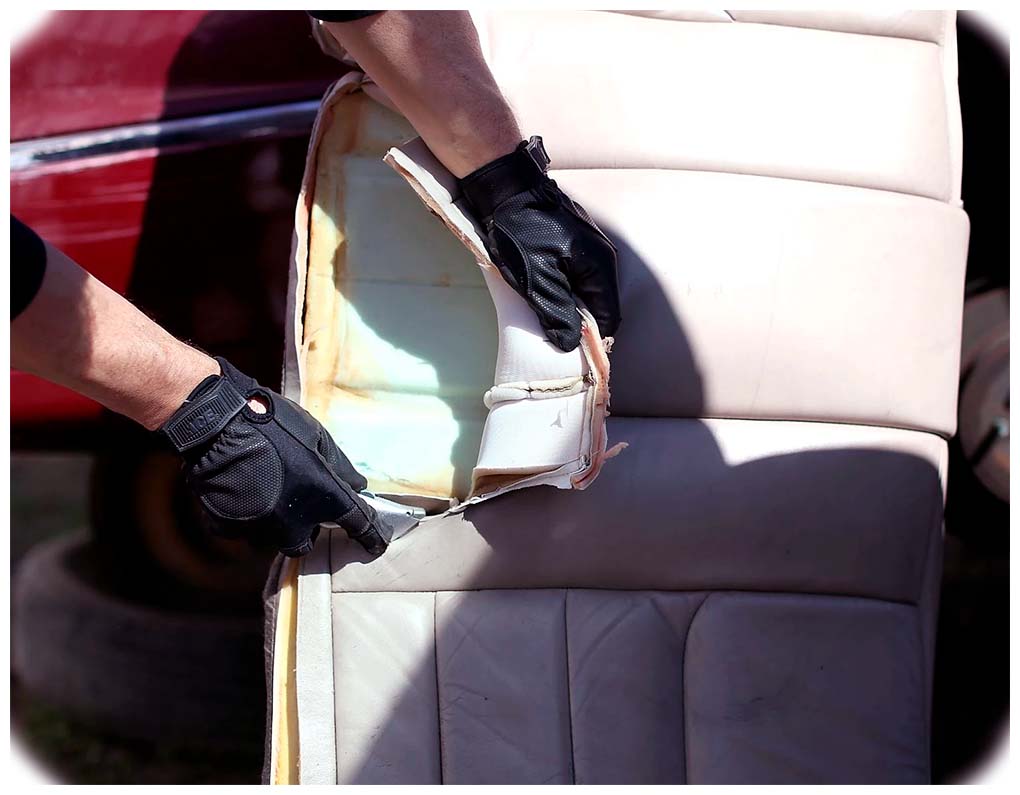 Removing the Old Covering: To begin recovering your seats, start by removing any old covering from your vehicle’s car seats. This can typically be done by using a screwdriver and some pliers to remove screws used to hold in place any upholstery clips or staples that are securing the cover.
 -
Cleaning the Seats: Once you have removed all the old upholstery clips and coverings from your vehicle’s car seats, make sure to thoroughly clean them with an appropriate cleaner or vacuum them out completely before beginning with the recovery process itself.
-
Repairing Any Damage: You should also check over each seat carefully for any punctures or rips to determine if any repairs need to be made before recovering them. If there is any damage, use a patch kit or upholstery adhesive to repair it before continuing.
Installing New Upholstery
Now that you have prepared the seats for recovery, you can begin adding the new upholstery. Here are some steps you can follow:
-
Measuring and Cutting Fabric: Begin by measuring the length and width of your car seat’s surface area. Use a measuring tape and make sure to record all of the measurements so that you can accurately cut out fabric for your new coverings. After cutting out your fabric pieces, make sure they fit properly on top of your car seat before moving on to the next step.
-
Adding Foam Padding: Once you have fitted your fabric pieces onto each car seat, add foam padding between the fabric and the seat itself to provide a softer surface for sitting on as well as additional support for long trips in your vehicle. Make sure that all the foam is securely attached before proceeding with attaching the fabric itself onto each car seat.
-
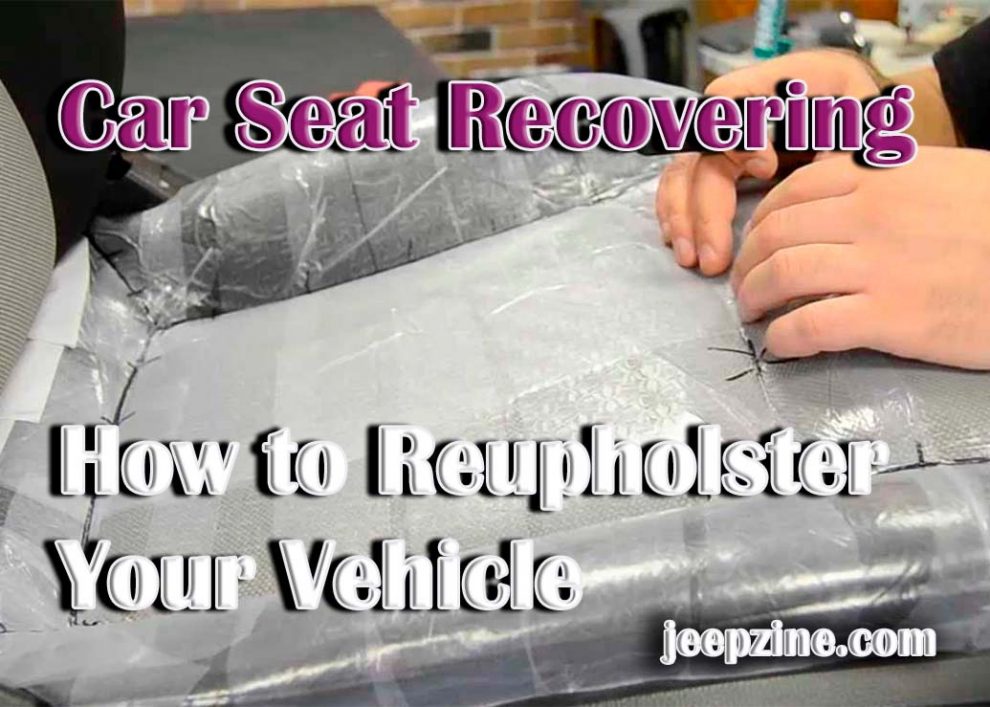
Attaching the Fabric, Drying and Finishing: Once you have attached the foam to each car seat, you can begin attaching the fabric itself using a staple gun and upholstery clips or staples. Make sure that all the fabric is securely fastened before allowing it to dry overnight. After allowing your newly recovered car seats to dry overnight, add any finishing touches such as stitching details or decorative buttons to personalize your new look.
<!—->
Conclusion
Reupholstering your vehicle’s car seats is an easy DIY project that can give your vehicle’s interior an upgrade in no time! With this comprehensive guide, you should be well on your way to giving your car a brand-new look with minimal effort and cost! However, while you’re revamping the aesthetics of your vehicle, you might also come across certain functional issues. For instance, if you notice a car seat recline broken, it’s essential to address this problem promptly to ensure safe and comfortable rides. All it takes is some patience and the right materials – go ahead and give it a try! By personalizing your vehicle with your touch, not only do you enhance its aesthetic appeal, but also its comfort and value. So, don’t shy away from this opportunity to infuse your personality into your car, making it truly a home away from home. Remember, the transformation is just a stitch away!
Add Comment