Changing an engine can be a daunting task. It is a complex process that requires quite a bit of knowledge and skill. Many people prefer to take their cars to mechanics or technicians for such jobs, but if you want to do it yourself, this comprehensive step-by-step guide will teach you everything you need to know about changing an engine from start to finish.
Required Tools and Supplies
Before you start, make sure you have all the necessary tools and supplies. These will vary depending on the type of engine and vehicle you are working on, but here is a list of some common items:
- Socket set & wrenches
- Screwdrivers
- Hammer & punch set
- Wheel chocks & jack stands
- Anti-seize compound
- Gasket sealant or RTV silicone
- Engine oil, coolant & lubricants
- New engine components (e.g., water pump, thermostat)
- Extension cords & electrical tape
- Safety equipment (e.g., eye protection)
Once you have these items, you can begin changing your engine.
Preparing the Vehicle for Removal
The first step in changing an engine is to prepare the vehicle for removal. This involves disconnecting electrical components, draining fluids, and removing components such as wiring harnesses and exhaust pipes. You should also wear safety gear such as eye protection, gloves, and a face mask to protect yourself from hazardous materials.
Removing the Old Engine
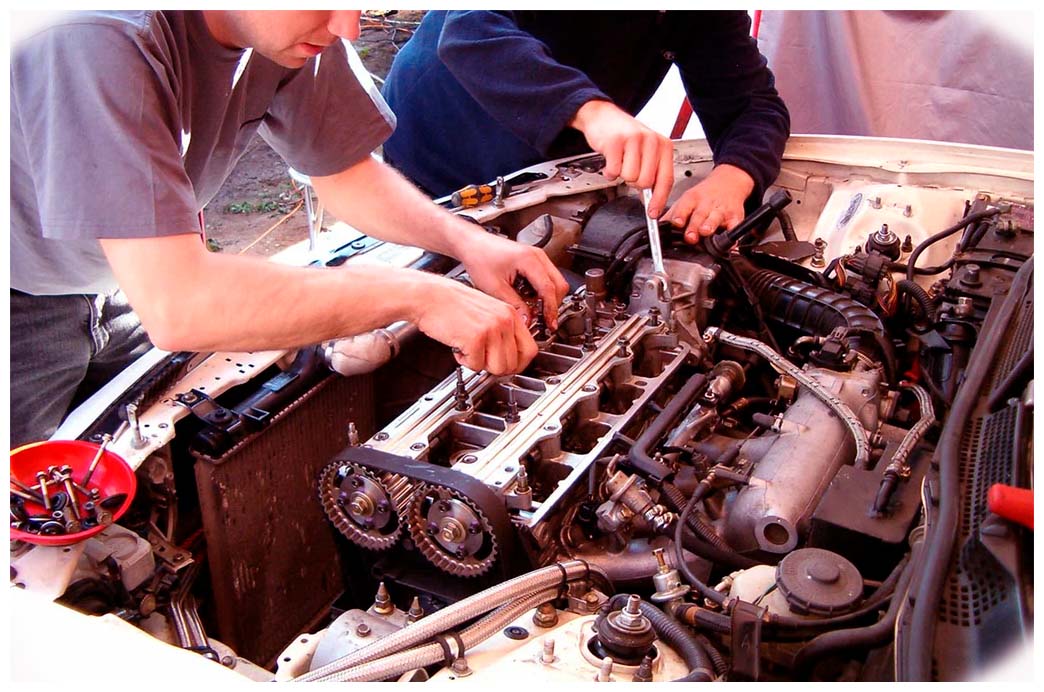 Once the vehicle is prepared for removal, the next step is to remove the old engine from its mountings. This can be done either manually or with a hoist, depending on your preference and experience with these tasks. Start by disconnecting all associated components from the engine, such as hoses and wiring harnesses, before attempting to lift it out of its mountings. If you use a hoist to do this, ensure it is properly secured before lifting or moving anything around. Once all connections have been removed and you are certain that everything is secure, then you can begin removing the old engine from its mountings – remember to take your time so that no mistakes are made!
Installing the New Engine
Once the old engine has been removed and all connections have been disconnected, it’s time to install the new engine. Start by connecting any necessary components, such as oil, fuel, and wiring harnesses, before bolting the engine into its mountings. Ensure all connections are properly secured, and all bolts are tightened before moving on to the next step.
Finishing Touches
The final step in changing an engine is ensuring everything is in order before starting it up for a test drive. This includes ensuring all fluids are at proper levels, checking for any loose bolts or connections, and ensuring the belts are tensioned correctly. Once everything is in order, you can start up the new engine for a test drive – if everything goes according to plan, then you’re ready to go!
<!—->
Conclusion
Changing an engine can be daunting, but with the right knowledge and tools, it can be made much easier. Gathering the necessary tools and supplies, then preparing the vehicle for removal before finally installing the new engine. Once everything is in order, start it up for a test drive to ensure you’ve done everything correctly – if so, then you’re ready to hit the road again!
Add Comment