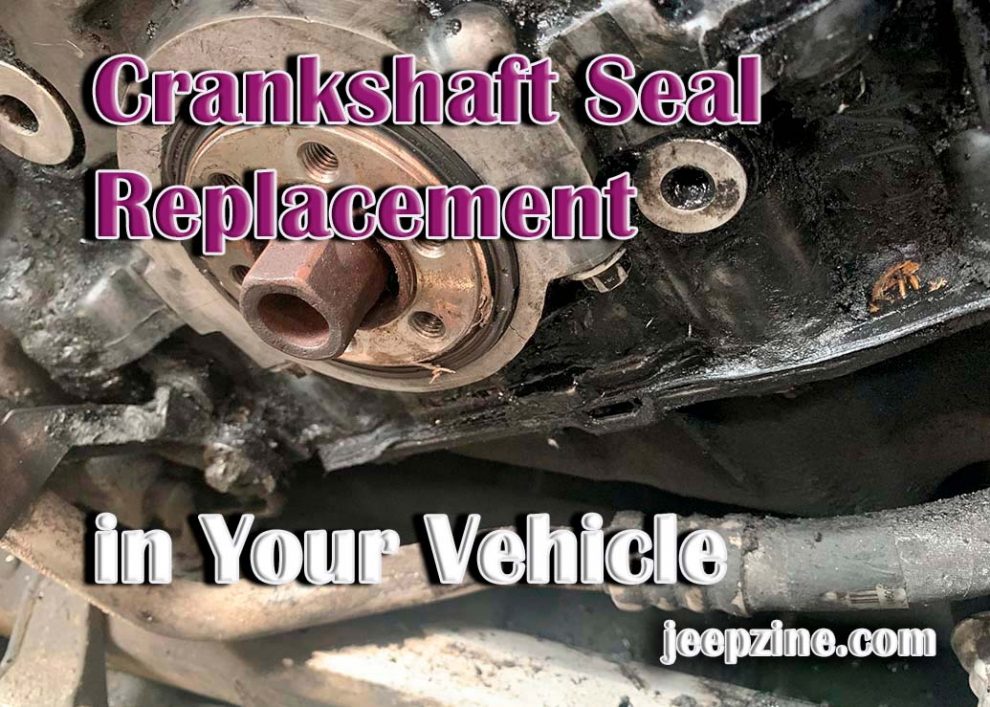
The crankshaft seal is an important part of your vehicle’s engine. It helps to keep oil from leaking out from around the crankshaft, ensuring that your engine runs smoothly and efficiently. Knowing how to replace a crankshaft seal is a necessary skill for any car owner or mechanic. In this article, we’ll show you how to replace a crankshaft seal in your vehicle with step-by-step instructions.
A crankshaft seal acts as a barrier between external air, fluids such as oil or coolant, and internal parts such as pistons and other rotating parts inside an engine block. It also prevents contaminants from entering areas where they could cause damage to delicate engine components. The crankshaft seal is typically located at one end of the engine block near where the flywheel attached to it. It helps keep oil in while keeping dirt out for better overall performance from your car’s engine.
Signs of a Faulty Crankshaft Seal
 When a crankshaft seal is faulty or worn out, it can be difficult to detect the exact problem. Some common signs of a bad crankshaft seal include:
- Oil leaking from around the seal
- An engine that runs rough or stalls when idling
- Smoke coming from under the hood
- Unusual noises coming from the engine while running
If you notice any of these signs, it’s important to address them quickly by replacing your crankshaft seal.
Replacing the Crankshaft Seal
Once you’ve determined that your crankshaft seal needs to be replaced, it’s time to get to work! Here are the steps for replacing your crankshaft seal:
-
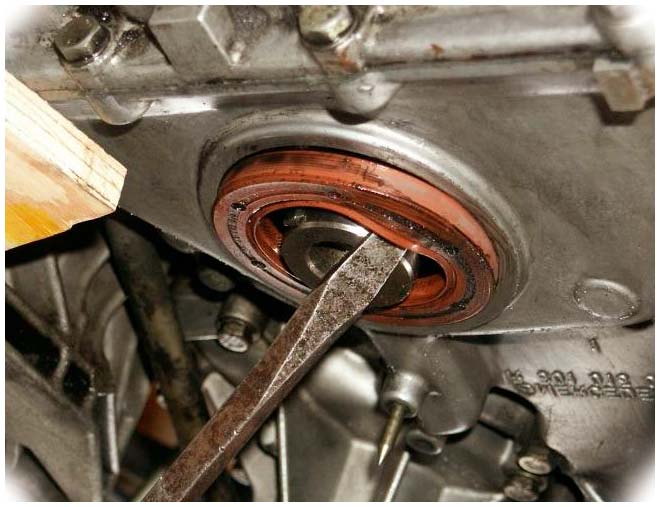
Locating and Removing the Old Seal: First off, locate where your vehicle’s old crankshaft seal is located by consulting either its owner’s manual or online resources. Then remove it using an appropriate tool such as a screwdriver or wrench. Make sure to remove any debris from around where the old seal was located so as not to damage any new parts when installing them later.
-
Cleaning and Preparing for New Installation: Once the old seal is removed, clean the area where it was located using a degreaser or brake cleaner spray. This will help ensure that there’s no dirt or debris left behind that could damage the new seal when installed.
-
Installing the New Crankshaft Seal: Now it’s time to install your new crankshaft seal! Carefully insert the new seal into place and use an appropriate tool to secure it in place. Make sure it is properly aligned before tightening it down.
-
Testing for Leaks and Completion: After you have finished installing the new crankshaft seal, test the area around it for any signs of leaks. You can do this by adding a small amount of oil to the area and then checking for any drips or leaks after a few minutes. If there are no signs of leaks, you’re all set, and your replacement is complete!
<!—->
Conclusion
Replacing a crankshaft seal can be a tricky job, but with the right tools and some patience, it’s a task that anyone can accomplish. Following our step-by-step instructions, you should now have all the knowledge and confidence needed to replace your vehicle’s crankshaft seal. This technical prowess can save you both time and money, as you become increasingly self-reliant in maintaining your vehicle. If you encounter any problems along the way or are unsure of anything, don’t hesitate to take your car to a trusted mechanic for help. Remember, being proactive in spotting issues and addressing them is the hallmark of a responsible car owner.
Add Comment