The rear differential is a critical component of any automobile’s drivetrain and is responsible for transferring power from the engine to the wheels. It must be properly maintained and checked regularly, including checking and adding the correct amount of fluid. To ensure that your vehicle’s rear differential functions correctly, it is essential to add rear differential fluid correctly. This article will discuss how to add rear differential fluid accurately and provide tips and advice on properly maintaining your car’s differential system. We will also explain why it is essential and what can happen if the wrong fluid type or incorrect amount of fluid is added. With this information, you will be better equipped with the necessary knowledge to keep your car running smoothly for many years.
Understanding the Differential System
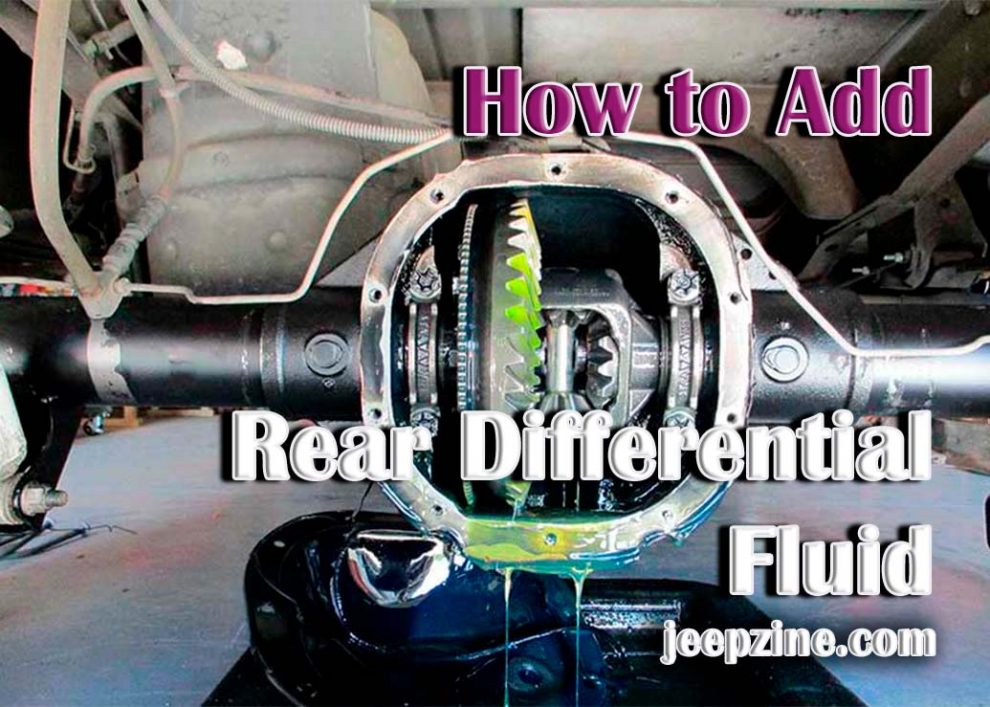
 Before attempting to add rear differential fluid to your car, it’s important to understand what a rear differential system is and why it needs maintenance. The rear differential is part of the drivetrain, which helps move power from the engine to the wheels. It consists of several components, including two bevel gears, a differential case, pinions, and an axle shaft. The differential’s job is to allow each wheel to rotate at different speeds, which helps you turn corners without skidding or causing excessive tire wear. The differential fluid helps keep these components lubricated and prevents metal-to-metal contact, which can cause damage and premature wear. Over time, everyday use will cause the oil within this system to become contaminated with dirt and debris, which can reduce its effectiveness over time – hence why regular maintenance is necessary for optimal performance of your car’s engine components.
How to Check the Level of Rear Differential Fluid
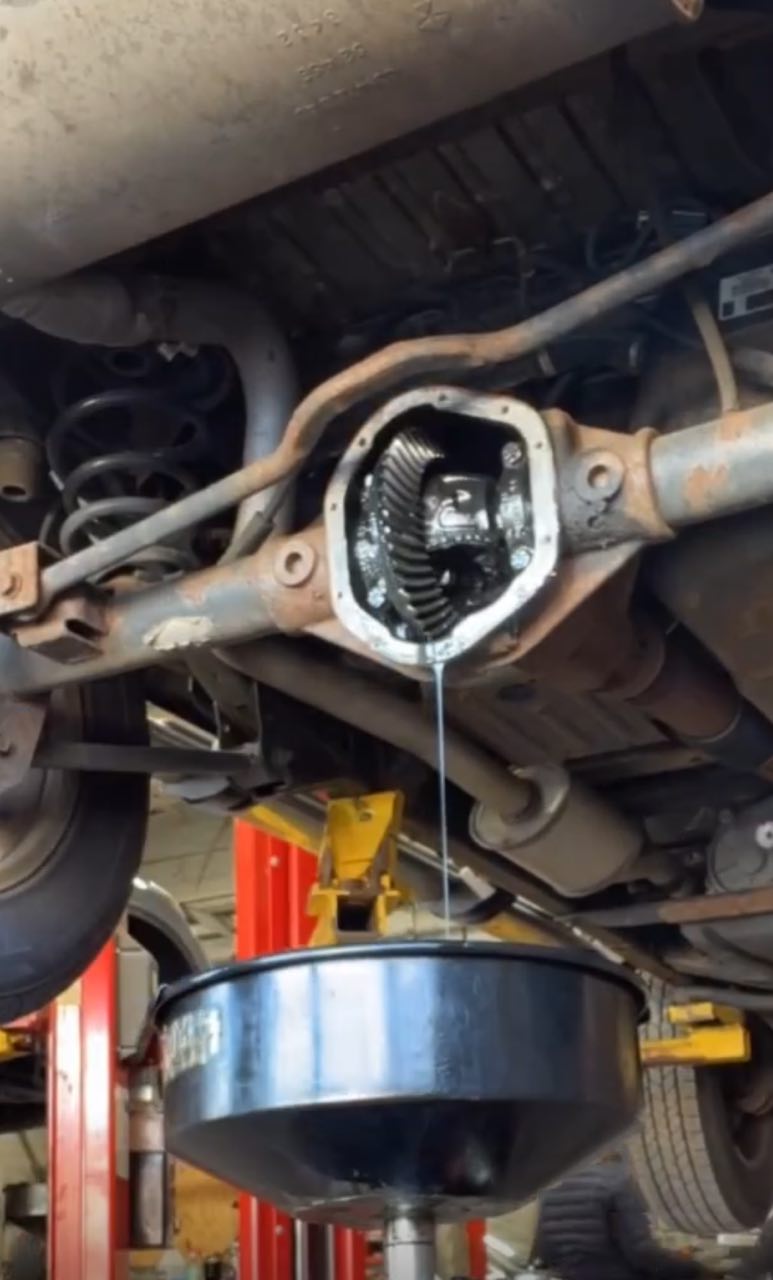
Before adding any rear differential fluid, it is vital to check its level first. It can typically be done through the rear differential fill plug, which is located on the rear axle housing. To check the fluid level, find this plug and remove it with an appropriate wrench or socket. Some vehicles may also have a dipstick, which can be used instead of a fill plug. Once removed, you should see oil or grease, depending on your vehicle’s make and model. If oil is present, use a dipstick to measure its level; if no oil is present, add enough until it reaches the appropriate level as indicated on the dipstick or fill plug (for vehicles without a dipstick). Make sure that you double-check to ensure that you are not adding too much for optimal performance. Also read about Best Oil for 5.4 Triton.
Preparing to Add Rear Differential Fluid
Once you have confirmed that there is room in your rear differential for more fluid and purchased the correct type of oil for your car’s make and model, it’s time to prepare to add new fluid into the system. Before beginning, ensure that all components are clean and free from any dirt or debris, as this could contaminate or damage them further down the line. Next, raise your car off the ground using an automotive jack – this will help provide access to all vital components during maintenance checks – and place suitable jacks stands under each side of the vehicle before removing wheels (if necessary). This will give you plenty of space to work around so be sure not to skimp on safety precautions when lifting your car, as incorrect placement could cause serious injury. Finally, put newspaper underneath the car in case any excess oil seeps out during the filling process – this will help catch excess spills quickly, so they don’t damage other parts beneath the vehicle!
Adding the Rear Differential Fluid
Once you have prepared your vehicle, it’s time to begin adding rear differential fluid. To do this, locate the fill plug on your car’s axle housing (or dipstick, if applicable). Remove this plug with an appropriate wrench or socket set and do not damage or strip it in the process. Once removed, add small amounts of rear differential oil until it reaches its proper level, as indicated by either a dipstick or fill plug (for vehicles without a dipstick). Ensure not to overfill, as this can cause excessive wear on other components within the system and can even lead to leaks. Once you have added enough oil, carefully replace the fill plug, and tighten until snug – avoid overtightening as this could damage both parts.
Finishing Up
Now that you have successfully added the correct amount of rear differential fluid, it’s time to finish up. First, double-check that all components are correctly tightened and secured and that no oil has spilled on other parts or surfaces. Ensure your car is still securely jacked up before replacing the wheels and taking it for a test drive. After taking your vehicle for a spin, check the level one to ensure everything is at the correct level. If there is any level discrepancy or if you think something isn’t quite right, don’t hesitate to take your vehicle to a certified mechanic who can help diagnose and fix any issues with your rear differential system.
<!—->
Conclusion
Adding rear differential fluid is a simple but essential maintenance task that should be done regularly. Following the steps outlined in this article, you can add the correct amount of fluid to your system and keep it running smoothly for many years. Remember that it is essential to use the right type of oil for your car’s make and model and double-check that all components are tightly secured after adding new oil – doing this will help reduce wear on components and ensure that your vehicle runs safely. Now that you know how to add rear differential fluid correctly, you can confidently take care of this task while helping protect your car in the long run!