
Every experienced motorist knows that the Toyota Tacoma Radiator, which directly affects the health and well-being of the engine, should be periodically cleaned. To disassemble the system, flush the cells of the “cooler” itself and change the coolant. Those who encounter this process for the first time will be unpleasantly surprised by the amount of dirt, which for a couple of years is stuffed into the radiator: here and poplar fluff – the heat, July – and road dirt, and residues of reagents, and insects. The “coat” that builds up on the radiator simply does not allow the engine to receive vital cooling. And problems begin that are much more expensive to solve than a radiator wash.
However, not everyone knows that dirt in the radiator accumulates not only on the outer, visible part, but also on the inside. No matter how modern and high-tech – read: expensive – antifreeze is, no matter how stunning additive packages its manufacturer has equipped it with, but the sediment keeps falling out. Rust appears in the system, especially if the car owners skimp on coolant. Various hose bursts and tears, burst expansion tanks and other road adventures ensure that oxygen gets in, which in turn contributes to oxides and other nasties. Over time, the system becomes saturated with dirt, which remains in the radiator.
The Importance of Bleeding the Radiator
Externally, the “cooler” may be perfectly clean and intact – which is most important in its operation, but the motor continues to overheat. You can, of course, just replace the part. But the cost of a new radiator will quickly bring the car owner’s thoughts to order: it turns out to be quite an expensive purchase. Especially taking into consideration that some cars have three radiators: for engine, for a conditioner, and for a gearbox. What to do?
Cleaning the Radiator of a Toyota Tacoma
 It is possible to clean a radiator even from inside, and it does not need any special knowledge and implements: some distilled water, a package of soda – just take it at home under a sink, nobody will notice the loss – or a package of citric acid, and also two plastic bottles, half a liter in diameter and a piece of hose with the diameter suitable for an inlet and outlet. The hose is probably lying around in the garage. The one next door is definitely there.
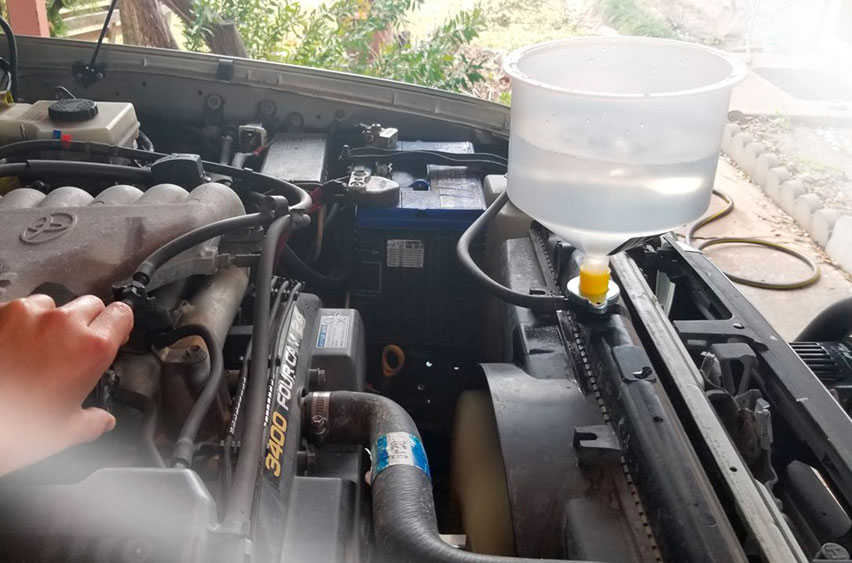
After taking off and giving the radiator a good scrubbing, and examining it for leaks that are clearly seen because of the bright color of antifreeze, you can start the internal cleaning. Connect the hoses, seal the remaining holes with a rag and pour about a liter of distillate into the bottles, pre-mixed with soda or citric acid. After attaching the bottles to hoses – the tape will be enough, especially if it is of blue color – we start pushing the bottles with palm of our hand one by one, dispersing this “brine” through the radiator.
Final Result
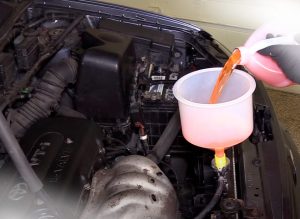
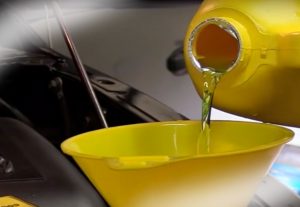 Progress will be noticeable in a few minutes: the water will become rusty, there will be residues of unknown clots and other dirt. In about half an hour of active work, the “composition” will become brown and opaque. So, it is time to change to a clean one and repeat the procedure to fix it. After – be sure to rinse with clean, preferably distilled, water. And you can install it in place, not forgetting to pour in fresh antifreeze.
As a result, remember that the coolant is an incredibly toxic poison, to inhale its vapors is harmful to health. And to pour it out on the ground is a crime. Therefore, you need to arm the container, and the procedure itself should be carried out on the street. However, the weekend promises to be warm, and country trips have not yet appeared on the horizon. Is not it an occasion to take care of your faithful “iron horse”?
Add Comment