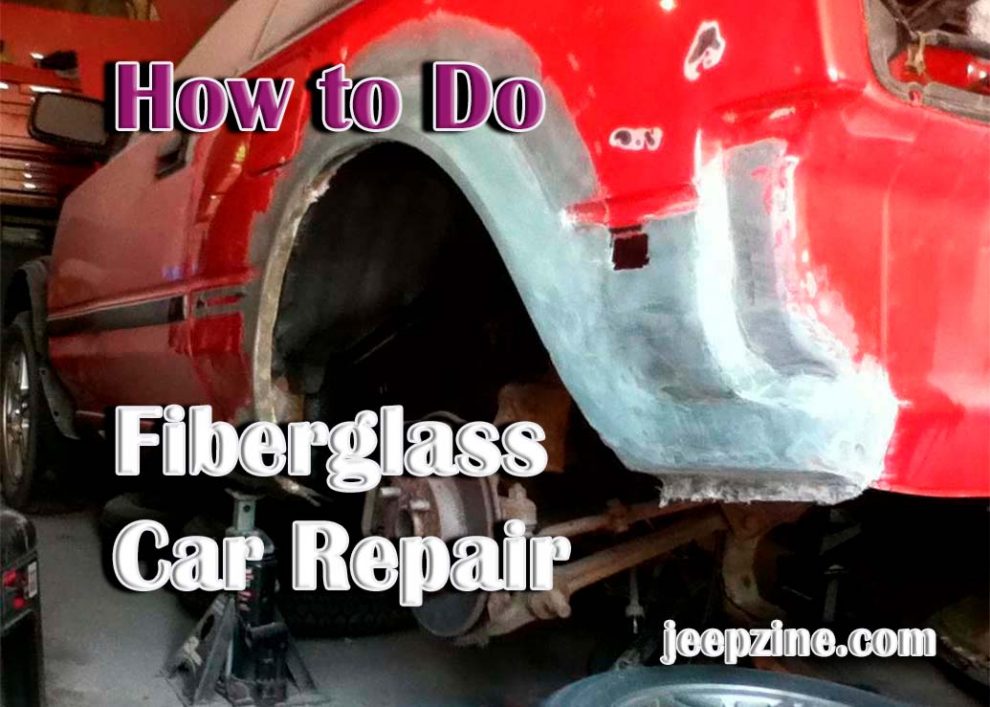
Fiberglass is a popular material used in car construction, repair, and maintenance. Whether you’re restoring an old classic or simply patching a crack in the body of your daily driver, knowing how to diagnose and repair fiberglass cars is vital. In this article, we’ll explain the steps necessary to properly diagnose and repair any fiberglass car issue. We’ll also discuss ways to prepare for your project and techniques for achieving professional results.
Diagnosis and Damage Assessment
Before you can begin repairing any damage to your car’s body, it’s essential that you first identify the root cause of the problem. To do this, use a flashlight or take pictures with your smartphone camera around the damaged area. This will allow you to inspect any cracks or other issues closely so that you can determine how severe they are and what kind of repairs will be necessary. If needed, consult with an auto body technician who specializes in fiberglass work for further advice on what needs to be done.
Preparing for Repair/Replacement
 Once diagnosis is complete and you know which parts need to be replaced or repaired, it’s time to plan out the project. This involves gathering the necessary tools and materials, such as sandpaper, fiberglass cloth, resin, and putty. If you’re replacing parts, make sure that they’re compatible with your car and that they match its dimensions exactly. If you need to repair existing parts or fill in holes or cracks in the body of your car, make sure to remove any rust and debris from the damaged area before proceeding.
Using Fillers, Putties, Resins, and Reinforcements in Repairs
Repairing fiberglass cars successfully requires the use of specialized products such as fillers (for filling in large gaps), putties (for filling small gaps), resins (for bonding two pieces together), and reinforcements (for reinforcing weak points). Start by applying a layer of filler over any large cavities or uneven surfaces to create a smooth foundation for other materials. Then move on to using putty for smaller cavities or surface imperfections. Use resin on two pieces to bond them together securely before wrapping it all up with fiberglass cloth-backed reinforcements for extra strength.
Painting Fiberglass Repairs
Once all repairs are complete and reinforced with fiberglass cloth-backed materials, the next step is to paint your car. Before doing this, make sure that all the cracks and cavities have been filled in completely and that any exposed fiberglass cloth has been covered with a layer of putty. This meticulous preparation is essential to ensure a uniform appearance when painted. Use quality automotive paint to achieve a professional finish that will last for years. For superior results, consider using a primer before applying the main color, as this can help the paint adhere better and increase its lifespan.
When you’re finished painting your car, use finishing products such as waxes or polishes to further protect and enhance its look. This will help avoid fading, cracking, and other issues with time and keep your car looking like new both inside and out. In addition, regular maintenance and care, such as cleaning and applying protective treatments, can further extend the life of your paintwork.
Conclusion
By following these essential tips for fiberglass car repair, you can rest assured that your vehicle will be back up and running in no time. Whether you’re restoring an old classic or simply patching up a few cracks in the body of your daily driver, having knowledge on how to correctly diagnose and repair fiberglass cars is never a bad idea! Moreover, this knowledge empowers you to make informed decisions about potential repairs, understand the work carried out by professionals, and may even help you save money by tackling minor issues yourself. The sense of accomplishment and peace of mind that comes from knowing your car’s repair is done right are invaluable.
Add Comment