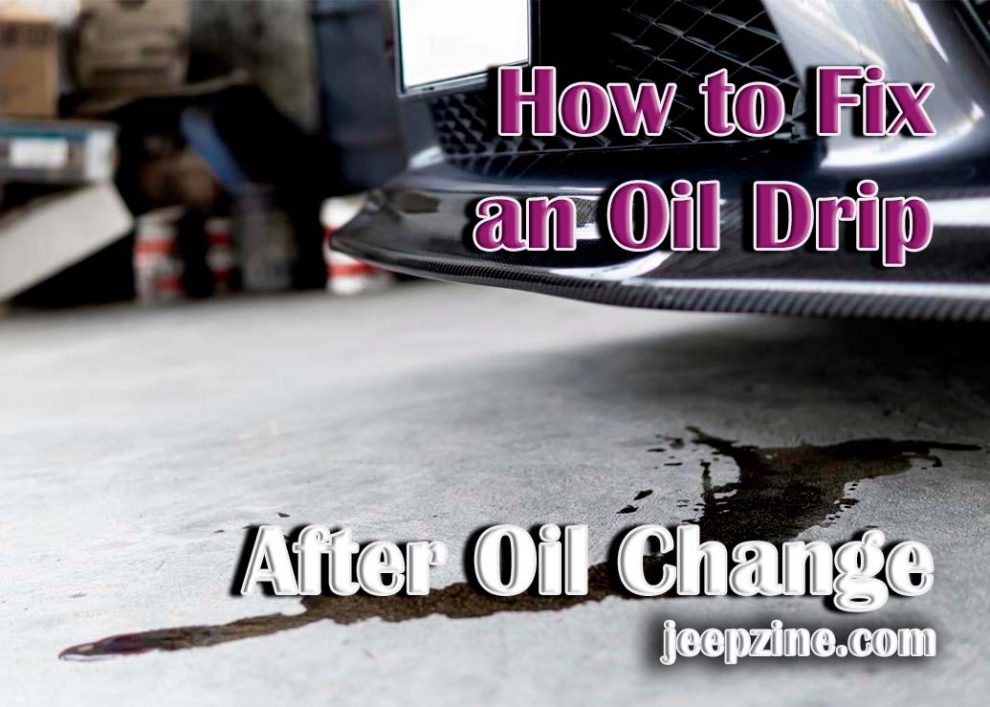
Changing the oil is a crucial part of vehicle maintenance and should be performed every 3,000 to 5,000 miles. A properly executed oil change ensures your car runs smoothly and efficiently. Unfortunately, oil changes can sometimes lead to leaks, which can be messy and damage your car. If you’ve just had your oil changed and noticed a leak, it’s crucial to address it promptly to prevent additional harm. In this article, we’ll explain how you can fix an oil drip after an oil change to get your vehicle back up and running again with minimal disruption. We’ll explain what causes these leaks, how to identify them, and what steps you need to take to fix the issue correctly. By understanding how to fix an oil drip after an oil change and following our guidance on repair methods and techniques, you’ll be able to have your car running smoothly once again in no time!
What Causes Oil Drip after Oil Change?
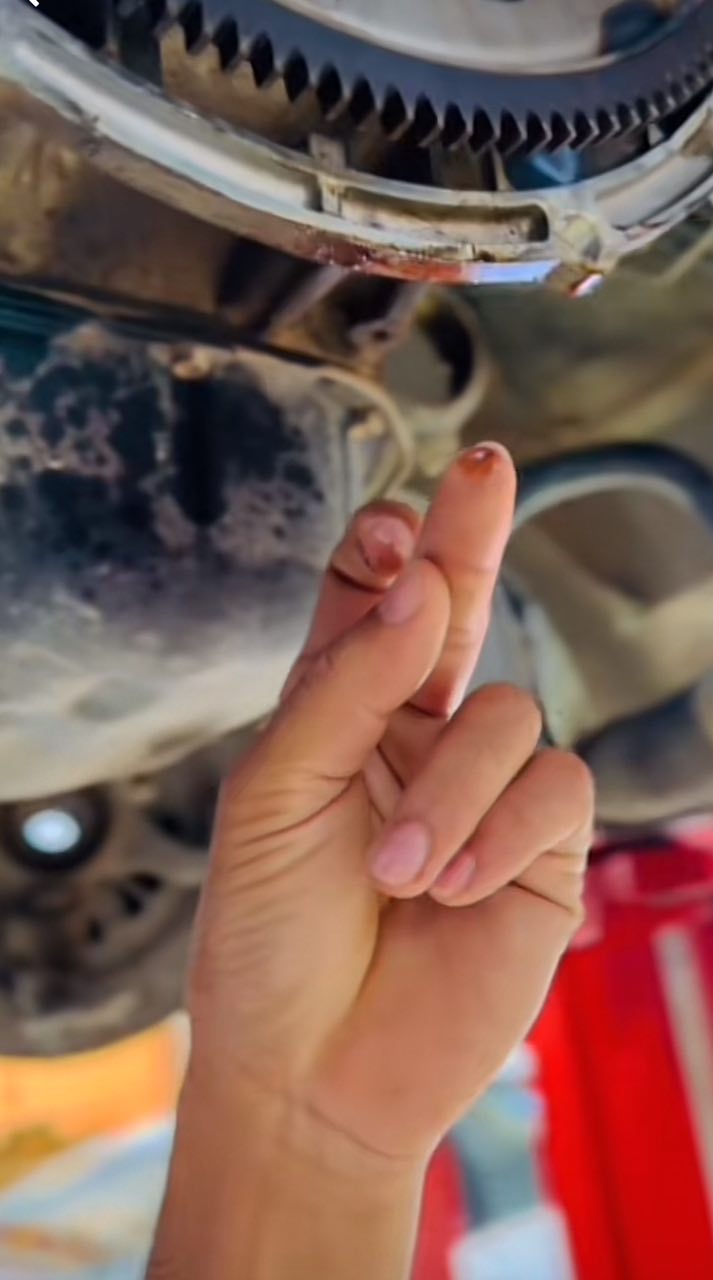 When an oil change is done, it is important to properly check the area around the vehicle’s engine to ensure all old oil has been removed correctly. If any leftovers are still present, it can lead to an oil drip after an oil change. Possible causes for this event might include:
-
The gasket or seal that covers the drain plug was improperly secured, allowing some old oil to leak.
-
A fitting on one of the hoses was not tightened securely, allowing some old oil to escape from its connection point.
-
The filter was improperly installed, and residual oil leaked out when the vehicle was reopened for use following its service visit.
-
The oil pan plug was not properly sealed after its installation, and oil seeped from underneath it.
-
The threads on the drain plug were damaged, causing a leak when it was installed.
To ensure no oil dripping after an oil change, it is important to check all gaskets, seals, and fittings for tightness and ensure that the filter and drain plug are correctly installed.
Additionally, you might need to replace any worn or damaged components to avoid potential leaks in the future.
How to Fix an Oil Drip after Oil Change
To address an oil leak following an oil change, there are certain measures you can implement. First, check the oil filter and make sure it is properly tightened. If it is too loose, tighten it and check for any leaks. If it seems like there’s an issue with the plug’s seal, use a new one to replace it. Next, inspect the drain plug for any signs of leakage or damage. If there appears to be a problem with the seal on the plug, replace it with a new one. After that, check all other connections around the engine for any leaking or damaged components that may need to be replaced. Lastly, ensure all fluids have been properly topped off according to the manufacturer’s specifications before starting your car again. Following these steps should help you fix an oil drip and keep your vehicle running smoothly after an oil change.
Preventative Measures You Can Take to Avoid This Issue
Various factors can cause oil drips, so it’s important to take some preventative measures to minimize the risk of future leaks. Ensure you select the appropriate oil type for your vehicle first and foremost. Different cars require different types of oil, so if you’re unsure what kind you need, consult an automotive expert or your vehicle manual. Also, read about the Also, read about the Best Oil for 5.4 Triton to gain insight into optimal oil choices for specific engines. to gain insight into optimal oil choices for specific engines. Additionally, ensure all fittings and gaskets are properly tightened after an oil change and that all connections are secured correctly before starting the engine. Finally, check for any signs of damaged threads on the drain plug or filter before performing an oil change. If there are indications of damage, ensure immediate replacement to prevent expensive repairs later.
<!—->
Conclusion
Oil drips can be a major inconvenience and even cause further damage to your engine if not addressed quickly. Fixing an oil drip after an oil change is a relatively simple task if you know what to look for. With the right tools and materials, you can easily diagnose and repair any post-oil-change leaks in just a few steps. You should also take some preventative measures, such as using the correct type of oil for your vehicle and checking for any signs of damage before performing an oil change to avoid future problems. By following these steps, you can ensure your vehicle operates smoothly and efficiently after every oil change.