
Installing camshafts can be a daunting task, but with the right tools and knowledge, it can be done easily. Camshafts are responsible for controlling the timing, duration and lift of the intake and exhaust valves in an engine. When installing a camshaft there are several steps involved including understanding what a camshaft is, preparing the engine for installation, installing the camshaft itself, adjusting valves and timing, and finally adding the finishing touches. In this step-by-step guide on how to install camshafts we will cover each of these topics in detail to help you get your engine running properly again.
What Is a Camshaft?
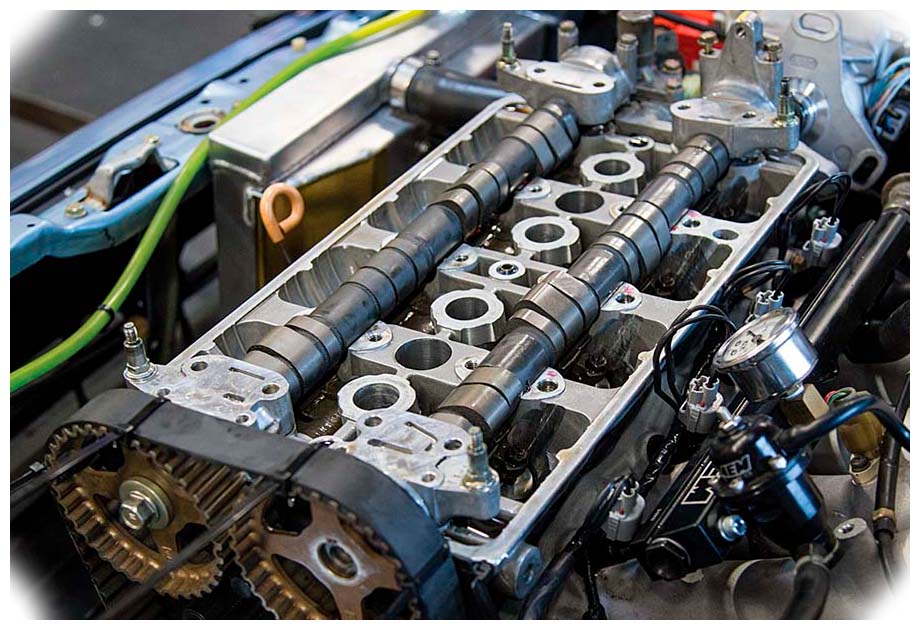 A camshaft is an integral part of any engine’s valvetrain system. It consists of specially shaped lobes that open and close the valves at predetermined times during crankshaft rotation. A new or replacement camshaft must be installed correctly to ensure the proper operation of your vehicle’s valvetrain system.
Tools Needed for Camshaft Installation
Installing a new or replacement cam requires specific tools depending on the type of vehicle you are working on (ex: fuel injected vs carbureted). Some of the basic tools you will need are an engine hoist, camshaft installation tool, torque wrench, valve train components and a feeler gauge. You may also need to purchase timing pin(s), camshaft seal(s) and gasket(s) depending on your engine’s design.
Preparing the Engine for Camshaft Installation
Before installing a new or replacement camshaft, it is important to prepare the engine properly. This involves draining any fluid or oil from the engine and disconnecting all necessary components such as spark plugs and fuel lines. Additionally, make sure all necessary parts are on hand before beginning installation so that you don’t run into any unexpected problems later down the line.
Installing the Camshaft
Once all of the necessary preparation steps have been completed, it is time to install your new or replacement camshaft into your vehicle’s engine block. This can be done in two methods: “wet” or “dry”. In a wet setup you will lubricate certain parts before insertion; while in a dry setup, no additional lubrication is needed during installation – just align everything correctly and make sure it is secure.
Adjusting Valves and Timing
Once the camshaft has been installed it is important to check valve and timing adjustment. This can be done using a valve feeler gauge and a timing light. Make sure all valves are adjusted properly, as this will ensure your engine runs properly once the camshaft is in place. Additionally, some engines require special tools such as a degree wheel to adjust camshaft timing accurately depending on the type of vehicle you are working on. Read here detailed guide about Degreeing a Camshaft.
Finishing Touches
Once all of the above steps have been completed, some finishing touches are necessary before your engine is ready to run again. This includes adding any necessary gaskets or seals (if applicable) and re-lubricating certain parts such as rocker arms or lifters (if applicable). Additionally, make sure all connections have been plugged back in correctly before starting the engine for the first time after installation – this will ensure optimal performance from your new or replacement camshaft.
<!—->
Conclusion
Installing a new or replacement camshaft can seem like an intimidating task, but with the right tools and knowledge, it can be done relatively easily. Make sure to prepare your engine properly before beginning installation and to follow all necessary steps for camshaft adjustments. With a bit of patience and attention to detail, you can have your vehicle running like new in no time.
Add Comment