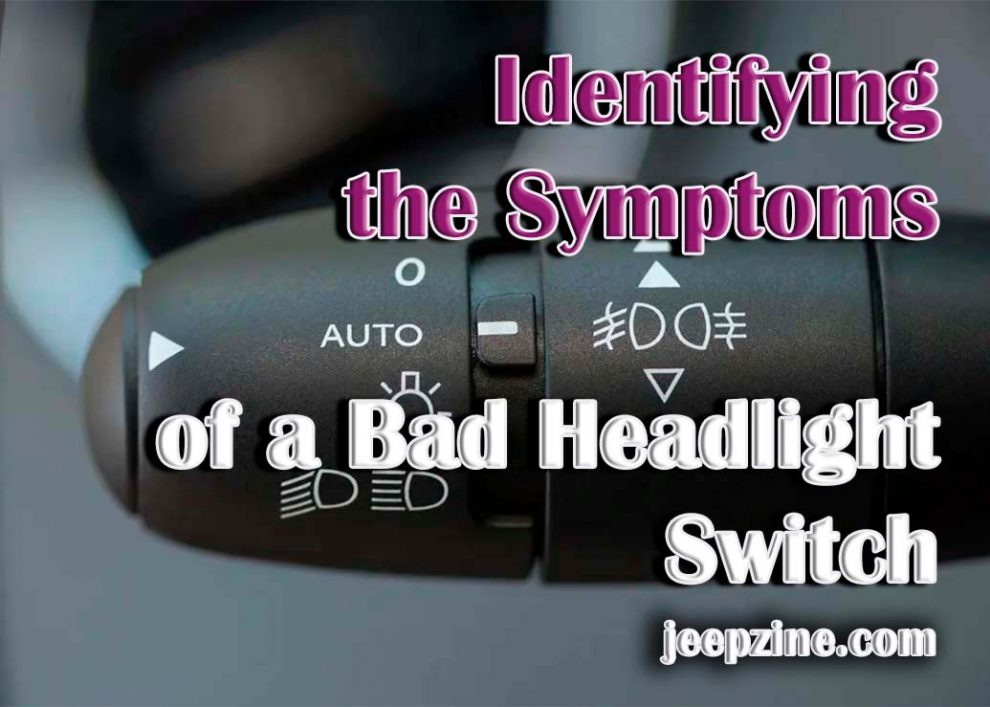
Having a functioning headlight switch is essential for being able to drive correctly at night. Headlight or dimmer switches are essential to your vehicle’s lighting system. Not only do they control your headlights, but they also manage the parking lights and interior lights. Unfortunately, like all car parts, a headlight switch can break down over time due to wear and tear or other factors. Although replacing it can be a tricky job and may require professional assistance, it is possible to identify the symptoms of a bad headlight switch to diagnose the issue before taking your car to a mechanic. This article will discuss some of these signs and how they indicate that your vehicle’s headlight switch may fail. We’ll also explore what causes these issues and how they can be addressed so that you can get your car back on the road safely and quickly.
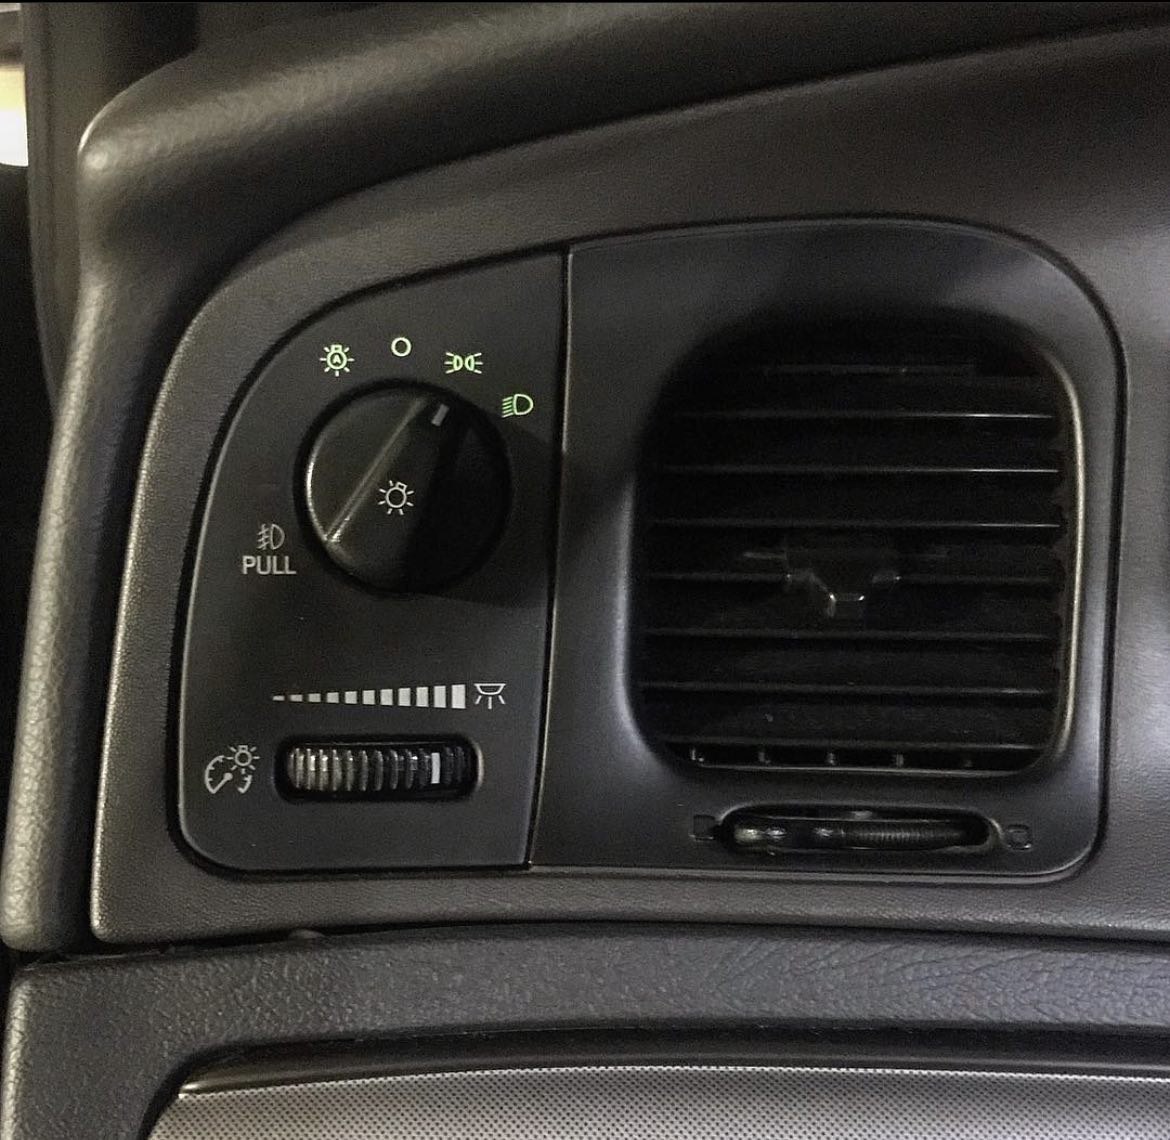
Common Symptoms of Faulty Headlight Switch
The symptoms of a bad headlight switch can vary depending on the make and model of your vehicle. However, some of the most common signs that your headlight switch is malfunctioning include:
-
Your headlights will not turn on or stay on when you try to use them.
-
The interior lights do not come on when you open the doors or turn the switch.
-
You experience problems with the dimmer setting or adjusting brightness levels.
-
You experience intermittent issues with the headlights and dimmer settings, such as flickering or flashes.
-
The dash lights are illuminated even when your headlights are off.
If any of these symptoms occur in your vehicle, then there is likely an issue with your headlight switch, and it needs to be checked out by a professional mechanic as soon as possible.
Causes of Malfunctioning Headlight Switch
A faulty headlight switch can be attributed to various factors that affect its proper functioning. One primary cause is wear and tear over time, as the switch’s internal components can degrade due to repeated use. Additionally, exposure to moisture and contaminants can lead to corrosion within the switch, disrupting its electrical connections and causing malfunction. Poor manufacturing or low-quality materials can also contribute to a faulty switch, as subpar components are more prone to breakdown. Inadequate electrical grounding or improper installation might create inconsistencies in the flow of electricity through the switch, resulting in unreliable performance. Lastly, excessive voltage fluctuations or surges within the vehicle’s electrical system can overwhelm the headlight switch, causing it to fail prematurely. Regular maintenance, avoiding exposure to harsh environmental conditions, and using quality components can help mitigate these causes and extend the lifespan of the headlight switch. Also read about the Best LED Headlights for Ford Ranger to ensure you’re equipping your vehicle with top-notch lighting components.
Diagnosing a Faulty Headlight Switch
 Before attempting to repair a headlight switch, it’s important to narrow down the cause of the problem. You must examine and test the switch and its components to diagnose any potential malfunctions. Start by visually inspecting the wiring for signs of fraying, corrosion, or other damage. If any faulty wiring is found, replace it immediately. Next, check for loose or missing components in the switch, such as screws and connectors. If any are missing or need to be tightened up, immediately take care of that. Finally, use a multimeter to test electrical continuity in the headlight switch circuit and see if it is operating correctly. Once you have identified any issues with your headlight switch or related components, you can move on to fixing them so that your car is back on the road safely.
How to Fix a Dead or Failing Headlight Switch
Replacing a dead or failing headlight switch can be tricky and may require professional assistance, depending on your vehicle’s make and model. If you’re confident in your skills as an automotive technician, however, there are some steps you can take before taking your car into a shop:
-
Start by removing all wiring connected to the old headlight switch external parts such as buttons or knobs connected with screws should also be taken out at this stage
-
Now remove all mounting fasteners from behind the dashboard panel, which holds the old headlight switch in place, using an appropriate tool
-
After disconnecting all electrical connectors from behind the dashboard panel, carefully remove the old faulty unit from its place
-
Install new replacement unit following the reverse procedure listed above (connectors first followed by mounting fasteners)
-
Connect wiring harnesses back into the new unit and tighten all connections with proper tools if necessary
-
Reinstall the dashboard panel making sure that all connections are firmly secured
-
Test the new switch to ensure that all lights and functions are working as intended
Conclusion
A bad headlight switch can be one of the most challenging problems to diagnose and repair. To identify it, look for symptoms such as flickering or dimming lights, difficulty switching between low and high beams, intermittent operation of the lights, or difficulty controlling other vehicle functions tied to the lighting system. Additionally, inspect and test the wiring and components for any signs of wear or damage. If any issues are found, they should be addressed immediately, as compromised visibility can pose a serious safety risk while driving. If you’re confident in your skills as an automotive technician, you can attempt to replace the faulty headlight switch by following a few simple steps. Otherwise, taking your car in for professional assistance from a qualified mechanic is best.