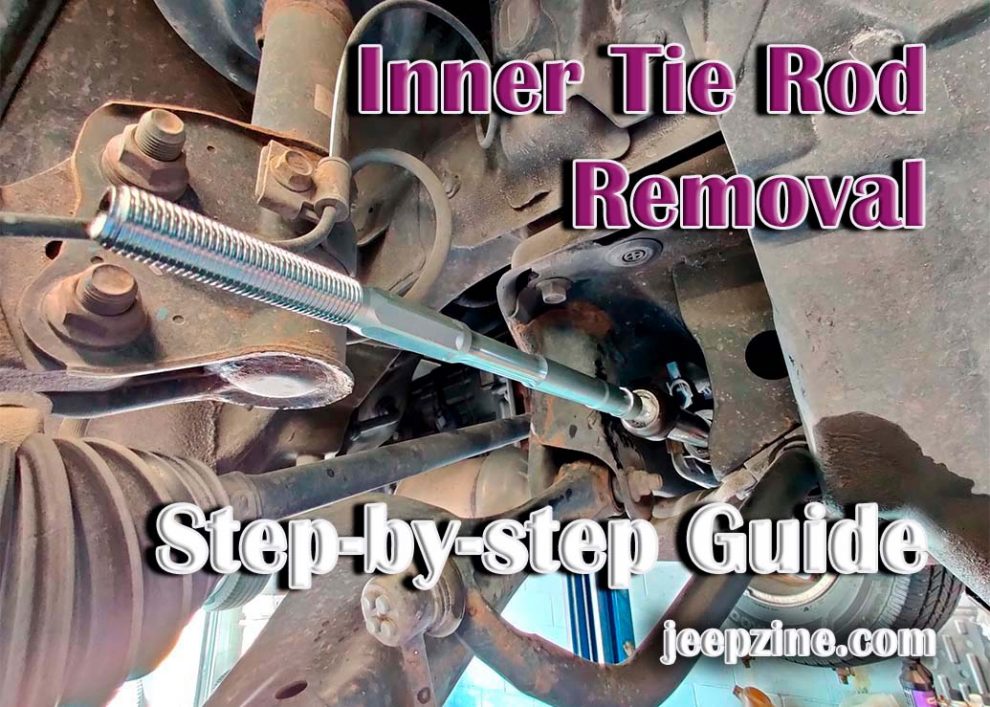
Removing an inner tie rod yourself is a cost-effective way to replace the part without having to take your car to the shop. It requires specialized tools and knowledge, but if you have the right equipment and know-how, you can do it yourself. In this guide, we’ll cover all the steps needed for successful inner tie rod removal.
What You’ll Need
Before attempting an inner tie rod replacement or repair, make sure you have these tools on hand:
- A breaker bar
- A metric wrench set
- Grease remover (optional)
- Anti-seize lubricant (optional)
Steps to Remove the Inner Tie Rod
To remove the inner tie rod from your vehicle, follow these steps:
-
 Start by lifting the car and supporting it on jack stands. Make sure you are working on a leveled surface before proceeding.
 -
Once the car is raised, use a breaker bar to loosen the bolts holding in the inner tie rod end. Be sure to use caution when using a breaker bar as it has considerable torque behind it and can cause serious injury if not used properly.
-
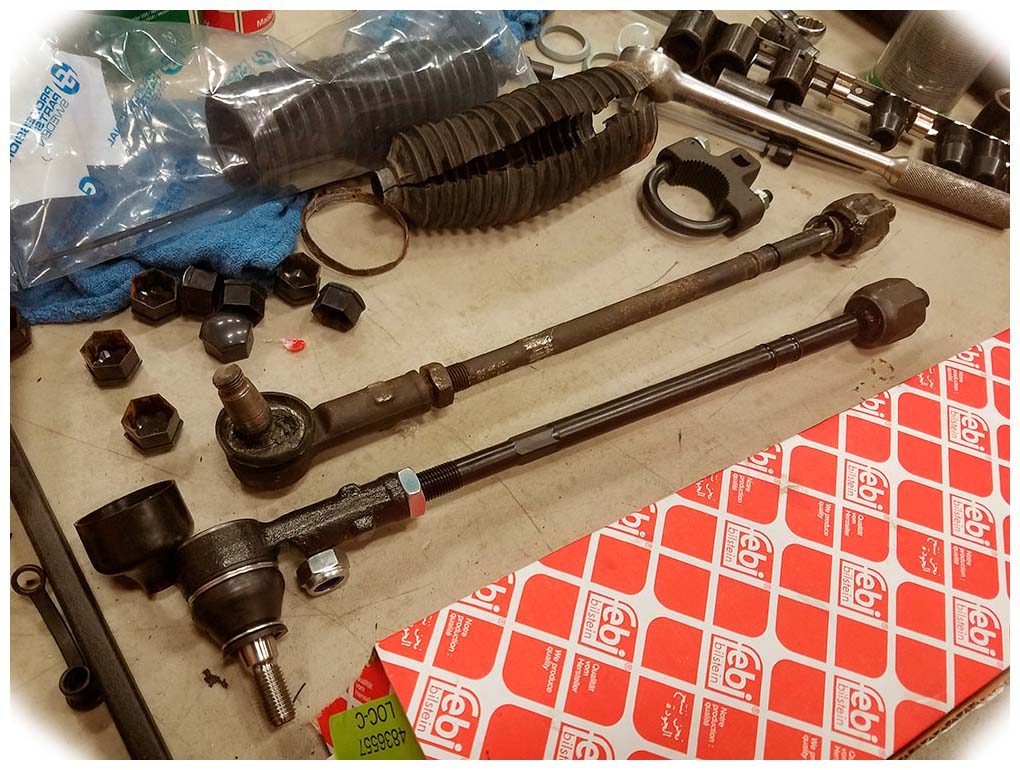
After all the bolts have been removed, carefully slide off the inner tie rod end from its connection point on the steering rack or steering arm assembly. If necessary, use grease remover to help get rid of any build-up that may cause difficulty in removal.
-
Now that you have removed the inner tie rod, inspect it for signs of wear and tear or other damage that may have caused it to fail over time. It’s important to make sure that all surfaces are clean and free of debris before re-installing them back into place as this could affect performance when driving your vehicle later down the road.
-
Before putting everything back together, be sure to lubricate all connecting components with anti-seize lubricant which will help prevent corrosion over time and ensure smooth operation of your vehicle’s steering system.
-
Finally, re-attach the inner tie rod end and tighten all the bolts securely with your metric wrench set. Make sure all parts are properly connected before taking your vehicle off the jack stands.
<!—->
Conclusion
Replacing an inner tie rod yourself is a cost-effective way to get your car back up and running in no time. With the right tools, knowledge, and safety precautions, you can do this repair from the comfort of your garage or driveway. Be sure to take all necessary precautions when performing any automotive repair on your vehicle as this could lead to serious injury or death if not properly done.
Add Comment