Polishing, an essential final touch in any construction or renovation project, whether it’s metal furniture or a vintage car, can drastically transform the look of an item. This is the magic that turns simple materials into exquisite pieces of art. But achieving that sleek and shiny finish requires not only time and patience but also the right tools and techniques. A drill stands out as an essential tool widely used in numerous polishing tasks across various projects. This article aims to provide you with comprehensive instructions on how to utilize this versatile tool for your polishing tasks effectively. It will outline various methods and tips on how to attain the most desired results irrespective of your workpiece material – be it wood, metal, or even plastic. Whether you are a DIY enthusiast looking for ways to enhance your craft or a seasoned professional seeking new insights in polishing techniques using drills, this guide will serve as an enlightening resource for all your needs.
Selecting the Right Polishing Attachments for Your Drill
The key to effective polishing with a drill lies in choosing the right attachments. Different materials and finishes require specific types of polishing pads or brushes. For instance, foam pads are generally used for applying polishes and waxes, while wool or microfiber pads are better suited for buffing and removing scratches. It’s also important to consider the attachment’s size and shape based on the object you’re polishing. For intricate areas, smaller, pointed attachments can reach tight spaces, whereas larger, flat pads are ideal for broad surfaces. Additionally, the hardness of the pad plays a significant role in the outcome; softer pads are typically used for fine polishing, whereas harder pads are better for removing deep scratches. Ensure the attachment is compatible with your drill’s model and securely attached before starting your project. The right attachment not only enhances the efficiency of your work but also prevents damage to the surface being polished.
Preparing the Surface for Polishing
Before you begin polishing with a drill, proper surface preparation is essential. Begin with a comprehensive cleaning of the surface to eliminate all traces of dirt, grease, or any pre-existing layers that could hinder the polishing procedure. For metal surfaces, rust and oxidation should be removed, usually with a wire brush or sandpaper. For wood surfaces, it’s essential to sand them smooth to ensure a uniformly even finish. If working with plastics, ensure the surface is free of imperfections and scratches, as these will become more noticeable after polishing. Depending on the material, applying a primer or a base coat might be necessary to ensure the polish adheres properly and provides a uniform appearance. Taking the time to properly prepare the surface not only makes the polishing process more effective but also contributes to a more professional-looking finish.
Step-by-step Guide to Polishing with a Drill
There is a step-by-step guide to using a drill for polishing. It covers essential steps like securing the workpiece, attaching the pad, applying compound, and the correct polishing technique. Perfect for those just starting out, this guide makes it easy to master the technique for a smooth, expert-level finish.
 Secure the Workpiece: Ensure that the item you’re polishing is firmly anchored. This prevents movement, allowing for more precision in your work.
Attach the Polishing Pad: Fit the selected polishing pad or brush onto your drill. Ensure it is firmly attached to prevent any accidents while polishing.
Apply Polishing Compound: If you’re using a compound, apply it either to the pad or directly onto the surface you’re polishing. A small amount often goes a long way.
Set the Correct Speed: Begin with your drill on a low setting and incrementally raise the speed. High-speed settings are excellent for material removal, whereas lower speeds are perfect for applying the final touches.
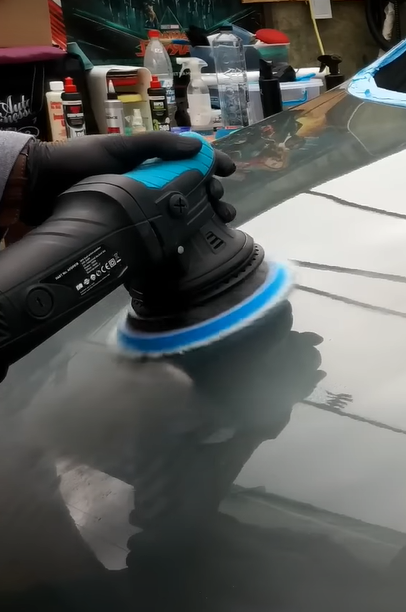
Begin Polishing: Move the drill over the surface in a steady, circular motion. Ensure even coverage by overlapping your path slightly with each pass.
Check Your Progress: Regularly pause to check the surface and ensure you’re achieving the desired level of polish without overdoing it.
Final Buffing: Once you’re satisfied, you may switch to a softer pad for final buffing, giving your workpiece a shiny, finished look.
Remember, patience is key in achieving a polished finish. Hurrying the procedure might result in inconsistent outcomes or harm to the material.
Tips and Tricks for Effective Drill Polishing
Effective drill polishing involves more than just the right equipment; it also requires technique and finesse. One crucial aspect is maintaining consistent pressure throughout the polishing process. This consistency prevents the formation of swirl marks and ensures a uniform finish. The quality of polishing compounds cannot be overstated; investing in high-grade compounds can significantly enhance both the appearance and durability of your polish. Keeping the polishing pad clean is another vital practice. Regularly clearing the pad of accumulated material helps maintain its effectiveness and prevents surface damage. Be mindful of the heat generated by friction during polishing. Excessive heat can harm both the surface being polished and the pad itself, so taking periodic breaks to let the equipment cool down is advisable. For those new to using a drill for polishing, conducting a trial run on a small, less visible area can prevent potential errors on more prominent surfaces. These tips, when implemented, can markedly improve the quality of your polishing, and extend the lifespan of your tools.
Safety Considerations When Polishing with a Drill
Safety should always be a top priority when using a drill for polishing. Firstly, personal protective equipment is essential. Safety goggles protect your eyes from flying debris, and gloves guard your hands against abrasions and heat generated from the friction of polishing. Ensure that your workspace is well-ventilated, especially when working with chemicals or in enclosed areas, to avoid inhaling any harmful fumes. Keeping your workspace tidy and free of clutter is crucial to avoid any accidental mishaps. Before beginning, double-check that the polishing attachment is securely fastened to the drill to prevent it from dislodging during use. Be aware of the drill’s power cord (if applicable) to avoid entanglement or tripping hazards. Lastly, be sure to read and follow any specific safety instructions provided by the tool or attachment manufacturer. Adhering to these safety measures helps minimize the risk of injury and ensures a safer polishing experience. Also, for Dodge Dakota owners interested in vehicle maintenance and enhancement, exploring the Dodge Dakota tonneau covers could provide additional safety and efficiency for your truck’s cargo space.
Conclusion
To sum up, polishing with a drill is an invaluable skill that significantly enhances the quality of various projects. While the technique may seem straightforward, it requires the right attachments, an understanding of material interactions, and precise methods. Safety is paramount to ensure both project success and personal well-being. This skill opens a world of possibilities, from reviving old items to achieving professional finishes. With patience and practice, anyone can master this technique, leading to remarkable and satisfying results. The key lies in continual learning and adapting to each unique task, ensuring every polished piece stands out with excellence.