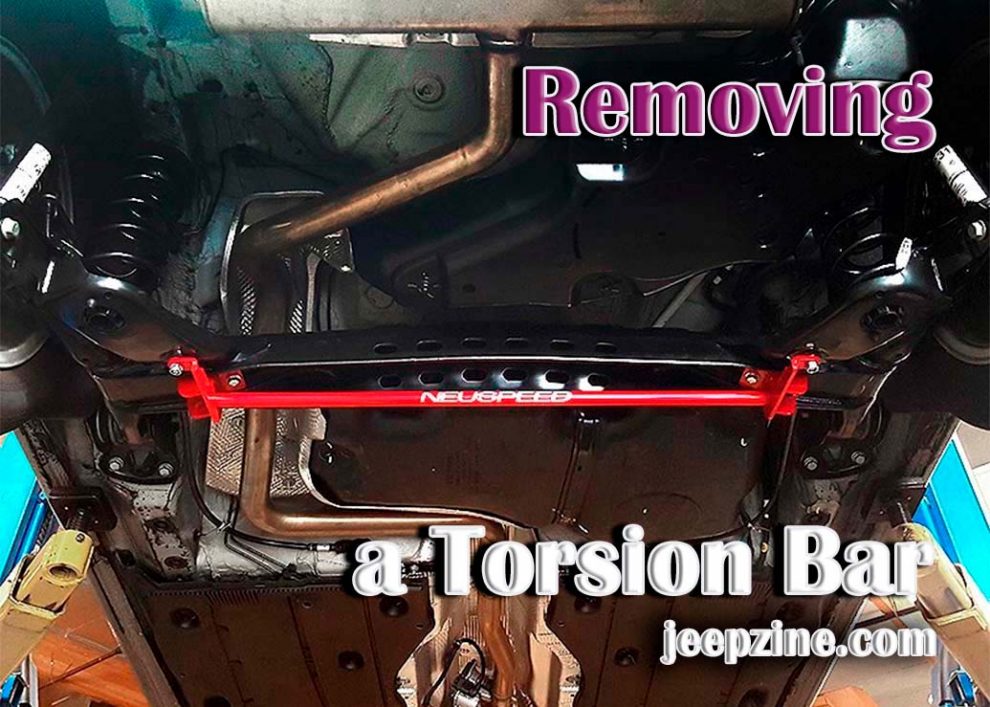
Removing a torsion bar can be daunting for the average car owner, but you can do the job independently with the right tools and information. A torsion bar is an important component of your vehicle’s suspension system, and if it needs to be replaced or adjusted, you’ll need to remove it first. While torsion bars are often found in older vehicles, they are still used in some modern models. Knowing how to remove a torsion bar safely is essential to keeping up with automotive maintenance. In this article, we’ll provide a step-by-step guide on safely and effectively removing a torsion bar from your vehicle. We’ll also discuss what tools you need and some important safety precautions to take during this repair. With this information, you can confidently tackle removing a torsion bar from your car like an experienced mechanic.
What Is a Torsion Bar?
 A torsion bar is a type of spring that uses a torsional force—the twisting of an object—to absorb and store energy. It works by twisting a metal rod inside a housing and is used in suspension systems, mostly on cars and trucks. The torsion bar consists of two components: the torsion bar and the suspension arm, which connects it to the chassis. When pressure is applied to one end of the bar, such as going over bumps or uneven terrain, it twists, creating torque (torsional force), which stores potential energy.
This energy then returns to its original state when pressure is removed. It allows for better handling on uneven surfaces and better shock absorption from potholes and other road obstacles. Torsion bars provide an advantage over traditional coil springs because they are more compact and require less space for installation while still providing superior performance in dampening shocks and vibrations from rough terrain or road conditions.
Safety Precautions
Taking proper safety precautions is important before starting any work on your vehicle. When removing a torsion bar, there is a risk of the bar snapping due to its high tension. It could cause serious injury if you’re not prepared and warned. Before removing the torsion bar, make sure that you wear protective clothing, such as gloves and eyewear, to protect yourself from debris or flying objects during the removal process. It is also important to use jack stands or other support devices to elevate your car off the ground before starting work on it. It will provide extra stability and prevent mishaps while working on your car’s suspension system. Also read here about Best Jeep Renegade Lift Kit.
Preparing for Removal
Before removing the torsion bar, prepare your vehicle and gather the necessary tools. Depending on the type of vehicle, the exact tools required may vary. Still, at minimum, you’ll need a jack and jack stands to elevate your car off the ground, a torque wrench and socket set for removing bolts, adhesives, or lubricants for loosening stuck bolts, a pry bar for removing stuck components, and an adjustable wrench or chisel for loosening nuts. It’s also helpful to have a torsion bar removal tool designed explicitly for this purpose if available. You’re ready to begin once you have all these tools ready and your car safely elevated off the ground with jack stands in place. Also read here about Factory Torsion Bar Settings.
Step-by-step Guide to Removing the Torsion Bar
Now that you’re prepared, it’s time to remove the torsion bar. Here are the steps to follow:
-
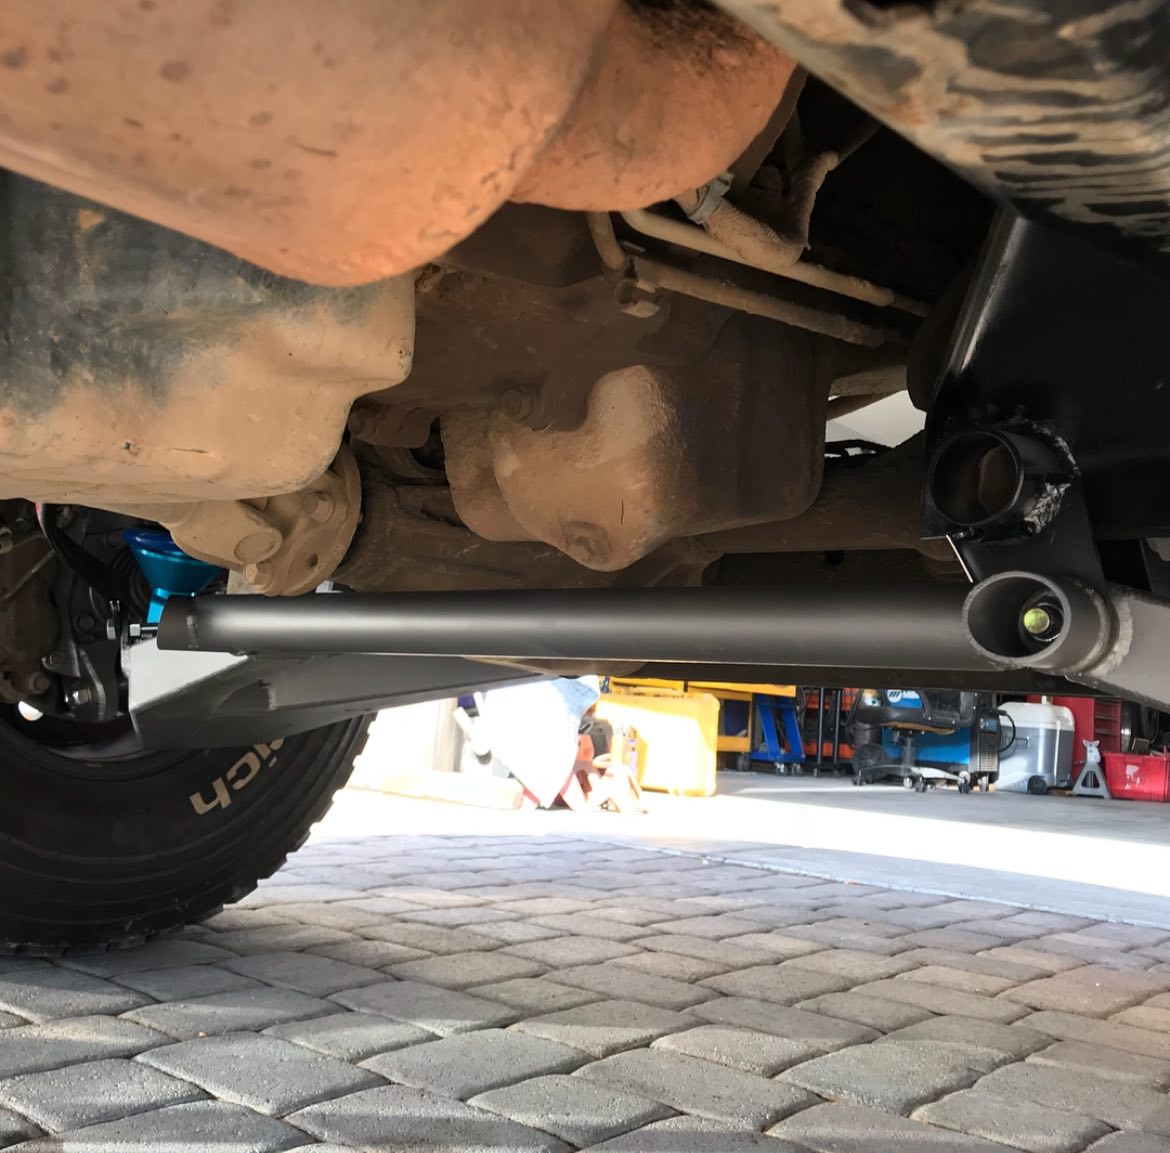
Locate the torsion bar in your vehicle. Typically, it will be located near the front suspension system and include two components: the torsion bar and a suspension arm connecting it to the chassis.
-
Remove any brackets holding the torsion bar in place using your socket set and wrench. Depending on the make and model, this typically requires at least four bolts to be removed from both sides of the torsion bar housing or mounting point.
-
Once all the bolts have been removed, you should be able to wiggle and loosen up the torsion bar from its mounting point with your hands or a prybar if needed.
-
With the bolts loose, you can remove them one by one with your wrench until they have been removed from both sides of the torsion bar housing or mounting points. Ensure to keep all these components, as they are essential for later reassembly.
-
With all the bolts out, you can now begin to lift the torsion bar out of its housing carefully. If it is stuck, apply a small amount of lubricant to any sticking points and gently wiggle the bar until it slides out.
-
With the bar removed, inspect it for wear and tear or damage that may have occurred during use. You can replace your torsion bar with a new one before reassembling your suspension system.
<!—->
Conclusion
Removing a torsion bar from your vehicle is difficult, but it can be done safely and effectively with the right information and tools. Before removing the bar, ensure you have all the necessary tools and safety precautions. Once ready, follow these steps to successfully remove your torsion bar: locate the bar in your vehicle and remove any brackets that are holding it in place; then use your wrench or prybar to loosen up the bolts until all of them have been removed from both sides of the mount; finally, carefully lift out the torsion bar from its housing. With this guide, you can confidently tackle removing a torsion bar like an experienced mechanic.