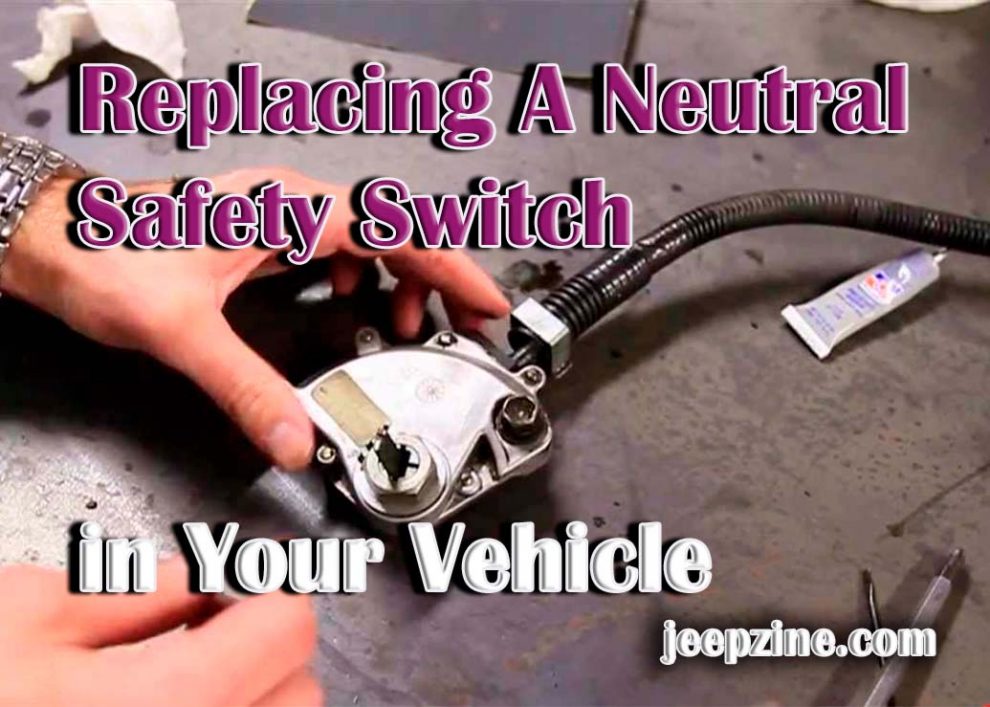
The neutral safety switch is essential to your vehicle’s starting system. Its job is to prevent accidental engine start-up when the gear selector is not in the Park or Neutral position. This safety feature helps protect you, your vehicle, and its passengers from potential harm caused by an unexpected engine start-up. If your neutral safety switch becomes faulty, it is important to replace it as soon as possible for optimal performance and safety.
This article will provide a comprehensive guide to replacing a neutral safety switch in your vehicle. We will go over identifying a faulty unit, the materials and tools needed for the job, and detailed step-by-step instructions on properly installing and testing the new switch for optimal performance.
Identifying a Faulty Neutral Safety Switch
 Before replacing a neutral safety switch, it’s important to determine if it’s malfunctioning or not. Several symptoms indicate a faulty unit, such as difficulty starting up your vehicle or an inability to shift out of park position even after pressing down on the brake pedal. Other signs include strange noises from under the hood while trying to start up or shift gears and dashboard warning lights that illuminate when the gear selector is not in Park or Neutral.
You must consult a service manual specific to your vehicle model and make to diagnose the fault. This manual should provide helpful information on locating the switch and troubleshooting it for any potential defects or damage. You can also use diagnostic tools such as oscilloscopes and multimeters to further test and measure voltage drops in the circuit while turning on the ignition or shifting gears.
Tools and Materials Required
Essential Tools: To replace a neutral safety switch, you will need several tools, such as a ratchet set, wrenches, pliers, screwdrivers, wire cutters/crimpers, and electrical tape. If necessary, you may also need special tools such as an OBDII scanner or scan tool to connect with your vehicle’s onboard computer system to diagnose any faults before attempting a replacement procedure.
Recommended Safety Gear: It is always recommended that you wear appropriate protective gear, such as work gloves and goggles, while working around your vehicle’s engine compartment for both safety reasons as well as proper hygiene practices. Make sure that all safety measures are taken before starting any repair procedure under your hood!
Preparing for the Replacement
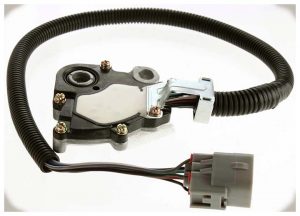
Locating the Neutral Safety Switch: Before replacing a neutral safety switch, you will need to find it first. This can be done by consulting your service manual or looking under your vehicle’s hood. In most cases, the neutral safety switch is located near or around the transmission assembly, usually close to the shifter linkage.
Vehicle Preparation and Safety Measures: Once you have identified and located the faulty switch, it’s important to prepare your vehicle for replacement by following all safety precautions, like disconnecting its battery power supply, before starting any repair procedure. Make sure that you are also working in a properly ventilated area free from any flammable materials, dust or debris, or any other hazardous substances.
Removing the Old Neutral Safety Switch
Disconnecting Electrical Connections: The next step in replacing a neutral safety switch is disconnecting all electrical connections, such as wires and plugs. Make sure you mark each connection before disconnecting them for easier reassembly.
Unbolting and Removing The Switch: After all electrical connections are disconnected, unbolt and remove the faulty switch from its mounting bracket carefully so as not to damage any surrounding components or wiring.
Installing the New Neutral Safety Switch
 Aligning and Installing the New Switch: Now it’s time to install the new switch. Make sure that you align it properly with its mounting bracket before bolting it down securely. Once done, reconnect all electrical connections while referring to your notes taken on each one earlier.
Reconnecting Electrical Connections: Reconnect all electrical connections starting with wires first, then plugs, while referring to the color-coded markings you have made before disassembly. Ensure all connections are connected properly and firmly for optimal performance and safety.
Testing and Adjustments
Testing the New Switch: After reconnecting all electrical connections, you can test your new switch by turning on the ignition without pressing down on the brake pedal or shifting gears. If everything works as expected, turn off the ignition and check for any other potential issues, such as improper alignment or loose bolts, in order to make necessary adjustments accordingly.
Fine-Tuning and Adjustments: If necessary, make some fine-tuning adjustments, such as gently wiggling wires leading up to your new switch or tightening up bolts until firm but not too tight.
Reassembling and Finishing Up
Reinstalling Components: Now that your new switch is installed and tested, you can reassemble the components removed during the replacement procedure, such as the battery power supply, electrical connectors, and mounting bracket. Again, ensure all connections are secure to avoid any potential issues down the road.
Final Inspection and Test Drive: Before putting your vehicle back on the road, make sure to give it a final inspection to ensure that everything is properly installed and functioning as expected. It’s also important to take it out for a test drive afterward to check for proper performance under normal conditions.
Preventive Maintenance and Tips
Regular Inspections: As with any other part of your vehicle’s drivetrain system, it is important to regularly inspect your neutral safety switch for any potential signs of wear or damage like corrosion or fraying wires. If necessary, you can use some electrical contact cleaner or lubricant on its terminals in order to prevent corrosion build-up over time.
Signs of Wear and Tear: Signs of wear or tear can include difficulty starting up your vehicle even after pressing down on the brake pedal and strange noises coming from the engine compartment while attempting to start or shift gears. If you experience any of these symptoms, it’s important to consult your service manual and thoroughly inspect your switch to diagnose and replace any faulty parts as needed.
Conclusion
Replacing a neutral safety switch is an important part of regular maintenance for your vehicle and should only be attempted by those with sufficient mechanical know-how. However, with the right tools, materials, and information, replacing this vital component of your starting system can be easily done within the comfort of your garage. We hope this comprehensive guide has provided all the information you need before attempting to replace your neutral safety switch so you can safely get back on the road in no time!
Add Comment