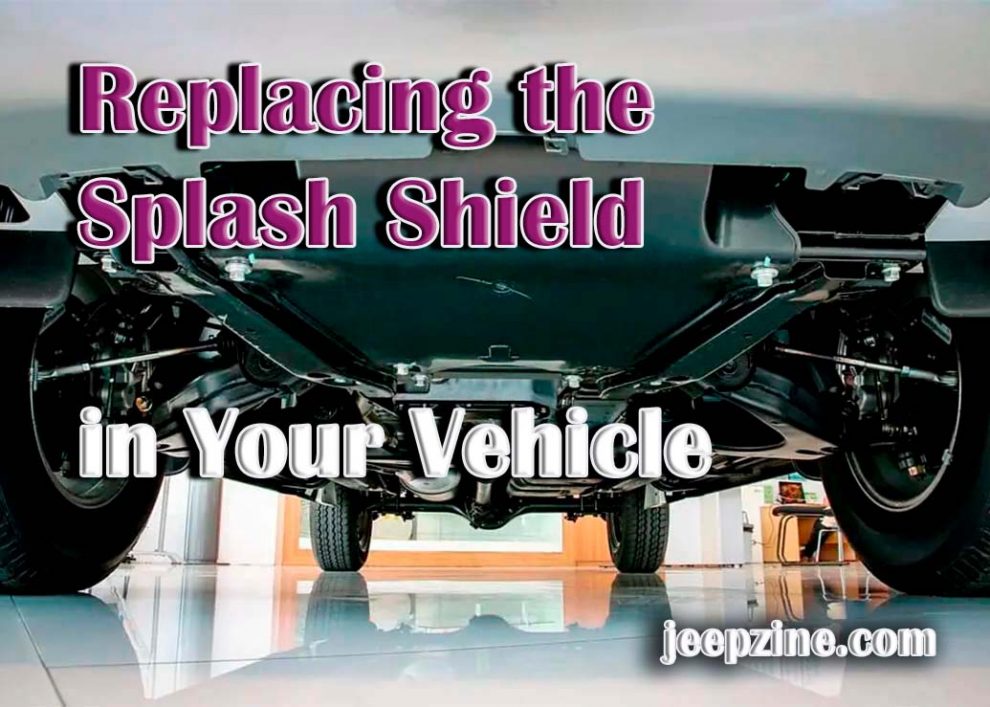
A splash shield is a thin metal or plastic barrier designed to deflect water and other debris away from the underside of your vehicle. Without a splash shield, mud, rocks, dirt, and other debris can be thrown up by the tires and cause damage to vital components of your car, such as brakes, exhaust systems, hoses, and even your transmission. As you can imagine, replacing this vital equipment is essential for keeping your vehicle running effectively. Below we provide step-by-step instructions on how to replace the splash shield in any vehicle.
Tools and Materials Needed for Replacement
 Before beginning the replacement process, having all the necessary tools and materials is important. These may vary depending on each car, but typically, you’ll need:
- Socket wrench with various sizes of sockets
- Flathead screwdriver
- Philips head screwdriver
- Replacement splash shield kit (can be purchased online or at local auto parts store)
Preparation Before Replacing the Splash Shield
Before replacing your splash shield, it is important to take steps to ensure your and your vehicle’s safety. As part of the preparation process for any vehicle repair, it is important to:
- Raise your car off the ground if possible so that you have easier access
- Set up a few jacks stands or a floor jack to secure your vehicle in place
- Ensure that all tools are secure and within easy reach before starting work
Instructions on How to Replace the Splash Shield
Step One: Disconnect or Remove Existing Parts
Before removing existing parts, locate the area where you need to access them for installation. This is usually under the hood in most vehicles but may vary depending on your make and model. Once located, disconnect or remove any existing bolts, screws, clamps, or fasteners holding them in place. It’s also important to support panels with a cloth or block, so they don’t fall down while working on them.
Step Two: Unbolt or Remove New Pieces from Package
Once all existing components have been removed, it is time to begin unbolting and removing new pieces from their packages for installation purposes. This step will depend on which type of splash shield kit you have purchased, but typically these kits will come with the necessary hardware for installation.
Step Three: Install New Splash Shield Parts
 Now that all the pieces are ready for installation, it’s time to begin re-installing all the splash shield components. Refer to your manufacturer’s instructions or a repair manual if you need help installing each part. Line up the holes on the parts and bolt them in place using a socket wrench. Ensure all bolts are tightened securely and double-check for accuracy before moving on to the next piece.
Troubleshooting Common Issues with Replacement Projects
If you encounter any issues during your replacement project, feel free to seek help from an experienced professional or reference repair manuals if needed. Common issues encountered during splash shield replacement include:
- Incorrect fitment due to wrong measurements.
- Missing pieces in the kit.
- Difficulty removing existing parts due to corrosion or damage caused by wear and tear over time.
If these problems arise, it is best to take preventative measures such as remeasuring parts, researching replacements online, or ordering new ones as necessary before continuing with your repair project.
Conclusion
Replacing a splash shield is not difficult; however, it requires some patience and understanding of the basics of automobile repair. Following these step-by-step instructions, you can replace your car’s splash shield easily and quickly for all vehicle types. Make sure to reference the tools and materials needed for replacement and the troubleshooting tips provided in this guide to ensure a successful project.
Add Comment