When it comes to maintaining your car’s air-conditioning system, one of the most important tasks is to evacuate the system. This process involves drawing out all refrigerant and moisture from the AC system and replacing it with new oil and refrigerant. Evacuating a car AC system can be done in 10 simple steps and requires basic tools such as a manifold gauge set, vacuum pump, replacement oil, and refrigerant. The following guide explains how to evacuate a car AC system safely and efficiently.
Preparation for Evacuation
Preparing Supplies and Vehicle Components
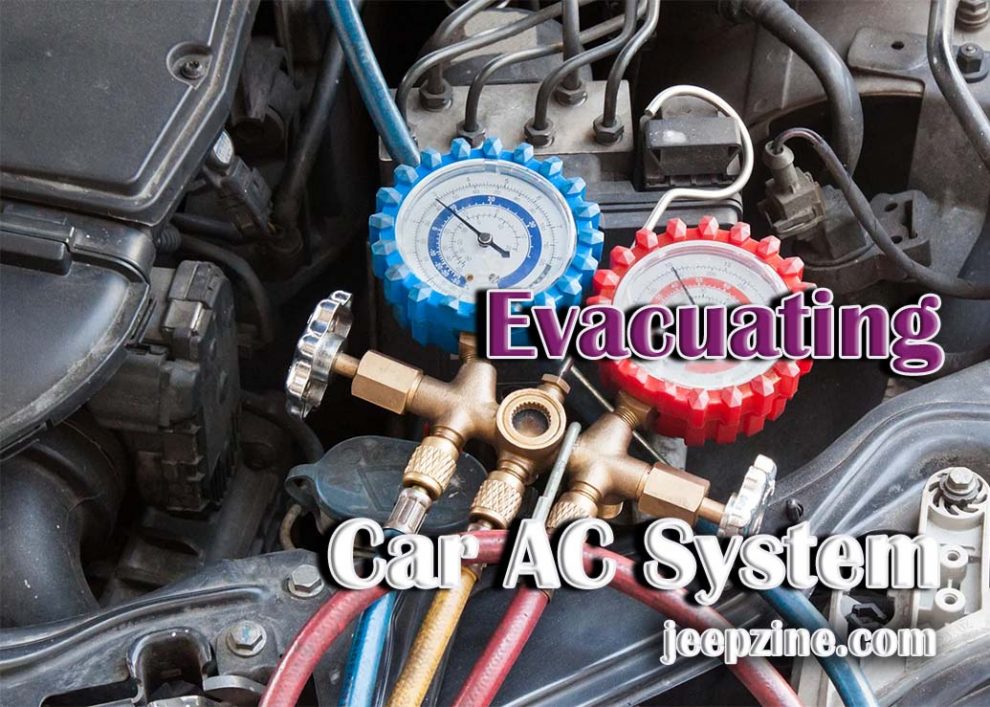
Before evacuating a car air-conditioning (AC) system, make sure you have the right supplies on hand – this includes a manifold gauge set, vacuum pump, replacement oil, and refrigerant – as well as cleaning cloths or wipes. Once you have gathered your supplies you should also check that all vehicle components such as hoses, seals, O-rings are in good working order before starting the evacuation process.
Checking Refrigerant Charge in System
The next step is to check the existing refrigerant charge in your vehicle’s AC system by connecting the vacuum pump to both high and low side ports of the AC system. This will give you an accurate reading of the amount of refrigerant in the system and any potential leaks that may need to be addressed before evacuation.
Step-by-Step Procedure for Evacuating Car AC System
Connecting Vacuum Pumps and Gauges to the Vehicle’s High and Low Side Ports
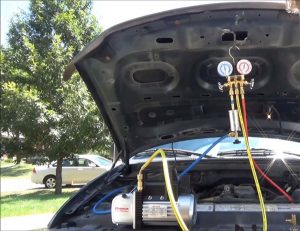 To begin evacuating your car’s AC system, start by connecting both a vacuum pump and manifold gauge set to the vehicle’s high and low side ports. Make sure all connections are secure before beginning the evacuation process.
Opening Valves on Manifold Gauge Set
The next step is to open both valves on the manifold gauge set so that they can pull a vacuum on the entire system. Once done, turn off all circuit breakers in order to prevent any accidental shorts from occurring during the evacuation process.
Setting Amperes on Vacuum Pump
Once you have opened both valves, it is time to adjust your vacuum pump’s amperes setting so that it can pull a strong vacuum on your car’s air conditioning system. The amperes setting should be adjusted according to your vehicle’s AC system specifications.
Checking Pressure Readings on Manifold Gauge Set During Vacuum Cycle
As the vacuum pump is running, you should constantly check the pressure readings on the manifold gauge set to make sure that the evacuation process is proceeding as planned. If there are any changes in the pressure readings this could indicate a leak or other issue which may require further investigation.
Releasing Excess Air аrom Accumulator/Receiver Drier
Once your car’s AC system has been evacuated, you should release any excess air from the accumulator/receiver drier by opening its valve. This will ensure that all moisture and contaminants have been completely removed from your vehicle’s air conditioning system.
Adding Refrigerant Oil After Vacuum Cycle Is Complete
The final step in evacuating a car AC system is to add refrigerant oil after the vacuum cycle has been completed. This will help protect against wear and tear of components within the system while also providing better overall performance of your vehicle’s air-conditioning system.
Conclusion
Evacuating a car’s AC system is a necessary step in maintaining the system and ensuring its longevity. By following the 10 simple steps outlined above, you can effectively evacuate your car’s AC system safely and efficiently. Remember to always wear safety equipment such as gloves, goggles, and face masks when handling refrigerants or connecting any components of the AC system. With proper care and maintenance, your car’s air-conditioning system should provide years of reliable performance.
Add Comment