Over time, the studs on your vehicle’s wheel hub can become damaged or break due to various reasons, such as corrosion, impact, or improper installation. Replacing a damaged stud is crucial to ensure the proper fitment and safe operation of your vehicle’s wheels. This article will guide you through the process of how to replace a stud on a wheel hub, providing you with the necessary steps, tools, and safety precautions to complete the task successfully. By following these instructions, you’ll be able to restore the integrity of your wheel hub and ensure a safe and reliable ride, preventing potential accidents or further damage to your vehicle.
Preparing for Replacement
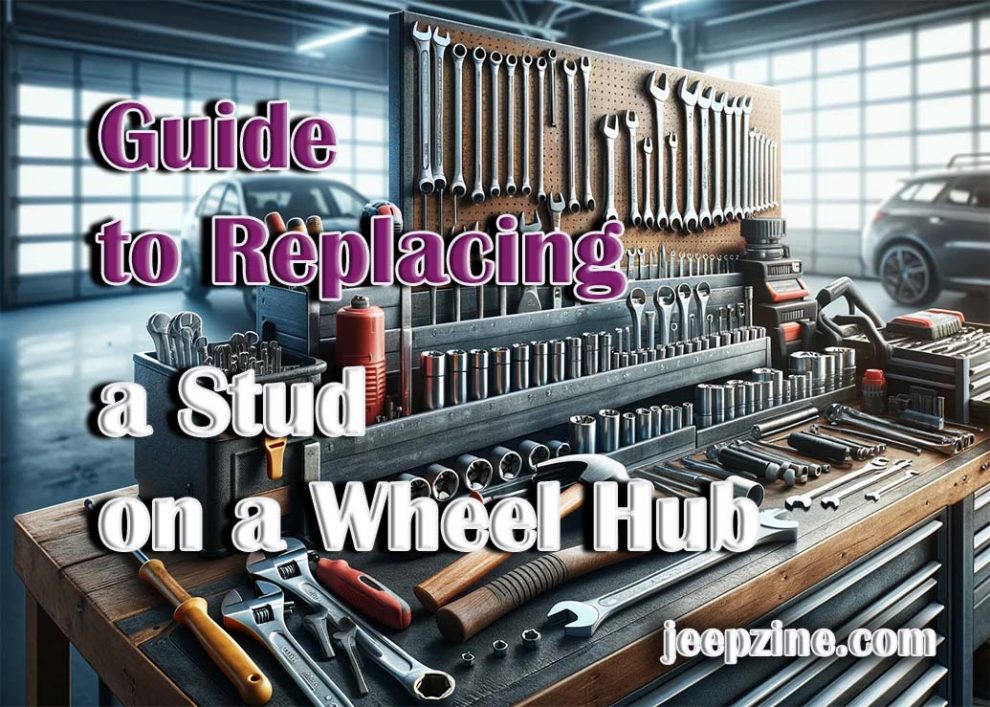
Before beginning the stud replacement process, it is essential to gather the necessary tools and take the appropriate safety measures. This preparation will ensure a smooth and efficient repair process while prioritizing your safety. Gather the following tools: a lug wrench or impact wrench, stud removal tools (stud remover, chisel, and hammer), new wheel studs (matching the specifications of your vehicle), a torque wrench, a wire brush or sandpaper, and lubricant (anti-seize compound or thread locker). Additionally, take the following safety precautions: park your vehicle on a level surface and engage the parking brake, loosen the lug nuts while the wheel is still on the ground to prevent the vehicle from tipping over, use jack stands or wheel chocks for additional safety when working under the vehicle, and wear appropriate personal protective equipment, such as safety glasses and gloves. Proper preparation is key to ensuring a successful and safe repair process.
Removing the Damaged Stud
To begin, you need to remove the damaged or broken stud from the wheel hub. Start by removing the wheel and exposing the hub assembly. Use a lug wrench or an impact wrench to loosen and remove the lug nuts. Once the wheel is off, inspect the studs for any damage or cracks. If a stud is damaged, proceed with the removal process. There are several methods to remove a damaged stud, depending on the severity of the damage. You can use a stud remover tool, which grips the stud and allows you to unscrew it. Alternatively, you can use a chisel and hammer to carefully break off the damaged portion of the stud. Be cautious not to damage the surrounding area or the threads in the hub. Take your time during this step to avoid further complications and ensure a successful removal.
Installing the New Stud
 After removing the old stud, thoroughly clean the stud hole and the surrounding area using a wire brush or sandpaper. This step ensures proper fitment and prevents any debris from interfering with the new stud’s installation. Apply a small amount of lubricant, such as an anti-seize compound or thread locker, to the threads of the new stud. This will facilitate easier installation and prevent future corrosion or seizing. Carefully thread the new stud into the hub, ensuring it is properly aligned and seated. Use a wrench or a stud installation tool to tighten the stud until it is snug against the hub. Double-check the alignment and ensure the stud is securely in place before proceeding to the next step. Proper installation is crucial for the longevity and safety of the repair.
Torquing the Stud
Once the new stud is installed, it is crucial to torque it to the manufacturer’s specified value. Consult your vehicle’s service manual or the stud manufacturer’s instructions for the correct torque specification. Use a torque wrench to tighten the stud to the recommended torque value. Apply the torque in a star or criss-cross pattern to evenly distribute the load across the hub. Proper torquing ensures the stud is securely fastened and prevents any loosening or damage during operation.
Here’s a list of steps to follow when torquing the stud:
- Consult the manufacturer’s specifications for the correct torque value.
- Position the torque wrench perpendicular to the stud.
- Apply the torque in a star or criss-cross pattern.
- Double-check the torque value after tightening.
- Repeat the process for any remaining studs that need replacement.
Following these steps carefully will ensure that the stud is properly torqued and secure, preventing any potential issues during operation. If you’re looking to enhance the stance and overall appearance of your Jeep, consider installing wheel spacers. These accessories can provide a wider track and a more aggressive look.
Reassembling the Wheel
After successfully replacing the damaged stud, you can reassemble the wheel onto the hub. Carefully align the wheel with the studs and hand-tighten the lug nuts. Once all the lug nuts are in place, use the lug wrench or impact wrench to tighten them in a star or criss-cross pattern, following the recommended torque specifications for your vehicle. Ensure the wheel is securely fastened before lowering the vehicle and testing the repair. Double-check that the wheel is properly aligned and that there is no vibration or noise during operation, indicating a successful repair.
Conclusion
Replacing a stud on a wheel hub is a crucial task that ensures the safety and proper functioning of your vehicle’s wheels. By following the steps outlined in this guide, gathering the necessary tools, and adhering to safety precautions, you can successfully complete this repair. Remember to consult your vehicle’s service manual or seek professional assistance if you encounter any difficulties during the process. A properly executed stud replacement will restore the integrity of your wheel hub and provide a safe and reliable driving experience, preventing potential accidents or further damage to your vehicle.