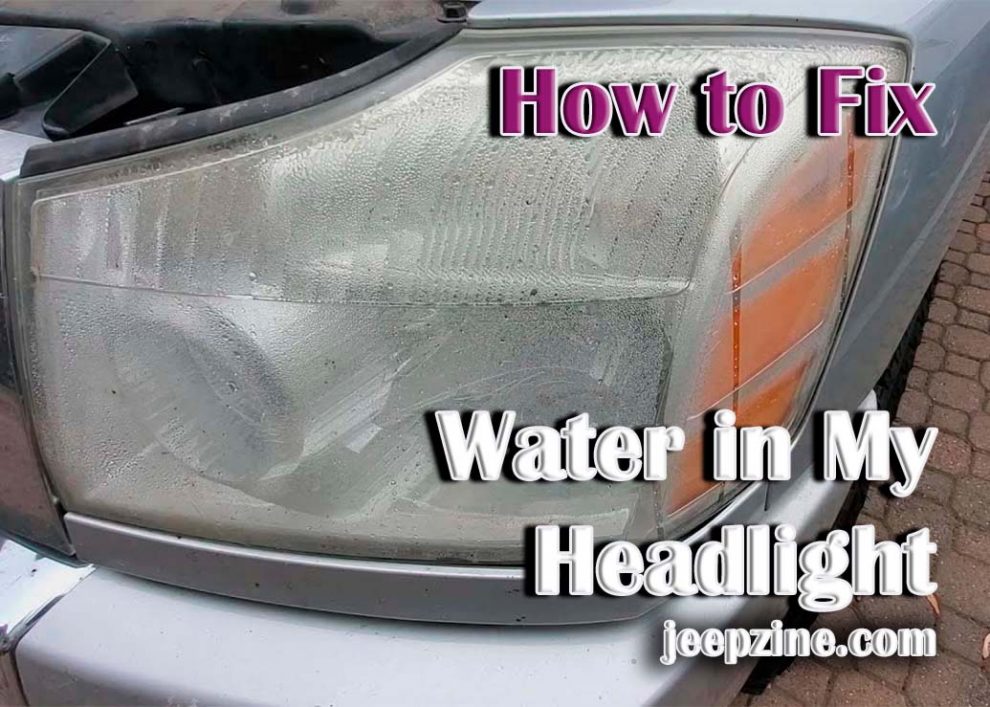
Headlights are essential components of a vehicle and help drivers easily see the roads ahead, day or night. But water can get into a headlight casing and damage the light bulb, lens, or wiring system. This article explains how to repair water-damaged headlights and restore their clarity.
Symptoms of Water in My Headlight
Water in your headlight is one of the most common causes of a headlight malfunctioning or becoming blurry. This issue can be caused by condensation, moisture due to extreme weather conditions, or even leaks in the headlight housing. The following are some of the symptoms of water in your headlights:
-
Dimming: Water in the headlight housing can cause the light to appear dimmer than usual, reducing visibility while driving at night and making it difficult for other drivers to see you.
-
Flickering: Water inside the headlight can cause the light to flicker, resulting in an unsteady beam that makes it hard to see far distances.
-
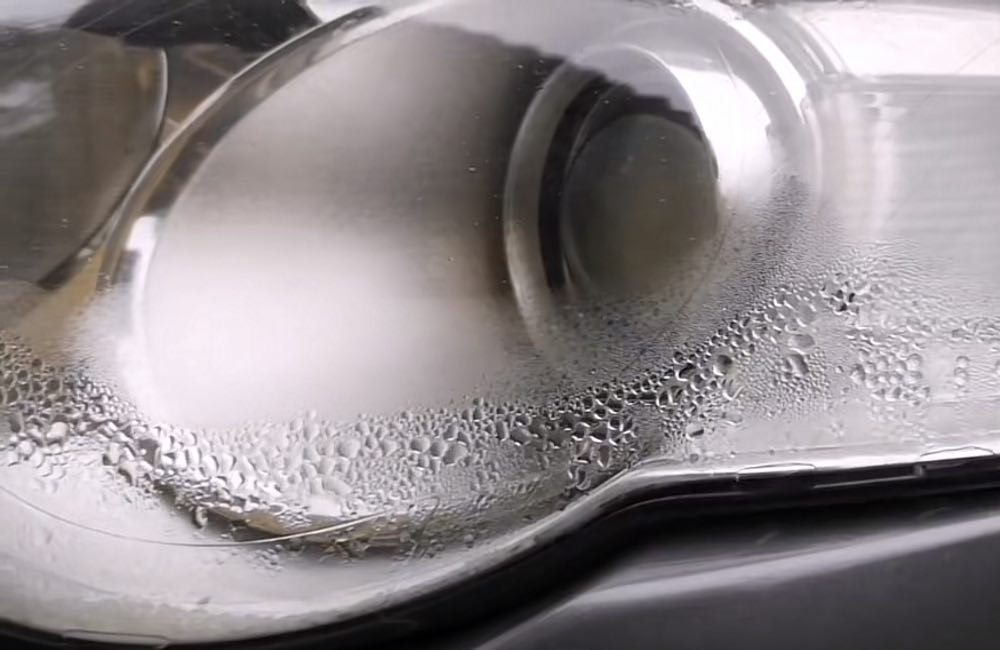
Foggy Appearance: Moisture trapped inside a faulty headlight shell will eventually cause a foggy appearance on the lens or reflector, further reducing visibility and clarity while driving at night.
-
Bulb Failure: Water entering a sealed bulb compartment will eventually corrode electrical components and lead to bulb failure, resulting in total darkness when you try to turn on your headlights at night.
-
Rusting Components: If left unchecked for long enough, moisture trapped inside a sealed light fixture will eventually accumulate, leading to rusting of internal components such as wiring and metal parts that make up your headlights which could lead to complete failure if not addressed promptly.
Causes of Water in My Headlight
 Several issues can cause water in a vehicle’s headlight. The most common is a broken or cracked headlight seal. It allows moisture in and can quickly cause the headlight to fog up with water or condensation, reducing visibility at night. Leaking windshield seals can also be to blame, as water that gets inside the vehicle from the windshield can eventually make its way into the headlights if there are any cracks or holes along the way. Another possible cause could be excess humidity, which may happen if the car has not been driven for an extended period, especially in high-humidity climates.
Finally, poor drainage from nearby parts of the vehicle, like air-conditioning units and windscreen wipers, could also lead to water entering the headlights due to blocked drains or channels diverting it away from them. No matter what is causing it, excess water in your headlights should be addressed as soon as possible to avoid further damage and ensure safe visibility while driving at night.
Steps to Repair a Water-Damaged Headlight
Follow these steps to repair your water-damaged headlights:
-
Start by turning off the light and allowing it to cool down before beginning any repairs.
-
Check the headlight cover for cracks, holes, or damage allowing water in. If you find any, replace the cover with a new one as soon as possible.
-
Next, carefully check the wiring and other internal components for signs of corrosion or rusting due to water damage. If present, replace them with new parts as soon as possible.
-
Clean out any accumulated dirt and debris from inside the headlight and use a soft cloth to remove any moisture accumulated on the lens or reflector surfaces using an approved cleaner product (making sure not to scratch them).
-
After everything is dry and clean inside, use a sealant around all openings in the headlight casing, such as screws or clips, to ensure no more water can get in and cause further damage in the future.
-
Test your headlights after all repairs are complete by turning on your vehicle’s lights at night and checking their clarity against objects nearby, like street signs or buildings across from you (while parked). If they appear clear, then your repairs were successful.
Maintenance Tips for Preventing Future Damage
There are some easy steps you can take to ensure your headlights stay water-free and last longer. Check the headlight seals regularly and ensure they are in good condition with no cracks or holes. Ensure the drainage system around your vehicle functions properly and that any blocked drains or channels near the headlights are cleared out regularly to prevent water accumulation. Clean your headlights regularly with an approved cleaner product to help keep them clear and free of dirt and debris, which could otherwise clog up openings in the casing leading to water damage.
If you live in a high-humidity area, park your car in a garage whenever possible to prevent moisture from building up inside the headlight housing due to condensation. Finally, check for any signs of water damage periodically by turning on your headlights at night while parked and checking their clarity against nearby objects like street signs or buildings across from you (while still parked). Catching signs of water damage early can save you time (and money!) when it comes time for repairs.
Conclusion
Water in the headlight casing can cause major damage and reduce visibility while driving at night, so it’s important to address this issue promptly. Following the steps outlined in this article, you should be able to repair your water-damaged headlights and restore their clarity quickly and easily. Additionally, with proper maintenance and regular checks for signs of water damage, you can prevent future issues and enjoy safe nighttime driving for many years.
Add Comment