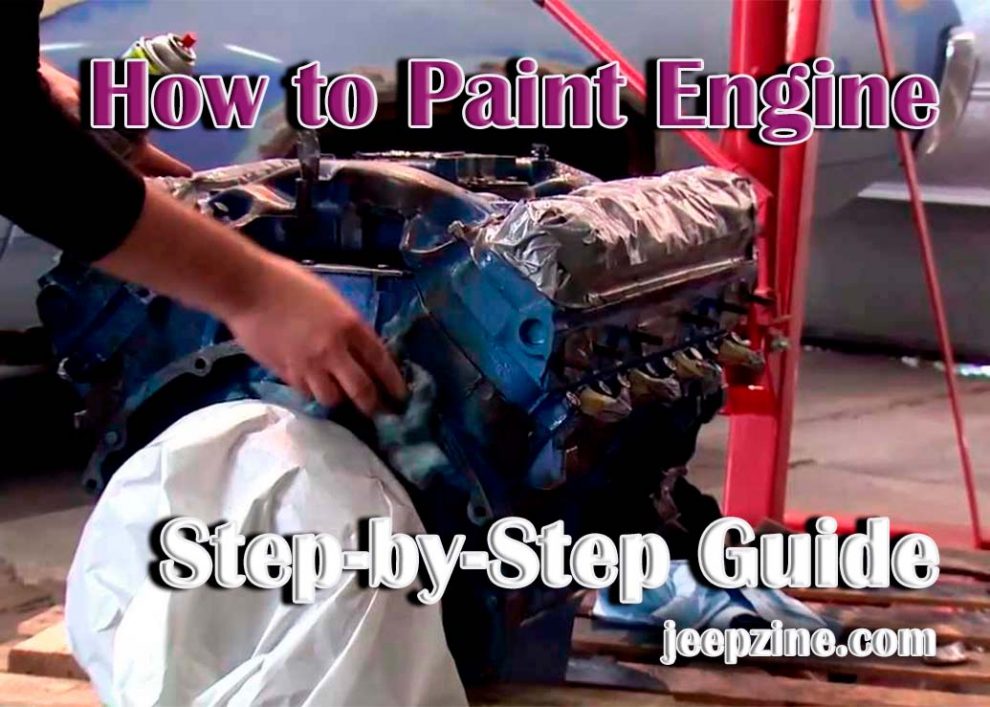
Painting an engine is a great way to spruce up the appearance of your car or truck. It’s inexpensive and can be done in the afternoon with suitable materials and tools. While it may initially seem complicated, painting an engine is quite easy once you get the hang of it. This guide will take you step-by-step through the process so you can complete this task successfully and end up with a professional, clean look for your vehicle’s engine compartment.
Preparing the Engine
 Before you start any painting project, safety should always be your priority. Ensure that all relevant safety precautions are taken before beginning any work on your vehicle’s engine, such as disconnecting the battery terminals and wearing protective clothing, including goggles and gloves, to avoid getting paint in contact with skin or eyes.
Safety First: When working on engines, there’s always a chance of fluid leaks occurring, so it is important to wear protective gear such as goggles and gloves while working to avoid contact with any materials that may cause harm if ingested or come into contact with skin or eyes (such as oil). Also, ensure that all electrical connections have been disconnected before starting work so that there won’t be any accidents due to electricity while working around moving parts of the engine compartment.
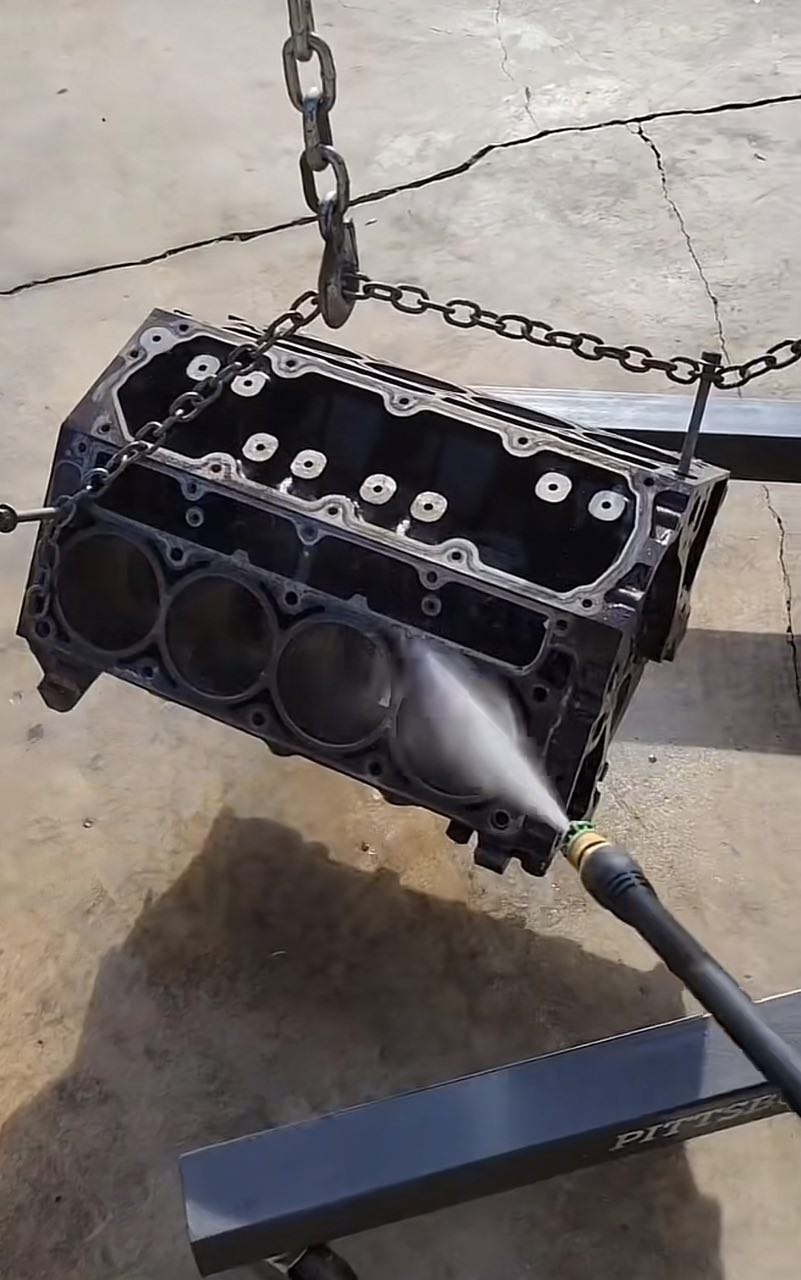
Cleaning the Engine: Once all safety precautions have been taken, clean off your engine before beginning any painting steps by using a simple green cleaner (or other degreasers) and some brushes and rags to scrub away dirt or grease from hard surfaces. It will help ensure that all surfaces are free from debris or contaminants before applying primer or paint, allowing for better adhesion when applying those layers.
Masking Off Your Engine: Once the engine has been cleaned and dried, it is important to mask off any areas that you do not want to paint. It can be done with painter’s tape and newspaper or plastic sheeting, depending on the size of your engine compartment. Cover all electrical components, such as spark plugs or fuel lines, and other sensitive areas, such as brakes, suspension parts, hoses, and cables.
Prepping for Painting
Before any paint can be applied to the engine, it is important to prepare the surface with a few coats of primer and undercoat to ensure that the paint adheres properly and lasts longer. Start by applying a coat of primer in light misting strokes from top-to-bottom, covering all areas evenly and without missing any spots. Let this dry completely before sanding it down with 320-grit sandpaper or higher (depending on the type of primer used). It will smooth out any imperfections on the surface before applying the next layer. Once your primer has dried, use 320 grit sandpaper or higher (depending on the type of primer used) to gently sand it down and remove any imperfections or bumps from the surface. It will create a smoother texture ideal for painting on top of later.
When you’re finished, wipe away any excess dust using a clean cloth or rag, so your engine is ready for its sealer/undercoat layer next! Next is applying a sealer/undercoat layer over your primed surface to create an even base for painting later (this step should be included as it helps protect your paint job from damage due to wear and tear). Apply several thin coats of sealer/undercoat using light misting strokes until you have covered all areas evenly without missing spots; then let this dry completely before moving on to painting!
Painting The Engine
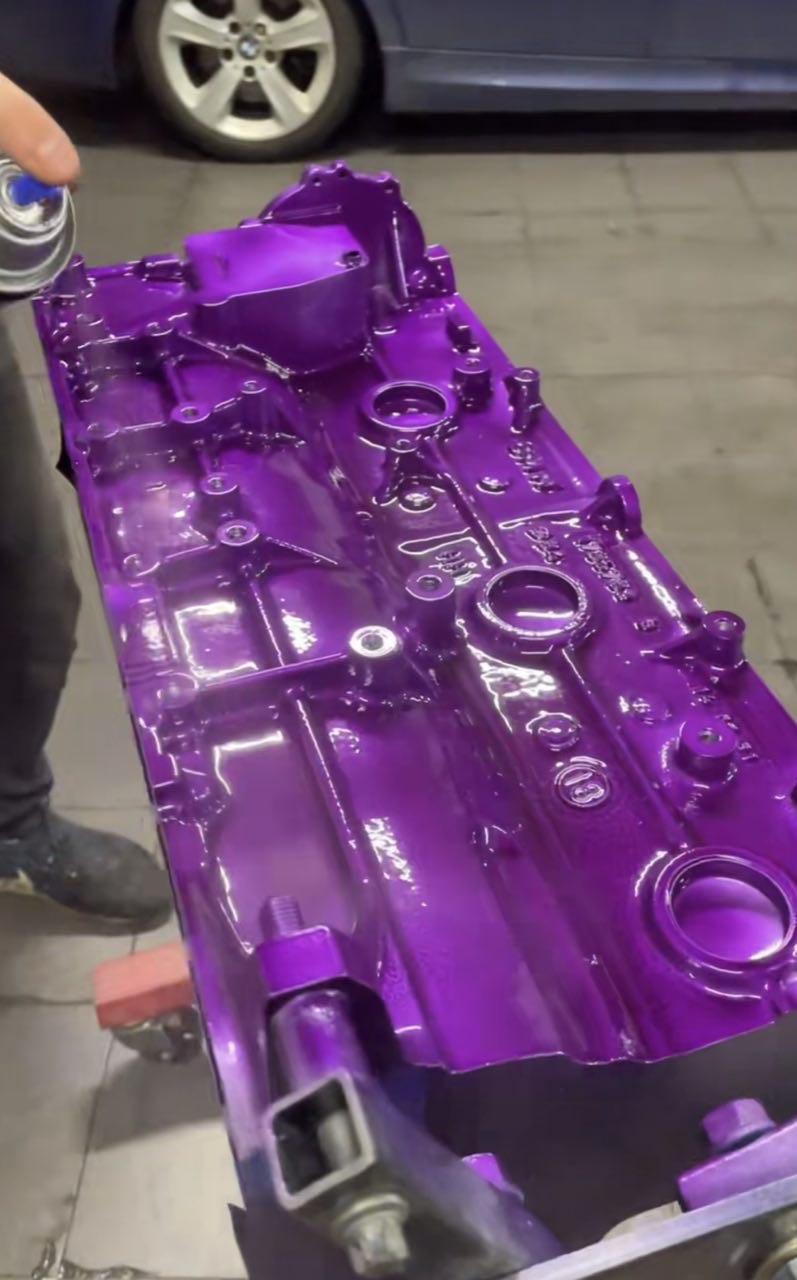 Now that you’ve prepped your engine’s surface with layers of primer, undercoat, and sealant, you’re finally ready for some color! Choosing colors can be tricky, but having an idea beforehand about what type of look you want can help narrow down choices quickly: modern cars typically use bright colors like red or orange, whereas classic cars may opt for more subdued shades like black or blue (the choice is ultimately yours!). Choose the paint color or colors you want to use for your engine, keeping in mind that lighter colors will be easier to maintain over time and show grime or oil-less easily. If using multiple colors, lay down a coat of primer on each area before applying paint. Once you have chosen your paint color(s), it’s time to start spraying! Start by shaking the can of paint well and then spraying in light misting strokes from top-to-bottom (or side to side if necessary) until all areas have been covered evenly without any inconsistencies. Let each coat dry completely if multiple colors are used before working on another color. Now that you’ve finished painting, it is important to let the paint dry properly before moving on to other steps. Depending on humidity and temperature, this can take up to 24 hours, so take your time with this process! Once dried, heat curing is also recommended for lasting results (this can be done with a heat gun or blow dryer).
Final Touches
The last step is adding finishing touches to your engine to make it look even better! Bead blasting is an excellent way to give your engine a smooth, glossy finish without needing to do any sanding or priming beforehand. Bead blasting involves using a specialized machine to spray small glass beads at the surface of the engine, removing any imperfections and adding shine. Once you’re done bead blasting, it’s time for a coat of wax to protect the paint job from damage due to moisture or wear and tear while also giving it a beautiful finish. Apply a thin layer of car wax over all painted surfaces and let dry before wiping away any excess with a clean cloth or rag.
Conclusion
Painting an engine is a great way to spruce up the look of your car or truck, and the right materials and tools can be accomplished in the afternoon. This step-by-step guide will quickly give you a professional, clean look for your engine compartment! Remember that safety should always be your priority when working on engines, so ensure all relevant precautions are taken before beginning any work. Good luck!
Add Comment