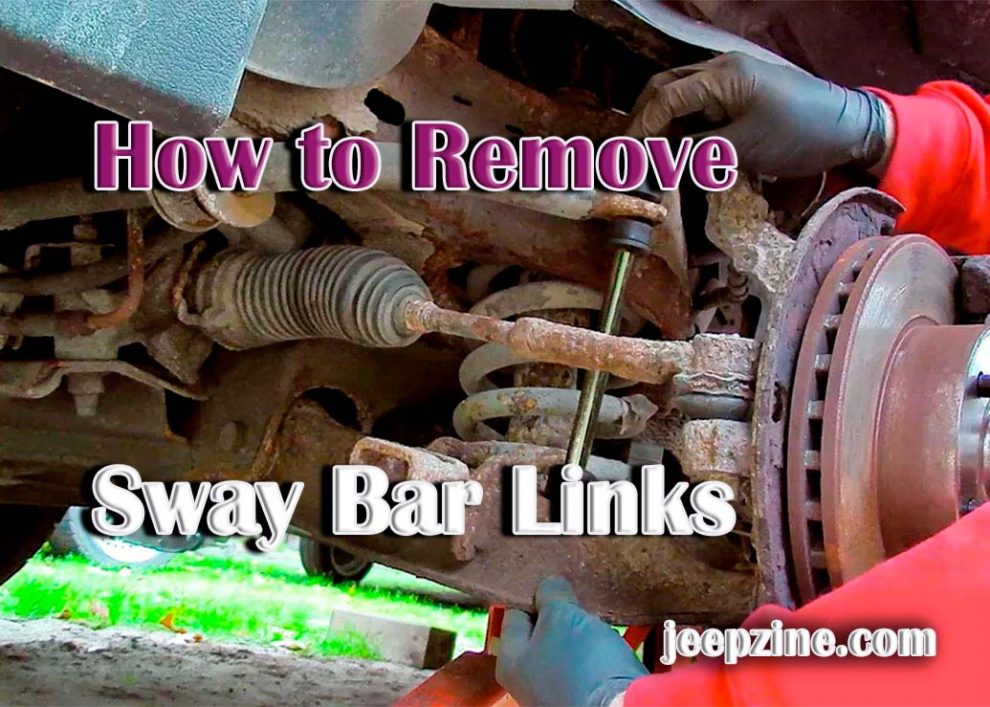
Removing sway bar links is an important part of automotive maintenance. Sway bar links connect the sway bar to the suspension of your vehicle, and they help to improve handling and stability while driving. They should be checked regularly to make sure they are in good condition, as worn or damaged links can cause deterioration in handling or even failure of the suspension system. If you find that your sway bar links need to be replaced, it’s best to remove them before installing new ones. This article will provide a step-by-step guide on how to remove sway bar links from your vehicle safely and efficiently.
 What Are Sway Bar Links?
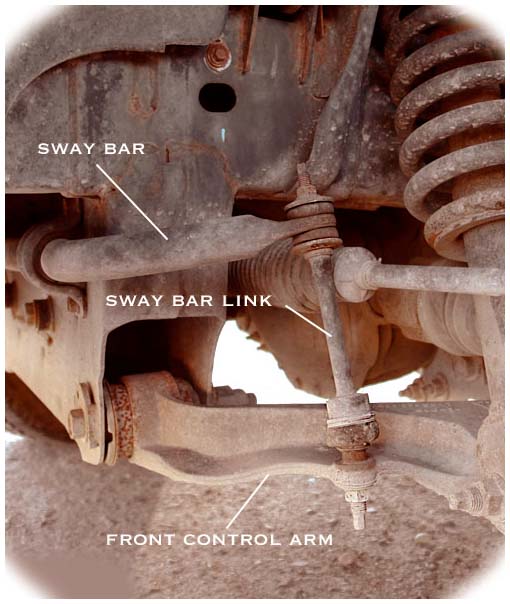
Sway bars are an important component of a car’s suspension system, and they help keep the vehicle stable when cornering or going over bumps in the road. The sway bar is connected on each end by two large metal arms called sway bar links, which attach it securely to the rest of the suspension components such as control arms and tie rods. When these components are worn or damaged, they can cause deterioration in handling and should be inspected regularly for signs of wear or damage so that replacement parts can be installed if necessary.
Tools Needed to Remove Sway Bar Links
To remove sway bar links, you will need the following tools:
- Ratchet and socket set
- Hammer or rubber mallet
- Pry bar or flathead screwdriver
- Grease and lubricant
- Jack and jack stands
Step-by-Step Instructions for Removing Sway Bar Links
These instructions are for a typical sway bar link removal. The exact steps may vary depending on the make and model of your vehicle.
-
Before you begin, make sure to lift your car securely using a jack and jack stands. This will provide you with better access and safety when working underneath the vehicle.
-
Locate the sway bar links where they attach to the suspension components. The links will have a rubber or metal boot around them which helps to protect them from dirt and debris.
-
Using your ratchet and socket set, remove the bolts that attach the sway bar link to the components on either end of the sway bar arm. It’s important to remember that these bolts are tightened in an alternating pattern so as not to warp or damage any of the components when tightening them down again later.
-
 When all the bolts have been removed, gently pry off each end of the sway bar link using a prybar or flathead screwdriver, if necessary, then slide it out from between each component it is attached to (control arms and tie rods). If there is any resistance while trying to slide it out, use a hammer or rubber mallet on both sides of it carefully until it comes loose from its attachment points without damaging any surrounding components.
 -
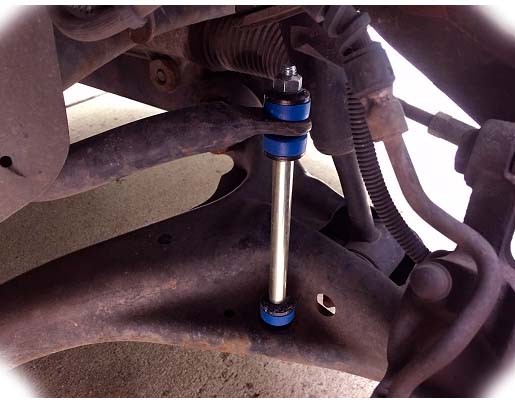
Before you install the new sway bar links, apply a layer of grease and lubricant to each end of the link where it attaches to the components to ensure a smooth and consistent connection. This will also help prevent future corrosion of the metal components due to road salt, water, or other contaminants.
-
Reattach each end of the sway bar links to its corresponding component with your socket set, alternating between sides as you tighten all bolts securely so that everything is in place and won’t move when the car is in motion.
Conclusion
Removing sway bar links is a relatively simple process, but you must take your time and use caution when working underneath your vehicle as any mistake can result in significant damage or even injury if something were to go wrong. With this guide, you should have no trouble removing sway bar links from your vehicle safely and effectively.
Add Comment