In 2001, GM launched the all-new Chevrolet Silverado (GMC Yukon) with the latest RIDE CONTROL adaptive suspension system. These were the cars in the body of GMT 840. It was an advanced technology at that time. The cars with this system were able to adjust to road conditions, changing the stiffness of shock absorbers and increasing the stability of the car on the road.
GMT-900
The third generation of Chevrolet Silverado and GMC Yukon GMT 900 trucks had a torsion bars suspension system instead of torsions, and had some design differences. The system was improved since 2010, which was called Magnetic Ride. Its fundamental difference from the previous system is the absence of initial shock absorber stiffness. The brand-new Chevrolet Silverado 900 rear shock absorbers were pumped with a booster compressor, which stood under the rear left fender of the car. These parts had a number of typical failures. The air intake for the air pump was located behind the rear left wheel and it worked so that in wet weather conditions, all the water would get inside the air system.
They look very similar to the original, but in fact, do not perform the Magnetic Ride Control and are installed only with the bumpers, so as not to generate an error on the dashboard. We recommend installing only the original.
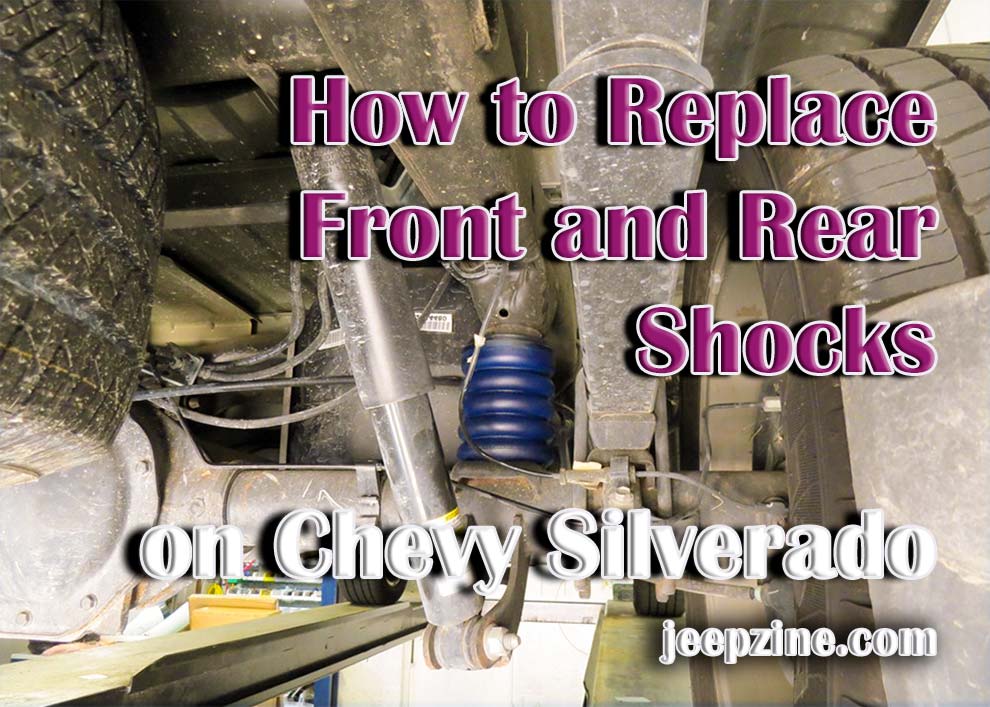
How to Replace Front and Rear Shocks on a Chevy Silverado
Required tools and materials: Jack Set of sockets with collar and extensions. Set of open-end and ring wrenches. Phillips screwdriver. Iron broom. Carrying stand. Pliers. Hammer. Spring clamps. VD-40 or other liquid like “liquid wrench”. Spare parts: bumpers, dusters, struts, or shock absorbers, if they can be replaced separately.
Procedure
To change the front struts, you need to perform a number of the following manipulations:
- Remove the engine compartment seal, as well as other elements that prevent access to the upper strut support.
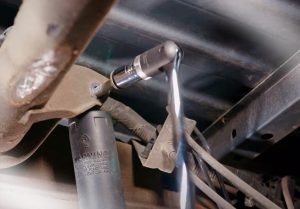
- After removing the plug, loosen the nut securing the strut rod to the upper strut support. This is done with an extension head, and a screwdriver while the car is on the wheels and the strut is not removed. It is much harder to do on the removed one, because you will have to find a tool for securing the rod against twisting.
- Unscrew the wheel mount, and lift the car with the jack so that the wheel does not touch the floor.
- Make sure to place a jack under the car for safety. Remove the wheel. Use an iron brush to clean the threaded joint on the anti-roll bar joint, the screw securing the brake hose, and the bolts securing it to the knuckle post. Moisten them with kerosene.
- Unscrew the nut fixing the stabilizer joint and the screw fixing the brake hose. Remove the nuts from the bolts securing the cam to the strut.
- Knock the bolts out with a hammer. On some vehicles, you may also have to remove the bushing. There is nothing holding the strut down after the bolts are removed. Remove the nuts that hold the upper strut to the body.
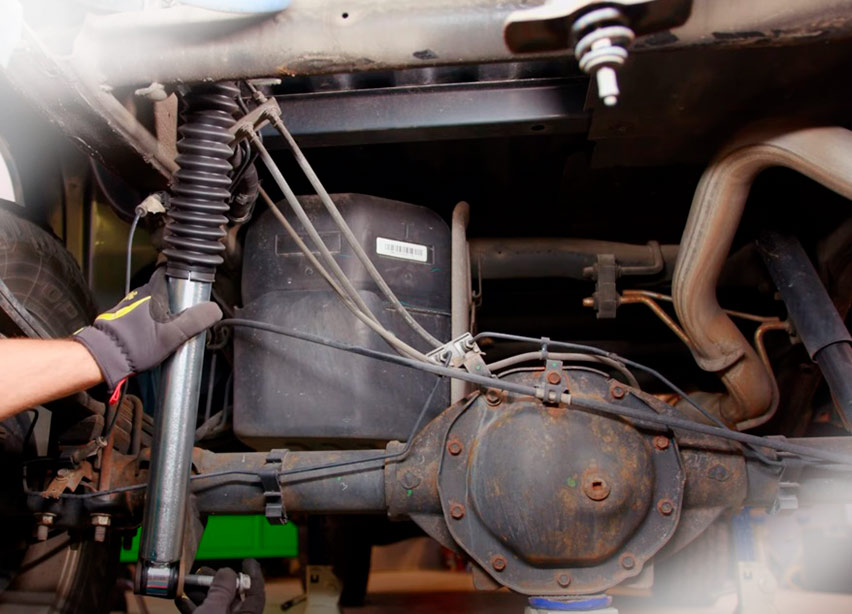
- Remove the strut assembly with the strut and spring. Slide the bumper and dust cap onto the rod of the new strut, but do not reinsert the spring washer from the old strut onto the new one. Slide the spring onto the strut body by aligning its lower coil with the seat for it. Put the cup on top of the support and screw on the stem nut.
- Remove the tie rods from the spring and insert the top support studs into the holes provided for them and screw nuts on.
- Tighten the strut mount at the bottom, screw in the wheel, remove the stand, lower the car. Tighten the wheel mount, the rod nut, and the nuts on the top support studs.
As you can see, the process is easy to do the same on the other side and the front ones are done. There is no camber adjustment on this model, which means installing serviceable components on an undamaged body results in the correct camber value.
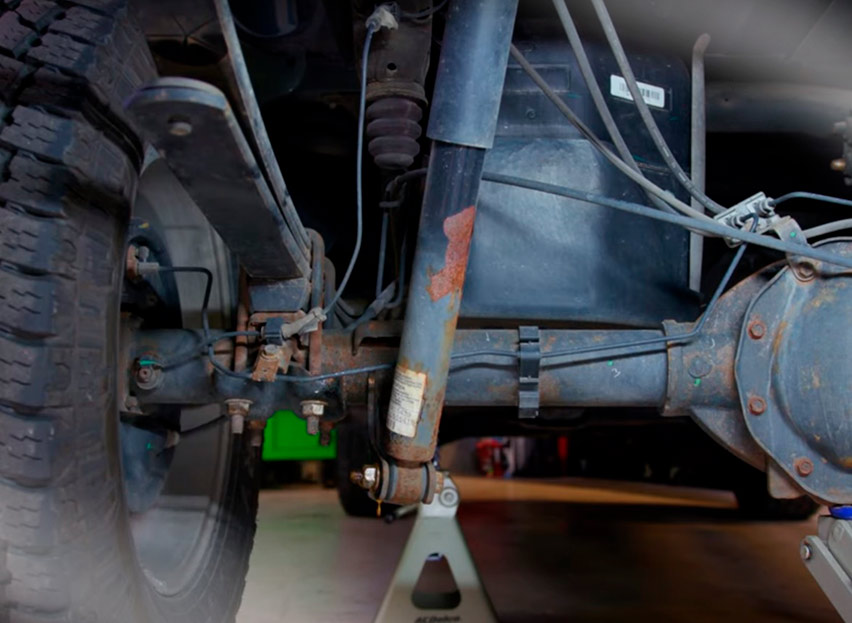
Often the rear axle of passenger cars is completed with just a shock absorber (unlike the front axle, where the shock absorber is installed in the chuck, and the whole unit is called a strut). In this case, you will need to unscrew the upper and lower mounts to replace them. In cases where the shock absorber is separate from the spring, you won’t need any ties, and the process will take much less time. Most often on rear axle shock absorbers, you have to replace the bushing, which over time breaks and causes backlash.
That’s It!
Replacing the rear and front shock absorbers is not a difficult procedure, if you want to do it yourself in a garage or on a suitable site. If the owner wants to drive with comfort, not to expose himself and other traffic participants to danger, you should periodically check the serviceability of shock absorbers.
Add Comment