Gas caps are used to seal the fuel tank on most modern automobiles. A leaky gas cap can cause fuel to evaporate, leading to an increase in emissions and a decrease in your wallet. The good news is that testing for gas cap leaks is relatively easy, and there are several methods you can use depending on your skillset and available tools. Let’s look at a few of them.
Why Test a Gas Cap for Leaks?
 A leaking gas cap can lead to serious issues with your vehicle, including excessive emissions and decreased fuel economy due to fuel evaporation. According to the US Environmental Protection Agency (EPA), up to 30% of all hydrocarbons (HC) pollution comes from leaking gas caps! Not only that, but it’s also expensive! Most modern cars have closed-loop systems designed specifically to reduce harmful exhaust gases by trapping them in the fuel tank until they can be burned off or recycled—but if the tank isn’t sealed properly with a functioning gas cap, this system doesn’t work as intended. Also read How to Unfreeze a Gas Cap.
Common Symptoms of a Leaky Gas Cap
If you suspect that your vehicle might have a leaky gas cap, there are some telltale signs you can look out for. These include:
- A fuel smell coming from the vehicle
- Unusually high fuel consumption
- Poor engine performance or hesitation when accelerating
- Check engine light on the dashboard
Tools and Materials Needed
Fortunately, testing for a leaking gas cap doesn’t require much in terms of materials. All you need is a flashlight, a rag, and some common household items such as vinegar and baking soda (if using the smoke test). Of course, if you don’t have these items lying around, you can pick them up at any local auto parts store.
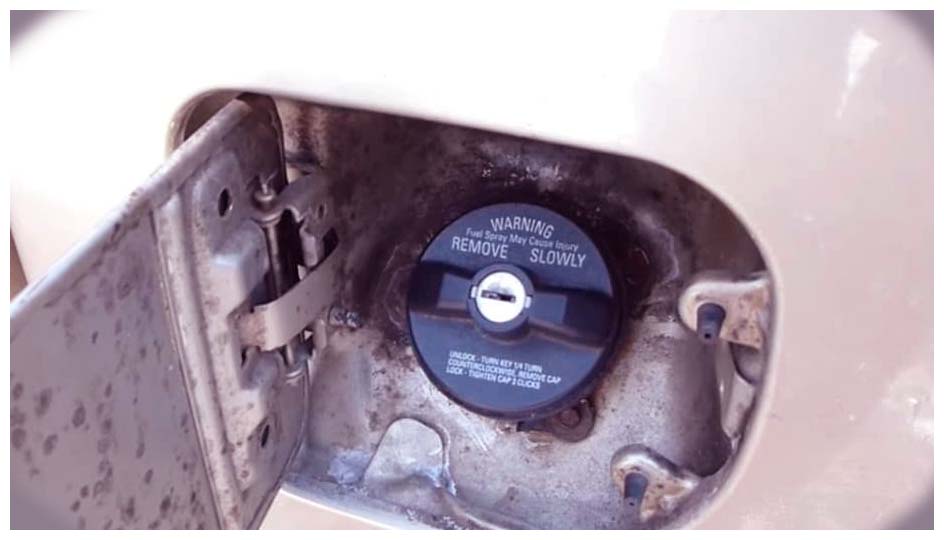
Method 1: Visual Inspection
This method is probably the simplest way to check for a leaking gas cap—simply take off your car’s gas cap and inspect it closely with a flashlight to see if there are any cracks or damage that could be causing the leak. If anything looks suspicious, it’s best to replace your gas cap immediately.
Step-by-Step Procedure
-
Pop the hood of your vehicle and locate the gas tank filler neck where you insert your gas pump nozzle when refueling. Give it a cleaning with an old rag to remove any dirt or debris that might be clogging the area.
-
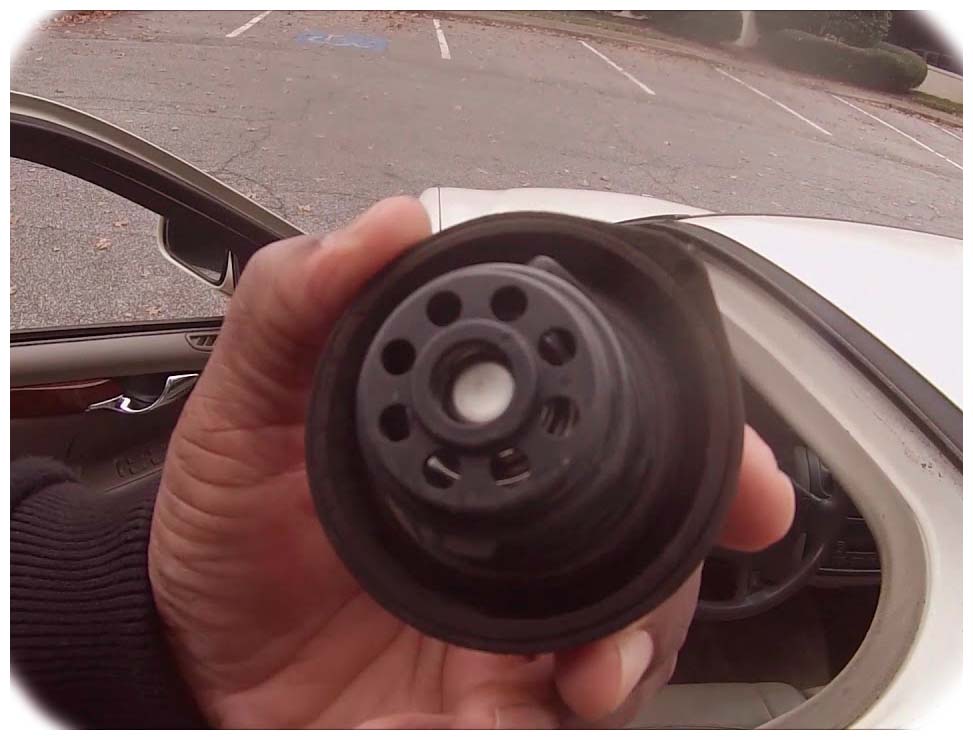 Unscrew the gas cap and inspect it closely with a flashlight to look for any cracks, dents, or other damage.
 -
If you see any signs of damage, replace your gas cap immediately with an OEM part from your local auto parts store.
Make sure to use a genuine OEM gas cap as aftermarket parts may not fit properly or provide a proper seal. If your gas cap is still leaking after being replaced, it’s likely that there is an issue with the filler neck itself and you should take it to a mechanic for further inspection. Always follow the manufacturer’s instructions when removing and replacing your gas cap!
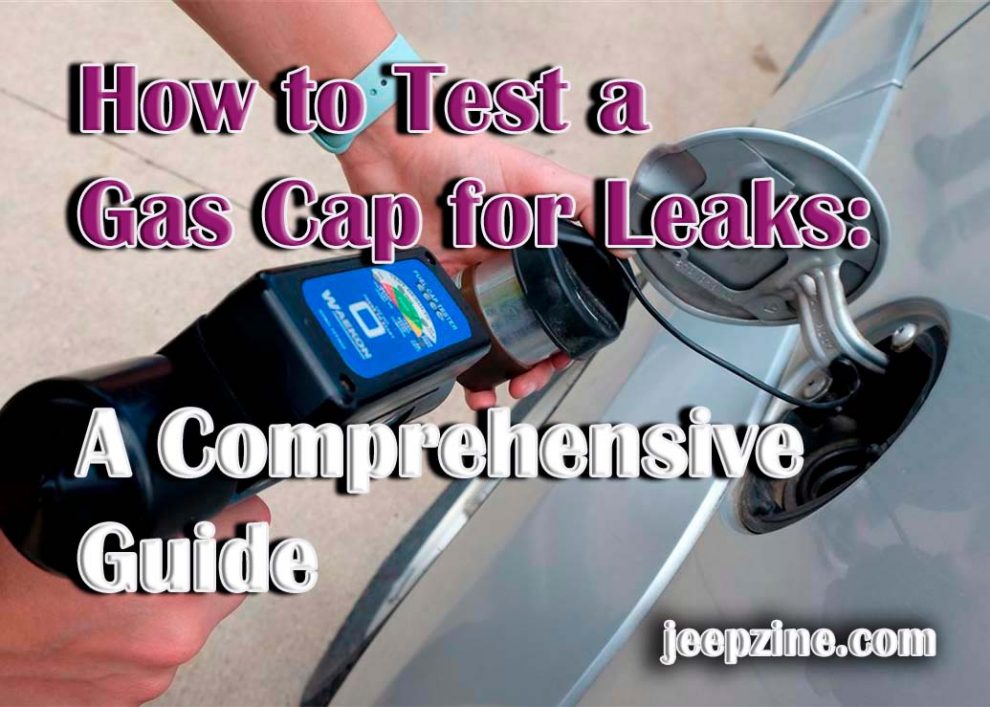
Method 2: Pressure Test
This method is slightly more complicated than visual inspection but can give you more accurate results if done correctly. The pressure test requires a pressure tester kit which can be purchased from most auto parts stores; this kit includes all the necessary tools and components needed to conduct the test.
Step-by-Step Procedure
-
Connect one end of the pressure tester hose to the gas cap and the other end to your pressure tester.
-
Set the pressure tester to the required pressure as indicated in your vehicle’s owner’s manual (usually between 15-30 psi).
-
Turn on the pressure tester and wait for it to reach its set pressure level, then monitor it closely.
-
If you notice any pressure drops or if the reading fluctuates excessively, then there is likely a leak in your gas cap, and it needs to be replaced immediately.
Make sure you have a reliable seal between the hose, and both ends of your gas cap before beginning the test. If you don’t have access to a reliable source of pressurized air, you can also use a vacuum cleaner with an adjustable suction setting instead of a pressure tester. Always follow all safety instructions when using any kind of pressurizing equipment!
Method 3: Smoke Test
This method is probably one of the most accurate ways to check for leaks but requires some more advanced tools. To conduct this test, you will need an automotive smoke machine (which can be purchased from most auto parts stores) as well as some common household items such as vinegar and baking soda. Here’s how:
Step-by-Step Procedure
-
Mix equal parts white vinegar and baking soda in a small container to create a paste-like substance.
-
Fill the smoke machine with the vinegar/baking soda mixture, then attach it to your gas cap’s filler neck (make sure you have a tight seal!).
-
Turn on the smoke machine and wait for it to build up pressure before turning on the engine of your vehicle.
-
If any leaks are coming from your gas cap, you will see the smoke escape from around its edges when viewed in direct sunlight or with a flashlight—this is an indication that you need to replace your gas cap immediately!
Make sure that all connections are tight and secure before beginning the test, otherwise, you may get inaccurate results. If you don’t have access to an automotive smoke machine, you can also use compressed air instead — just make sure not to exceed 25 psi!
Conclusion
Testing for leaks in your vehicle’s gas cap is essential if you want to keep harmful emissions down and save money at the same time. Fortunately, it’s easy to do and there are different methods that you can use depending on your skillset and available tools. Whether you opt for a visual inspection, pressure test, or smoke test, make sure to replace your gas cap if you notice any signs of damage or leakage. In no time, you’ll be back on the road with a properly sealed fuel tank!
Add Comment