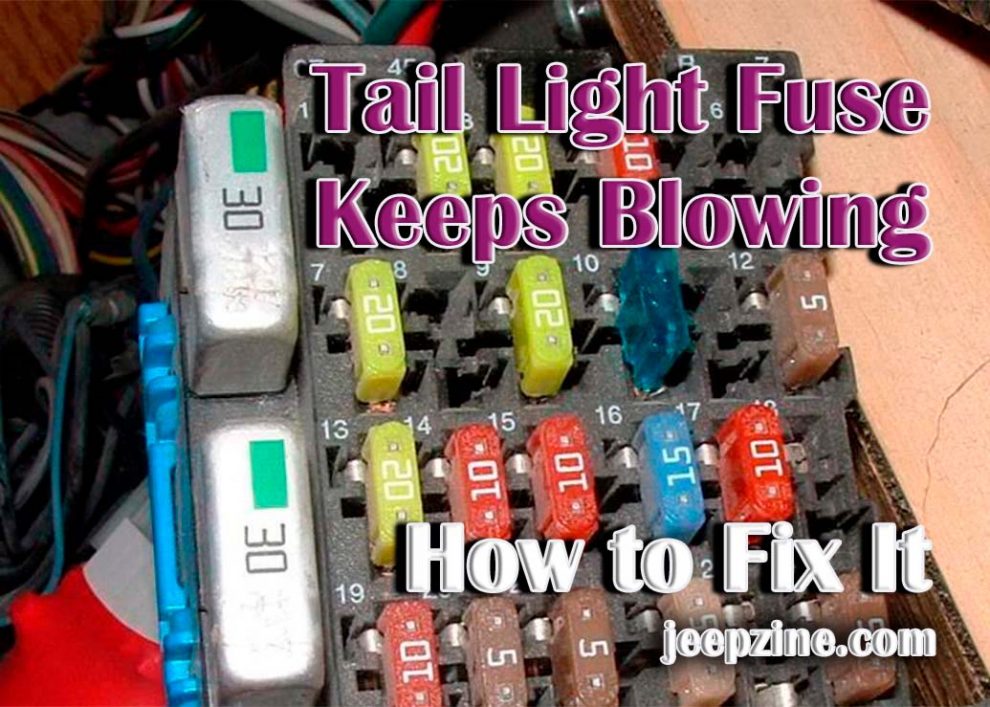
Are you having trouble keeping your tail light fuse from blowing? Are you uncertain about what could be causing your fuse to blow? Do you know how to troubleshoot and fix the problem? If so, then this article is for you. Here, we’ll discuss what can cause a tail light fuse keeps blowing, how to troubleshoot the issue, and provide instructions on replacing the faulty component. We’ll also explain the safety procedures that should be followed when dealing with automotive electrical systems. With this knowledge, you can identify and repair the source of your blown fuse and prevent future occurrences. Following these simple steps, you can quickly get your tail lights to work correctly again!
What Causes a Tail Light Fuse to Blow?
A blown tail light fuse can be caused by various factors, ranging from simple to more complex issues. Understanding these potential causes is crucial in effectively troubleshooting and resolving the problem. Here are some common reasons why a tail light fuse may blow:
-
 Short Circuit: A short circuit is one of the most prevalent causes of a blown fuse. A short circuit occurs when a wire carrying electrical current comes into contact with another wire or a conducting surface, creating a low-resistance pathway. It results in an excessive current flow, leading to the fuse overloading and ultimately blowing.
 -
Faulty Bulbs: Damaged or faulty tail light bulbs can cause the fuse to blow. When a bulb filament inside the bulb breaks or gets disconnected, it can create a sudden surge in current, overloading the fuse.
-
Wiring Issues: Damaged or deteriorated wiring in the tail light circuit can lead to a blown fuse. Over time exposure to moisture, physical damage, or wear and tear can weaken the insulation or cause a break in the wires, resulting in an electrical fault.
-
Incorrect Bulb Installation: Using faulty or incompatible bulbs can lead to an uneven current distribution and prevent the fuse from blowing. Using the right type and wattage of bulbs specified for your vehicle is essential.
-
Defective Light Switch: A malfunctioning light switch that controls the tail lights can cause irregular power flow, leading to a blown fuse.
-
Overloaded Circuit: Sometimes, the tail light fuse may be shared with other electrical components, such as brake lights, license plate lights, or dashboard lights. If any of these components develop a fault or draw too much power, it can overload the circuit and blow the fuse.
-
Wiring Damage from Trailer Connections: If your vehicle is equipped with a trailer hitch and wiring, problems with the trailer’s electrical connections can sometimes affect the tail light circuit and cause the fuse to blow.
How to Diagnose a Blown Tail Light Fuse
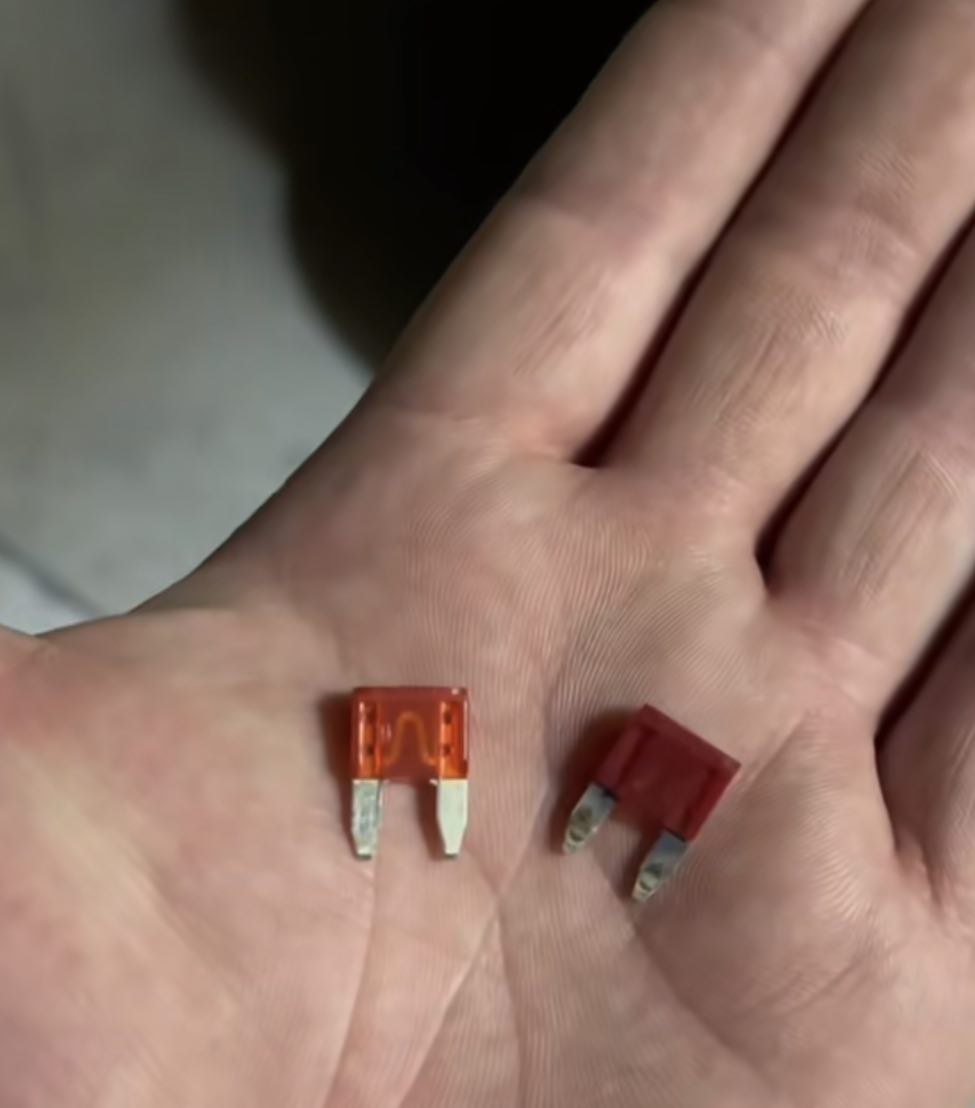
Diagnosing a blown tail light fuse can be done by following these simple steps. Locate the fuse box in your car. Usually, it is located under the dashboard or near the engine compartment on most cars. Check the owner’s manual for the location of your tail light fuse. It may also be labeled as “parking,” “stop,” or “brake.” Once you find the fuse box, disconnect all power from it by removing the negative battery cable and turning off any electrical systems in your vehicle that could still be running. Check all your fuses for corrosion or visible damage such as burn marks, melted plastic, etc., and replace any that are damaged with new ones of an identical size and amperage rating as specified in your owner’s manual or on a sticker on the inside cover of your fuse box.
Remove each suspected tail light fuse and scrutinize them for damage using a test light tool or multimeter to check voltage continuity through it (if available). Suppose there is no voltage flowing through after testing. In that case, this indicates that the fuse has blown and needs to be replaced with a new one of equal size and amperage rating as specified in your owner’s manual or on a sticker inside your vehicle’s fuse box cover panel. Finally, once you have identified the blown tail light fuse, it is essential to inspect the circuit for any other signs of damage, such as frayed or disconnected wires, corrosion on components or connections, faulty bulbs, or switches, etc. If any additional damage is found, it must be addressed before replacing the fuse and returning power to the circuit. Also read about Best LED Headlights for Ford Ranger.
How to Fix a Blown Tail Light Fuse
Start by replacing the faulty fuse with an identical size and amperage rating as specified in your owner’s manual or on a sticker inside your vehicle’s fuse box cover panel. Inspect and clean all connections associated with the tail light circuit. It includes checking for corroded, loose, or damaged wires and components such as bulbs, switches, connectors, and any others that may have been affected by the blown fuse. Replace all defective or worn-out parts before returning power to the circuit. The last step is to reconnect all components of the tail light circuit in their proper position (as indicated in your owner’s manual). Finally, test all lights before returning power from the car battery and ensure they operate correctly for safe driving conditions.
<!—->
Conclusion
A blown tail light fuse can be caused by many factors, ranging from short circuits to faulty bulbs and wiring issues. It is important to inspect all components of the tail light circuit for any visible damage or corrosion before replacing the blown fuse. Use an identical size and amperage rating as specified in your owner’s manual or on a sticker inside your vehicle’s fuse box cover panel when replacing the faulty fuse. Test all associated lights after connecting them back into their respective positions as indicated in your owner’s manual to ensure they function correctly for safe driving operations. You’ll quickly get your tail lights working again by following these simple steps!
Add Comment