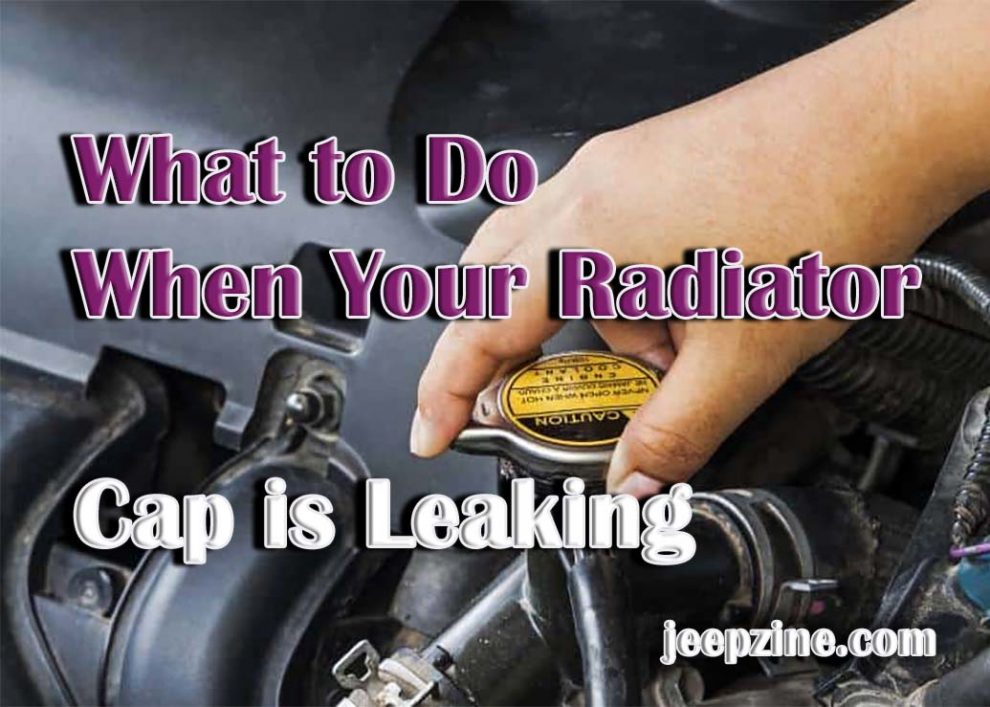
A leaking radiator cap can be a serious problem for your vehicle. The radiator cap is responsible for maintaining the pressure of the coolant in the cooling system, allowing it to reach its optimal temperature. If it is leaking, this can lead to an overheating engine and eventual damage to your car. In this article, we will look at signs of a leaking radiator cap and explain how to replace it.
Signs of a Leaking Radiator Cap
 The most obvious sign that your radiator cap is leaking is an increase in temperature while driving. This can be caused by a decrease in pressure in the cooling system, as coolant escapes through the faulty seal on the cap. Other signs include puddles beneath the car after parking or steam rising from under the hood when stopped at traffic lights or stops signs. These are all indications that there could be a problem with your radiator cap and that you should take action quickly before further damage occurs.
Replacing the Radiator Cap
When you identify that your radiator cap is leaking, you need to replace it as soon as possible before further damage occurs. Here are step-by-step instructions for replacing a faulty radiator cap:
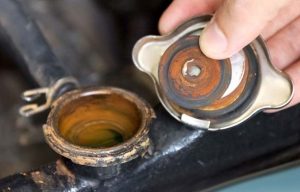
Step 1 – Remove Old Radiator Cap from Vehicle
Before you begin replacing the radiator cap, it is important to make sure that your car is cool. If the engine has been running recently, allow it to cool down for at least 30 minutes before attempting to remove the old radiator cap. Once it is safe to do so, open the hood and locate the radiator cap. This should be clearly visible and located on top of the coolant reservoir. Once you have identified it, use a pair of pliers or wrench to carefully unscrew and remove the old radiator cap from its position.
Step 2 – Install New Radiator Cap in Vehicle
Once you have removed the old radiator cap, carefully inspect its condition and replace with a new one if needed. When purchasing a new radiator cap, make sure that you buy one that matches your vehicle’s specifications as incorrect models can lead to further damage down the line. To install it onto your vehicle’s cooling system, carefully screw in place and ensure that it is firmly secured into position by using a pair of pliers or wrench if necessary. Also see here the Best Cummins Radiators.
Conclusion
When dealing with a leaking radiator cap on your vehicle, time is of essence as this issue can quickly become more serious if not addressed. As shown in this article, the steps involved in replacing a radiator cap are relatively simple and should take no longer than 30 minutes to complete. However, if you are unsure of any of the steps we have outlined or if the problem persists, it is important to seek help from a qualified mechanic.
Add Comment